The original design of the miter box was meant to have the tubes
inserted in the box with a tight enough fit to hold them while they are
cut.
This idea didn't work out too well as the tubes just wouldn't slide
into the box.
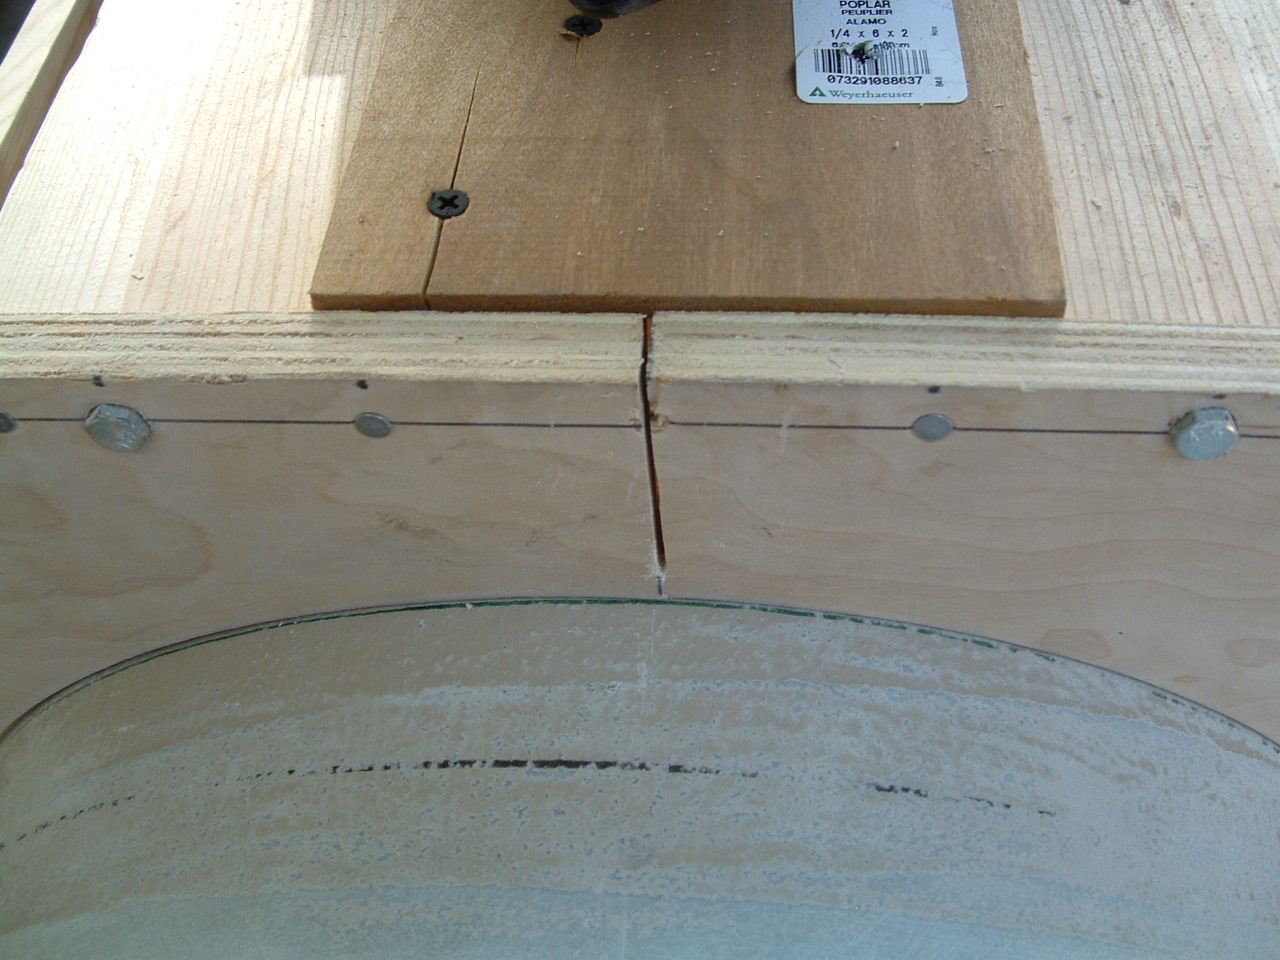
The front hole of the box was split open to allow the tubes to be
inserted, and then a clamp was applied to tighten around the tube. Once
the clamp was in place scrap wood was used to hold the box tight and the
clamp removed.
Cutting
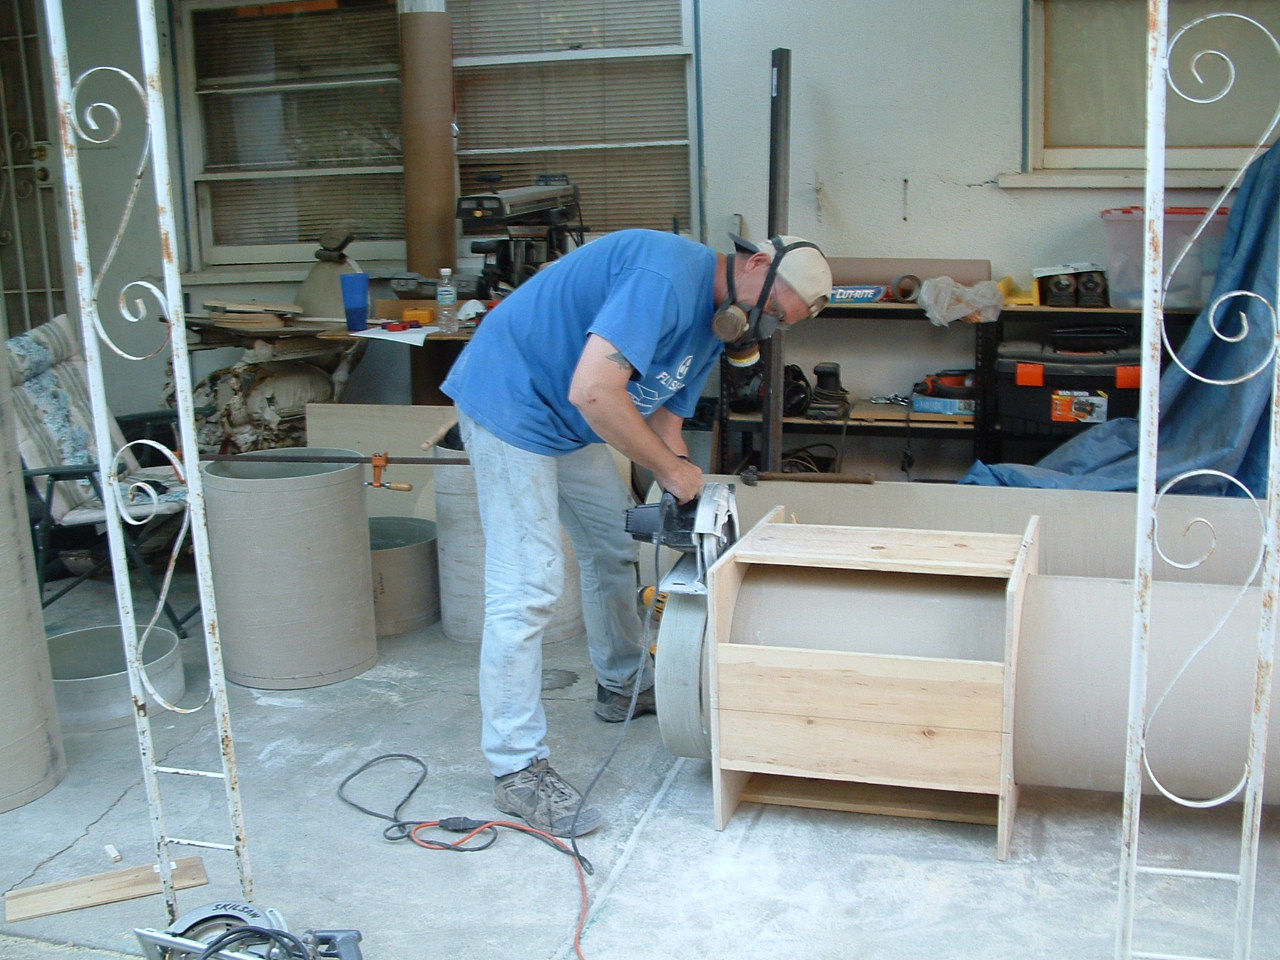
Using the front edge of the miter box as a guide all tubes were cut.
90 degrees at a time were cut, then the box & tube were rotated to
make the next 90 degree cut.
Before each cut the alignment was checked.
All Cut
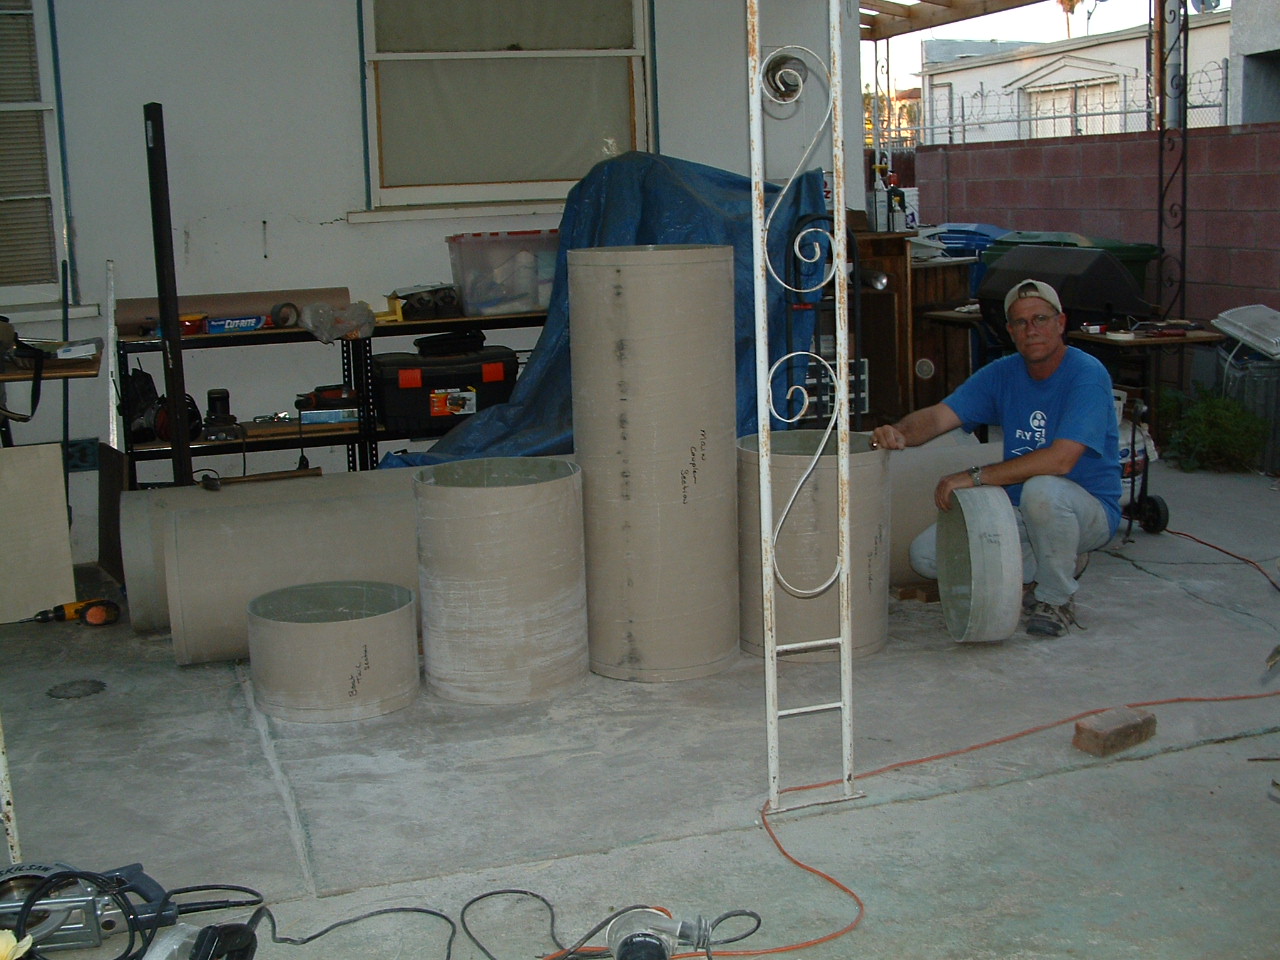
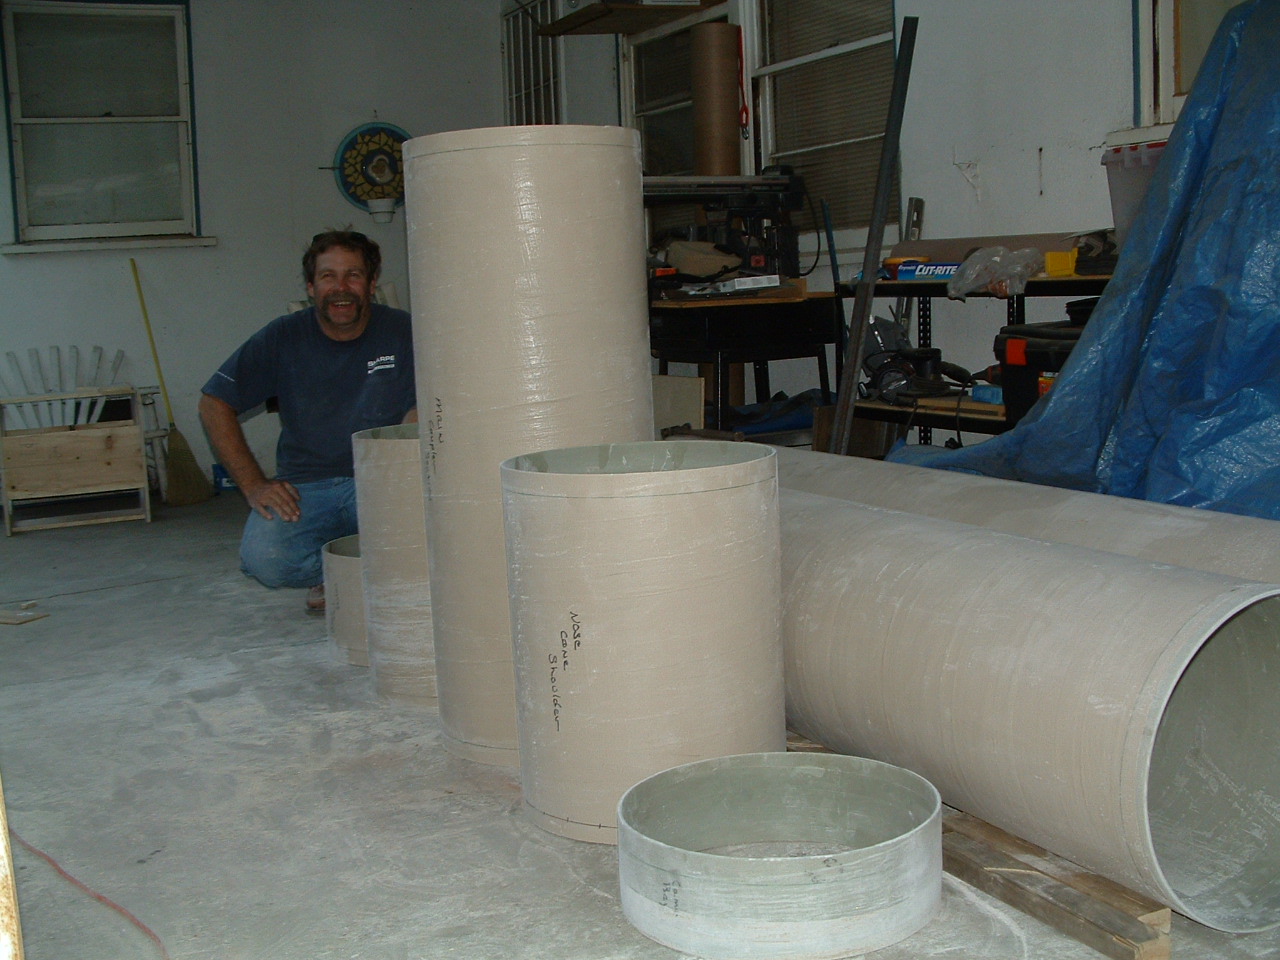
Like proud parents Victor Locke and myself pose with the finished
products. 9 cuts in about 4 hours.
The first cut took about 1 hours, the last one took about 10 minutes.
Victor and I formed a well oiled team once we got the hang of the cutting.
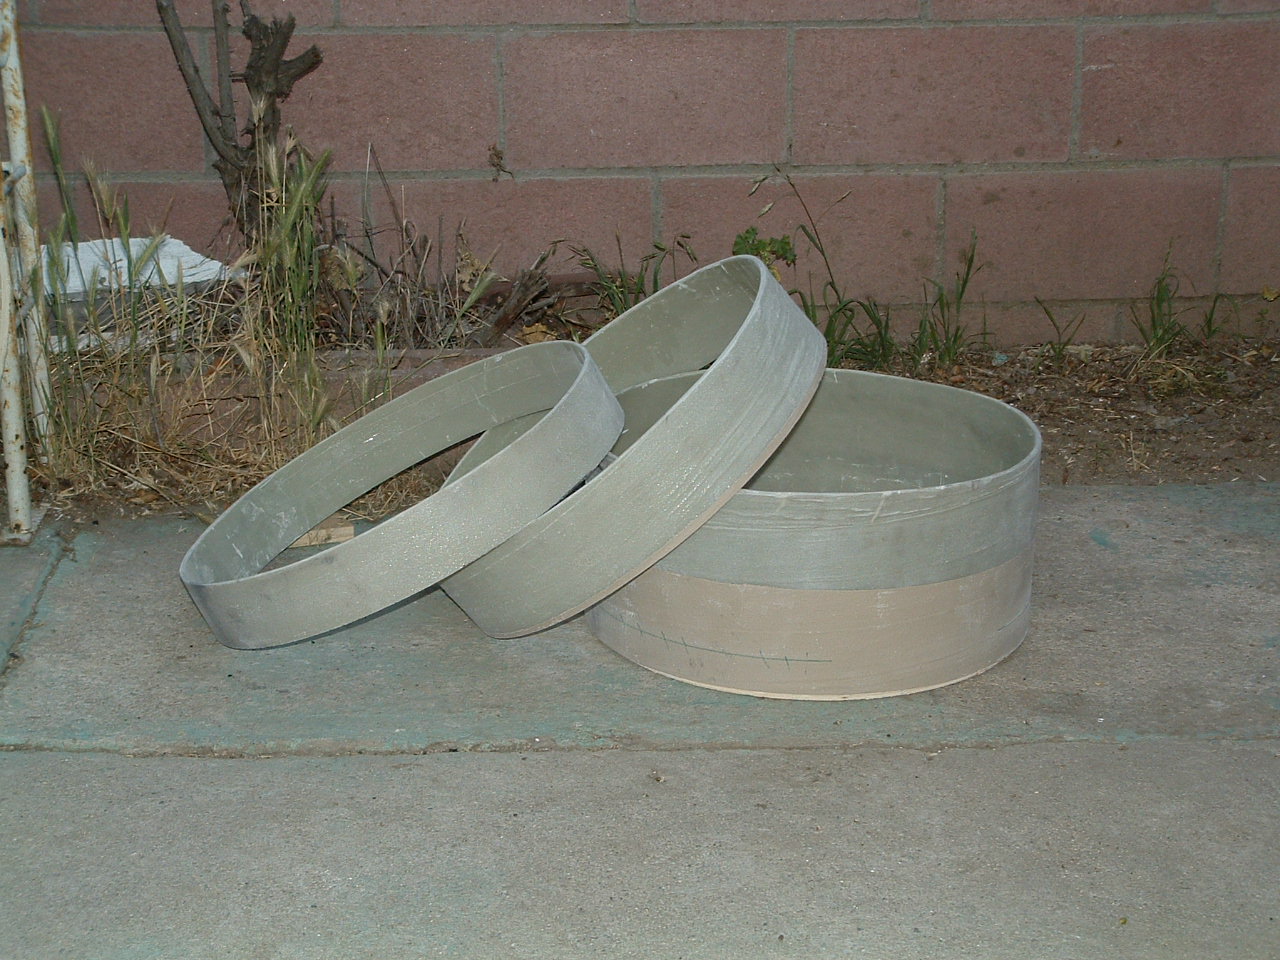
From left to right the cut tubes form: Camera Bay, Nose Cone Shroud,
Main Coupler Tube, Nose Cone Shoulder, and the Boat Tail Section.
The last picture shows the scrap tubing left over, these parts will be
used to make hatches and hatch supports.
For problems or questions regarding this web contact
WebMaster@BlackBrant2.com
This page looks best when viewed on my computer and was last updated
on
01/24/09
THE BLACK BRANT PROJECTon the verge of insanity