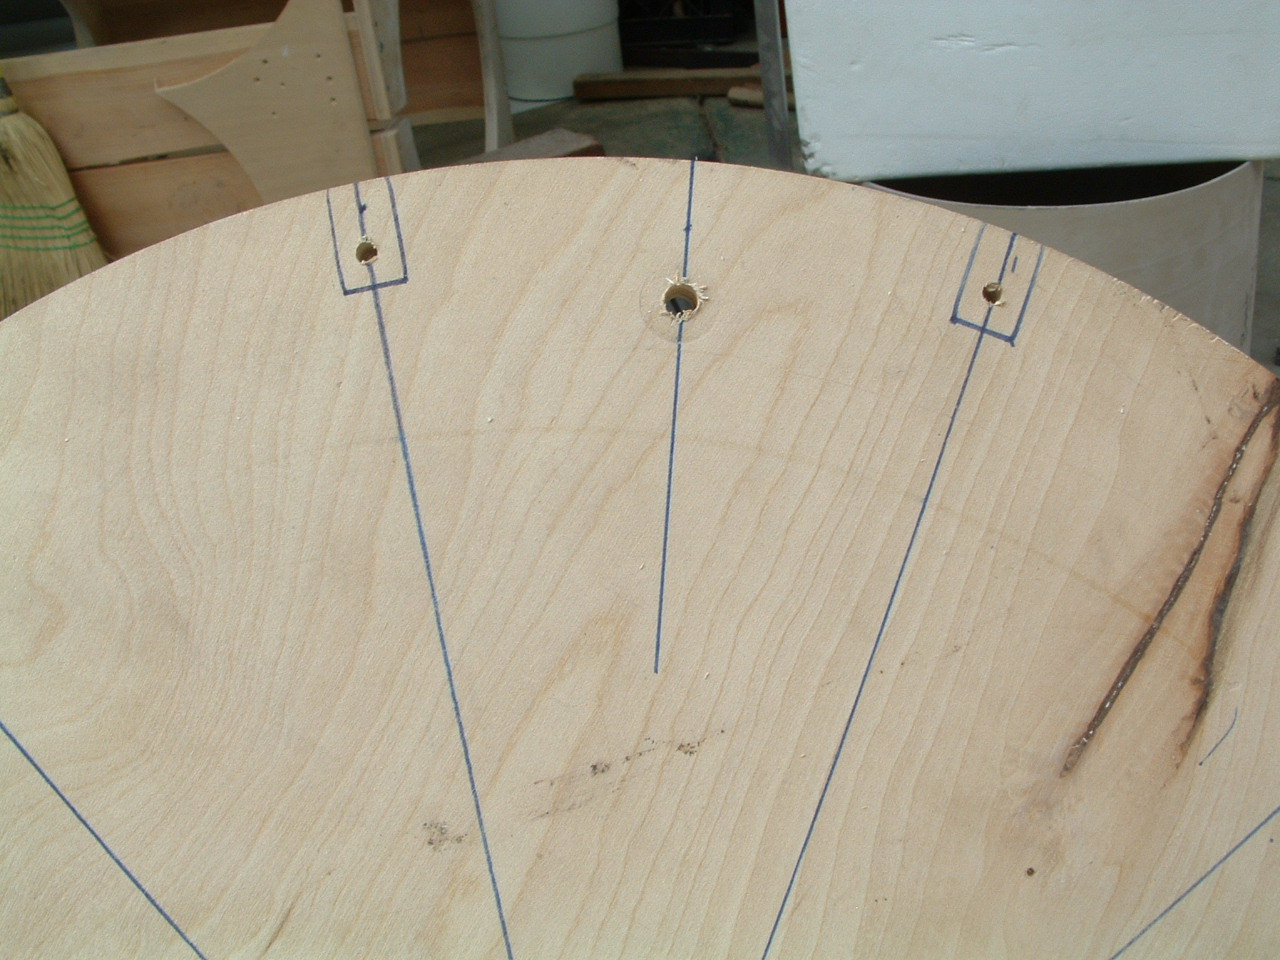
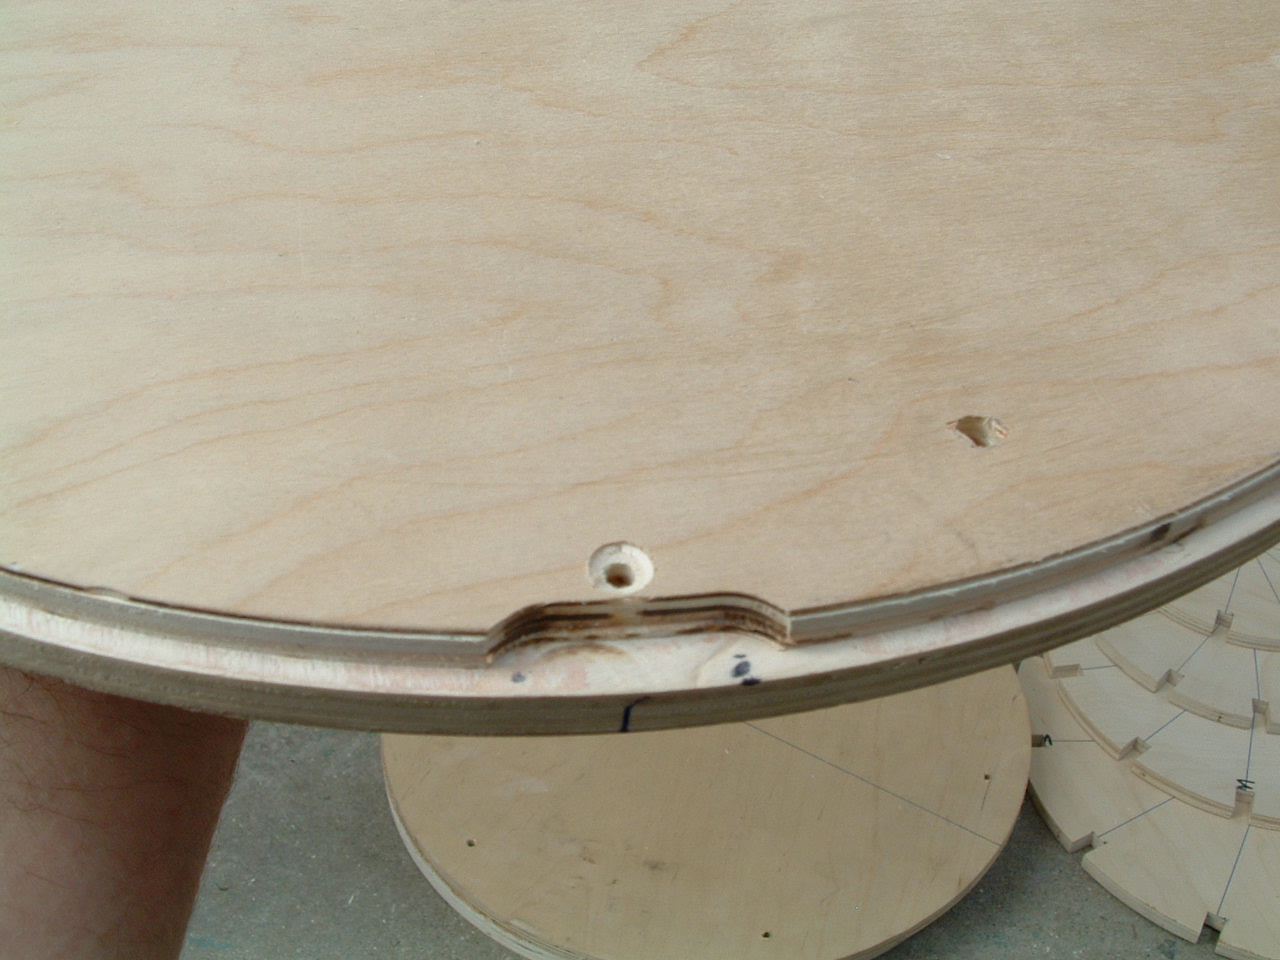
Small holes are for the wood screws to secure the ribs to the forward
bulkhead.
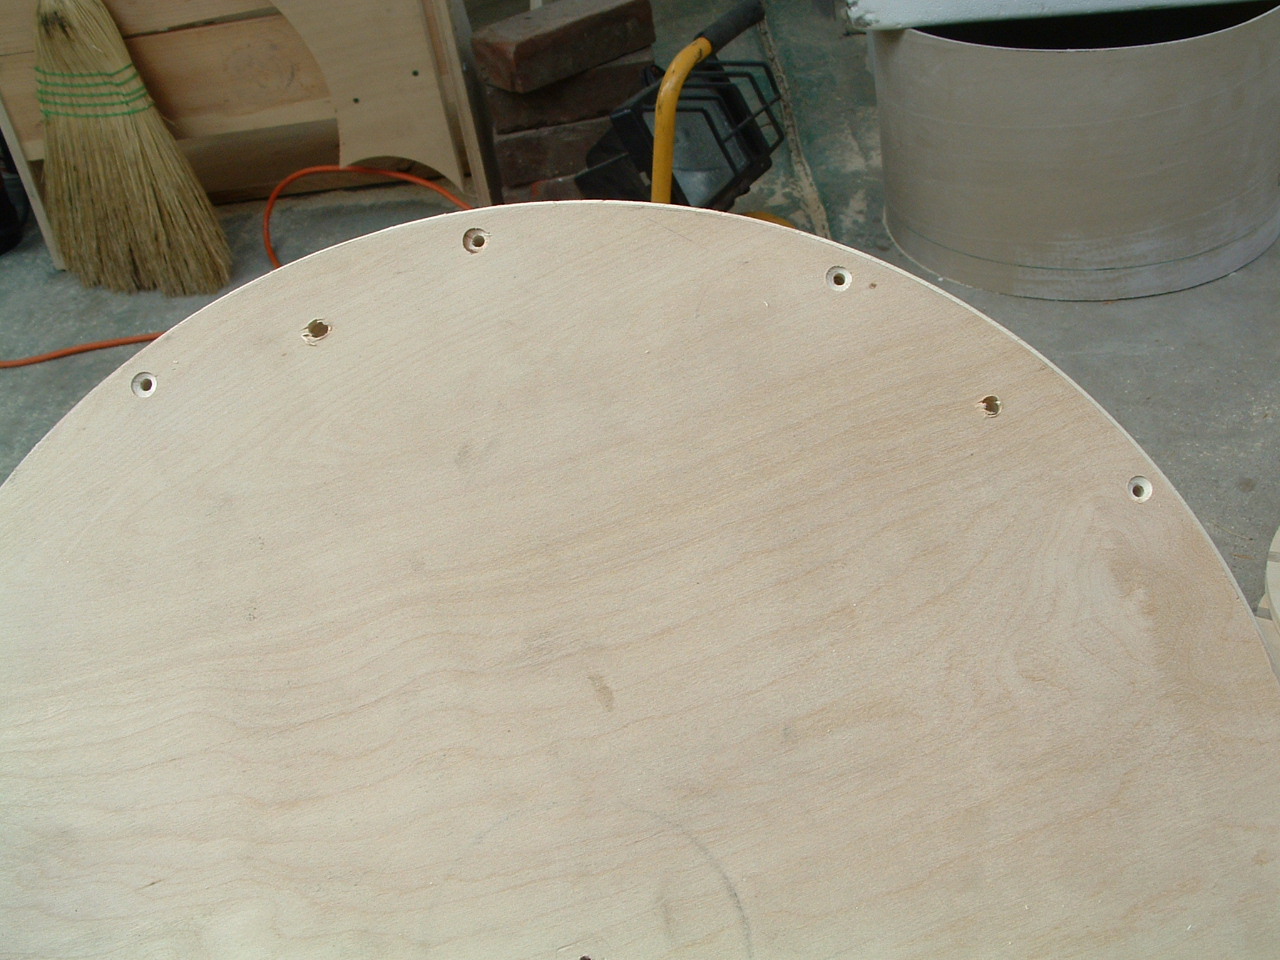
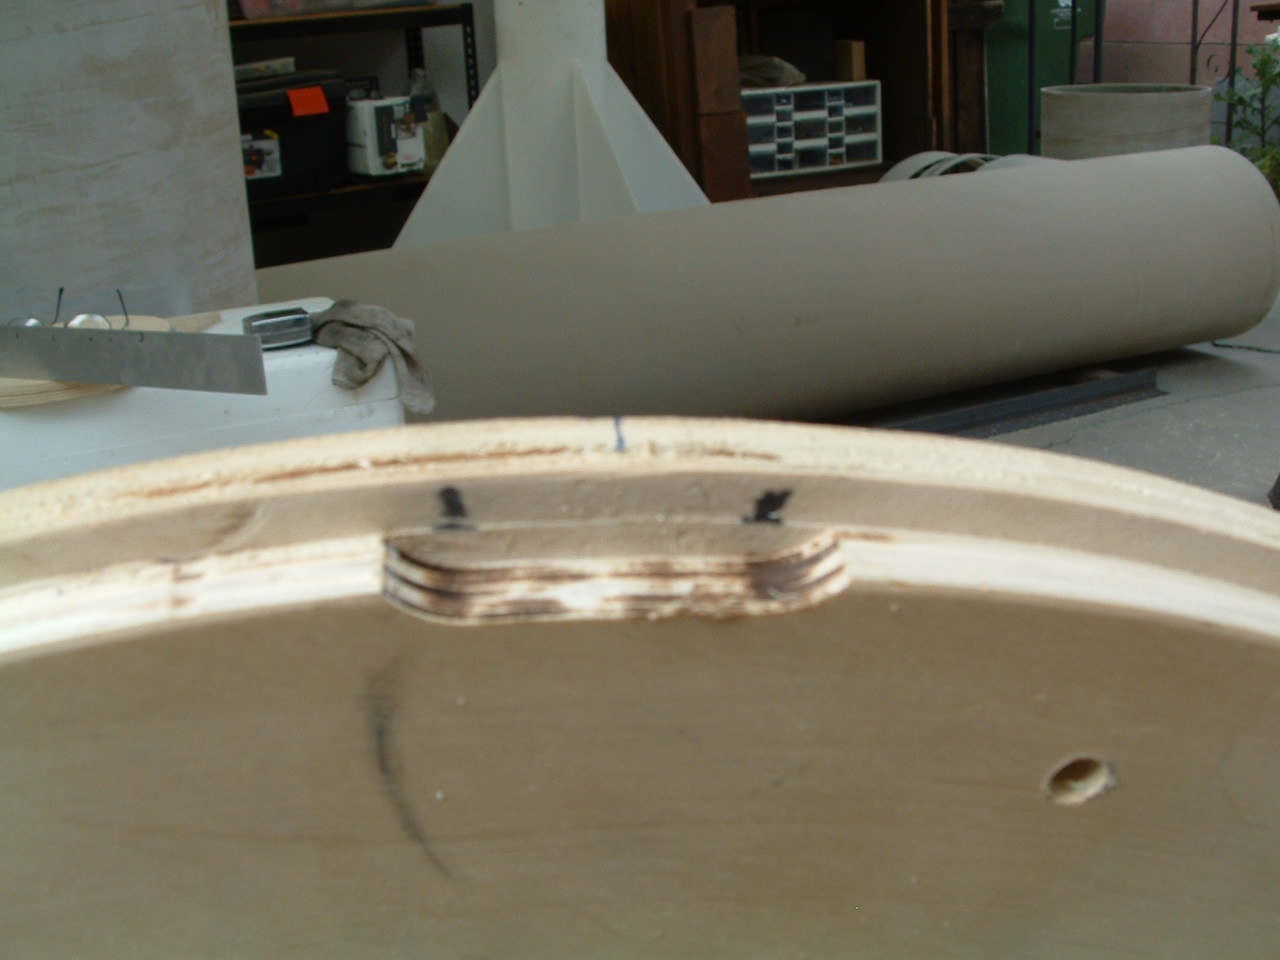
Included here is a shot of the "screw-side" showing the counter
sinking.
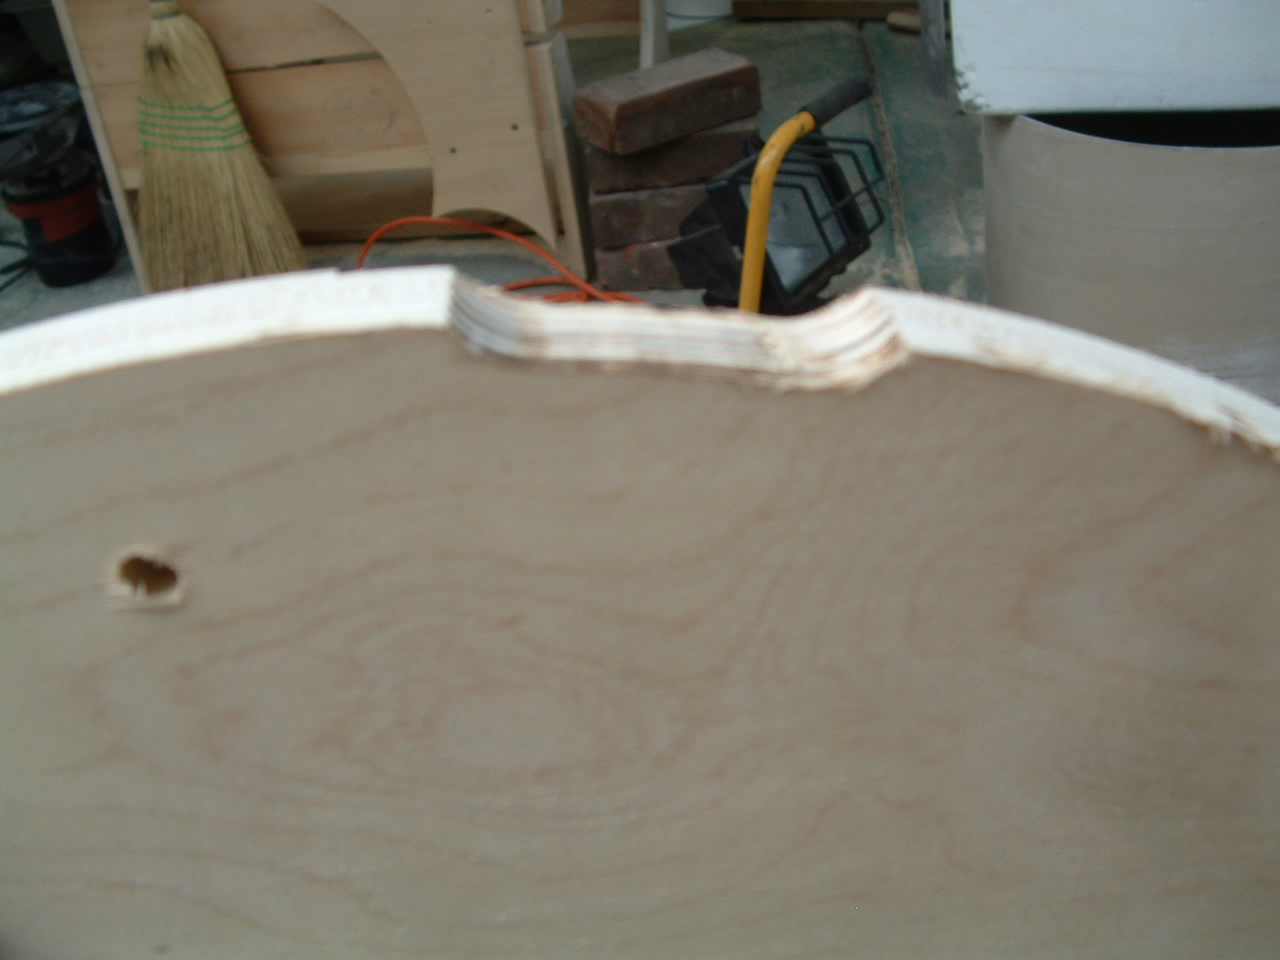
The forward and aft bulkheads of the nose cone shoulder are notched to
fit the coupler tube.
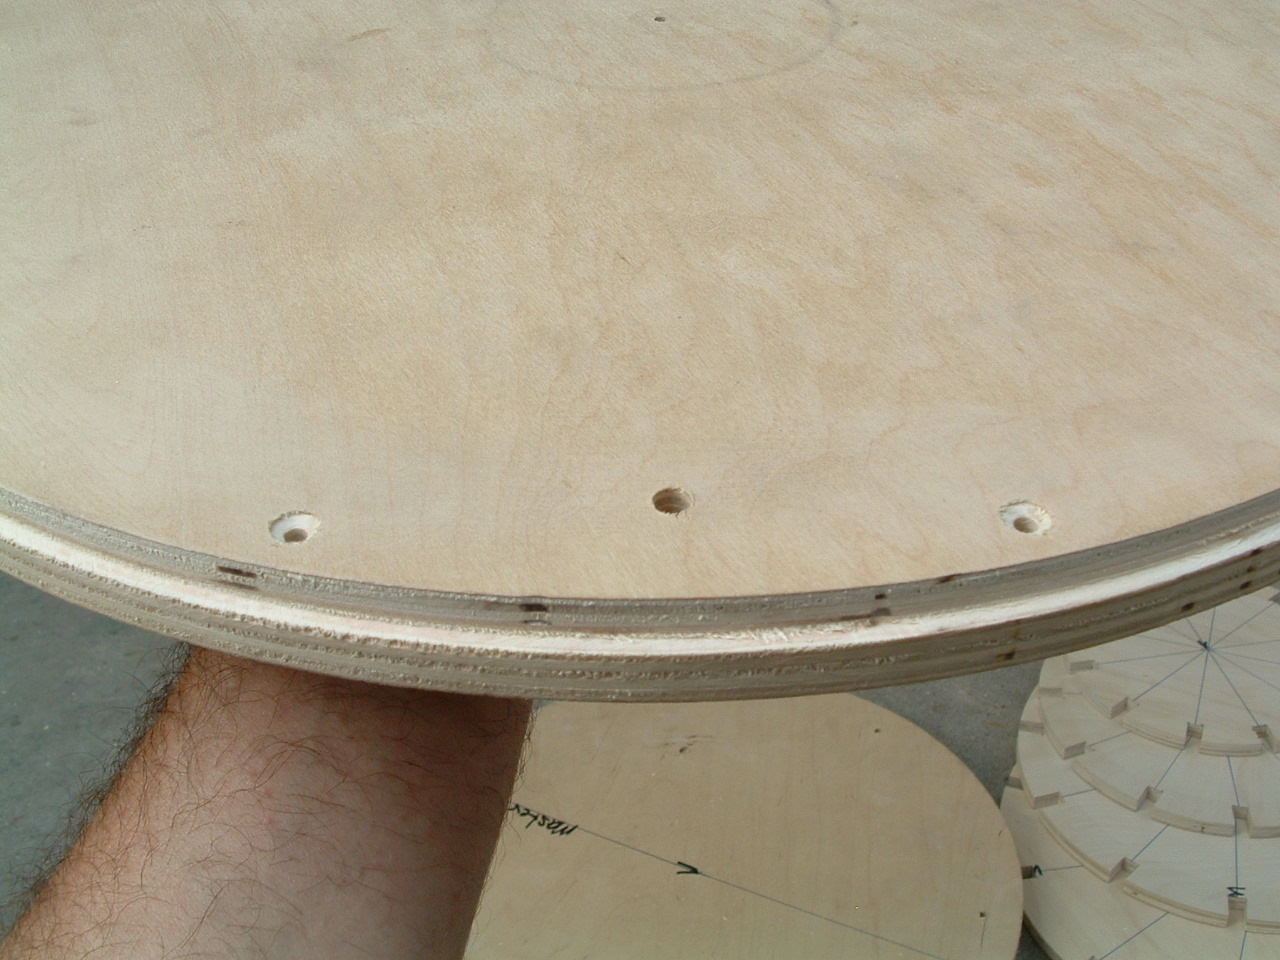
Seam Relief
The coupler section has a slice of body tube laid over the joint.
The bulkheads were notched to allow for this extra material.
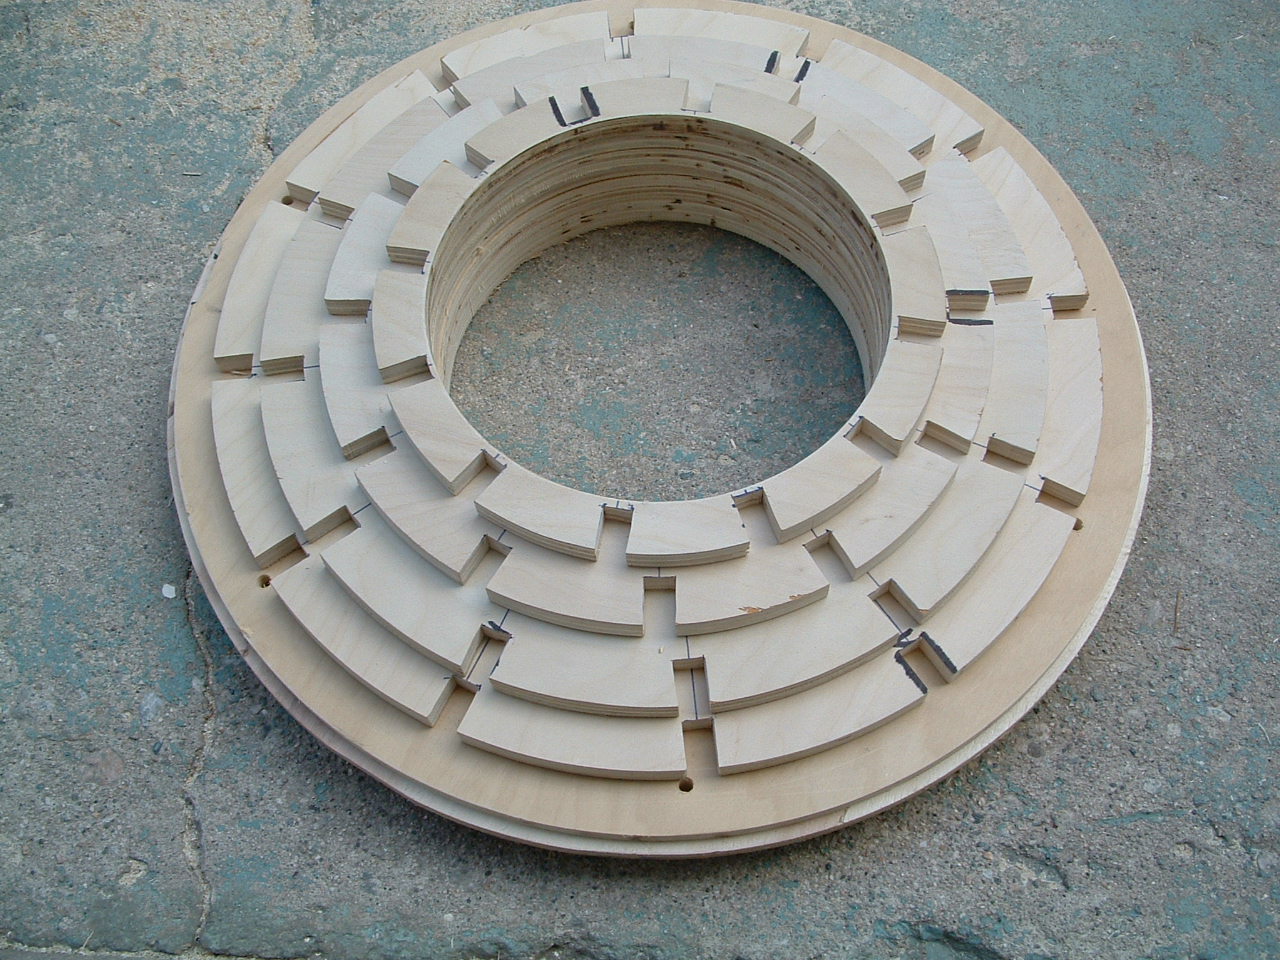
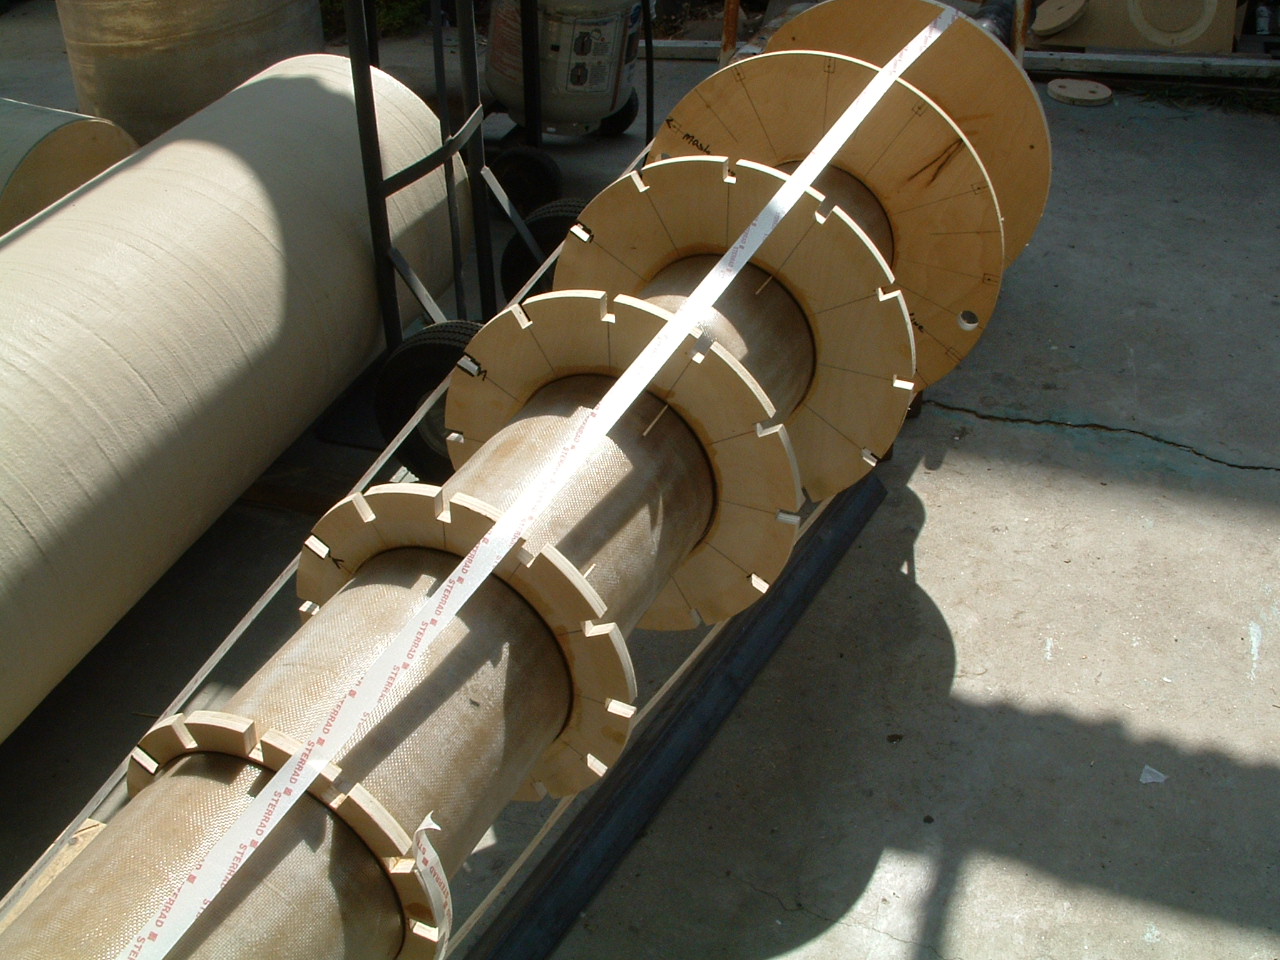
Test fit
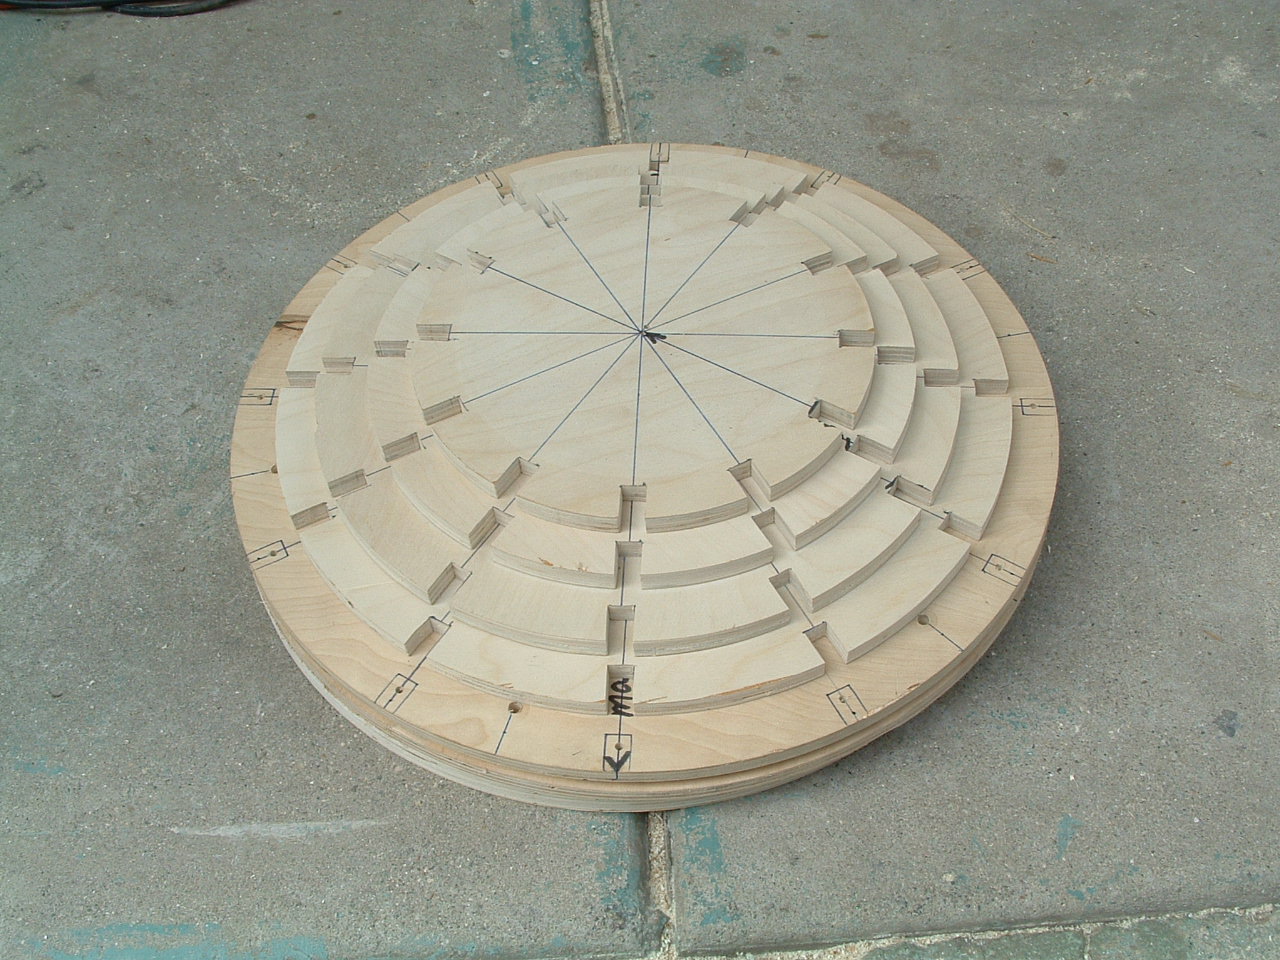
All the rings have had the center holes cut.
The rest of the pictures show all nose cone centering rings in place
on the main tube. If you squint hard you can almost see what the
finished nose cone is gonna look like.
The rings were epoxied to the main tube, and strips of tape were
applied to hold everything.
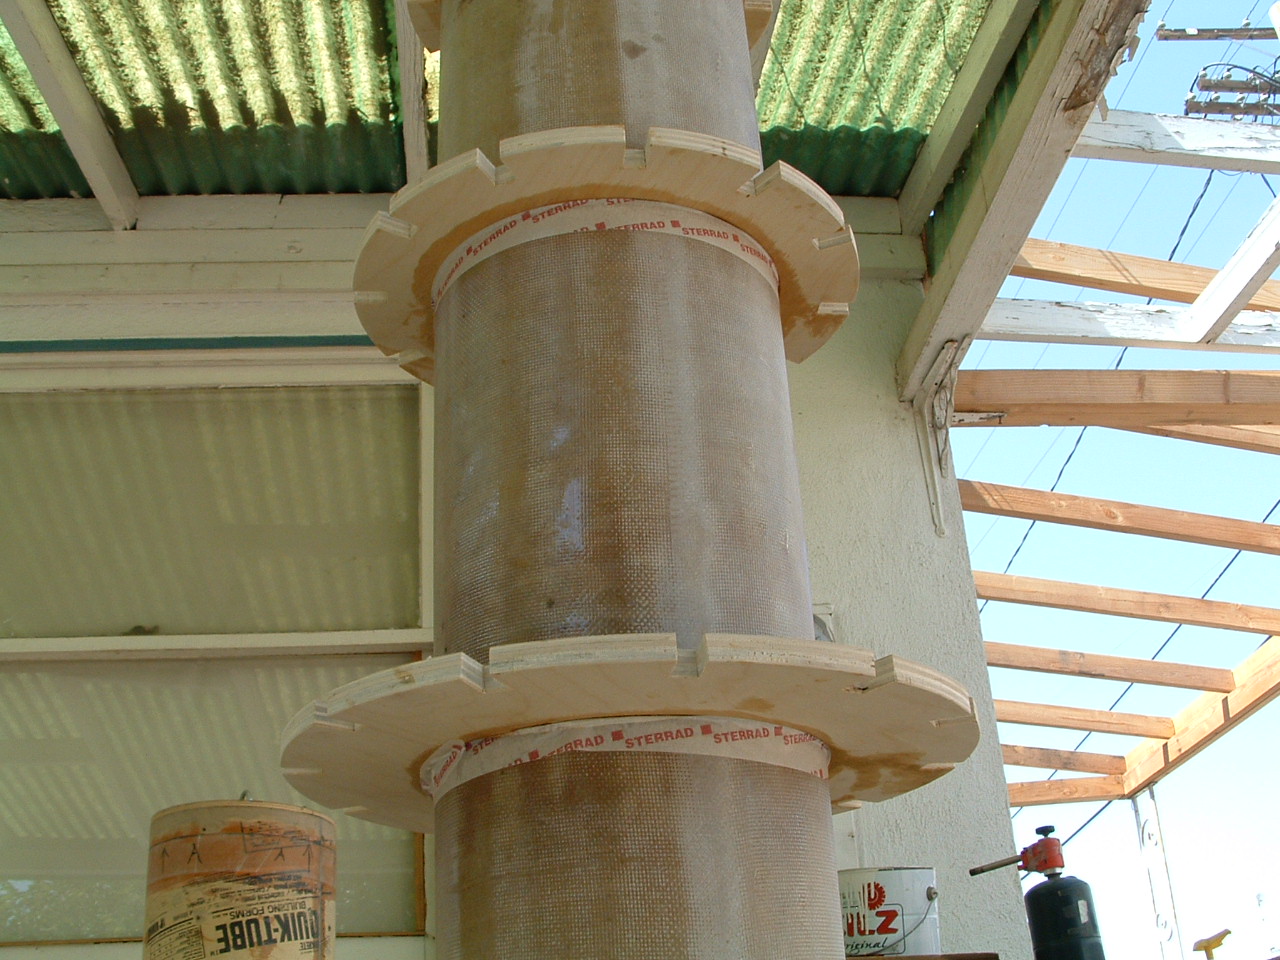
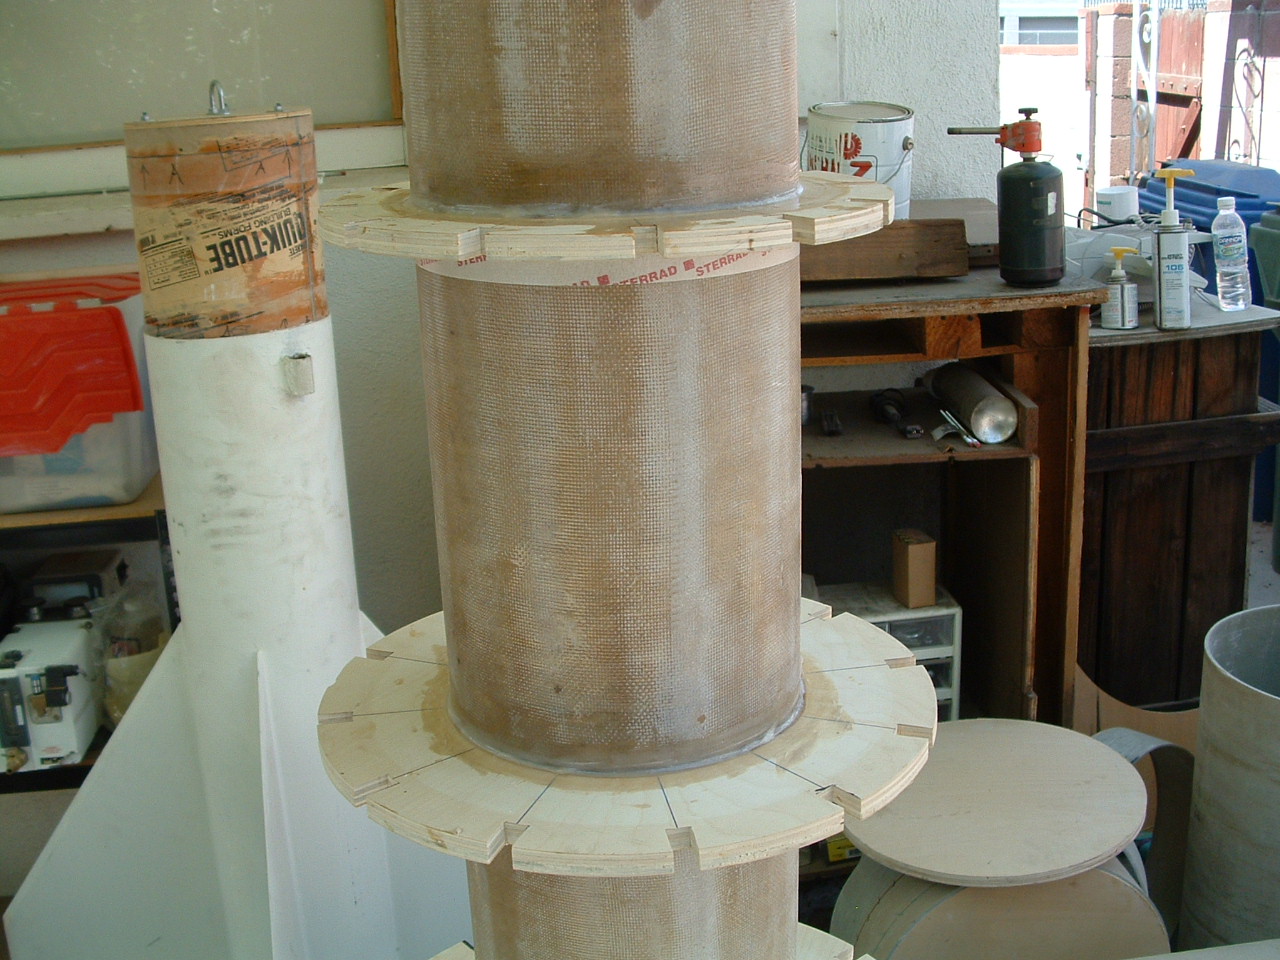
Filleting of the rings was done by first apply a layer of tape under
each ring to serve as an epoxy dam. Once the tape was in place the
fillets on the top could be applied.
After the top side was done the whole thing was inverted to do the
other side.
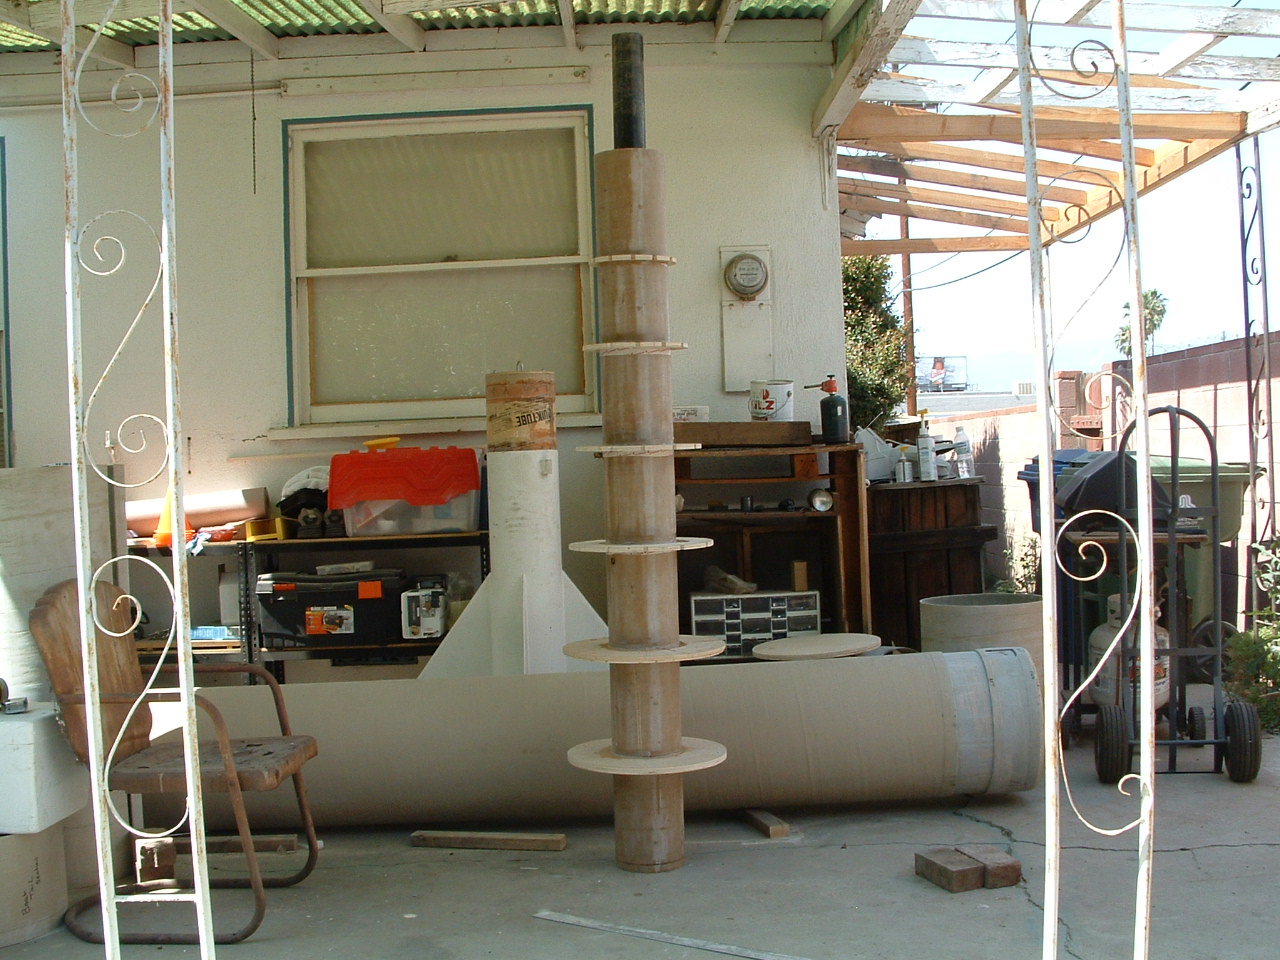
Shaping Up
Here's a shot of the nose cone standing up.
Funny the nose cone itself is almost larger than my Level 3 rocket.
For problems or questions regarding this web contact
WebMaster@BlackBrant2.com
This page looks best when viewed on my computer and was last updated
on
01/24/09
THE BLACK BRANT PROJECTon the verge of insanity


