First step was to place the shoulder ring into position on the coupler
tube. These two parts form the base and shoulder of the nose cone.
With that done the location of the hatches could be determined.
Using the jig-saw I got for Christmas (thanks Melinda), I was able to
cut the holes for the hatches.
Hatch covers
Using some of the scrap material left over from the tube cutting, the
actual hatches were roughed into shape.
Using a belt sander the hatches were sanded to make a near perfect fit
of the cover into the hole for it.
I labeled the hatches port & starboard, cuz old habits die hard.
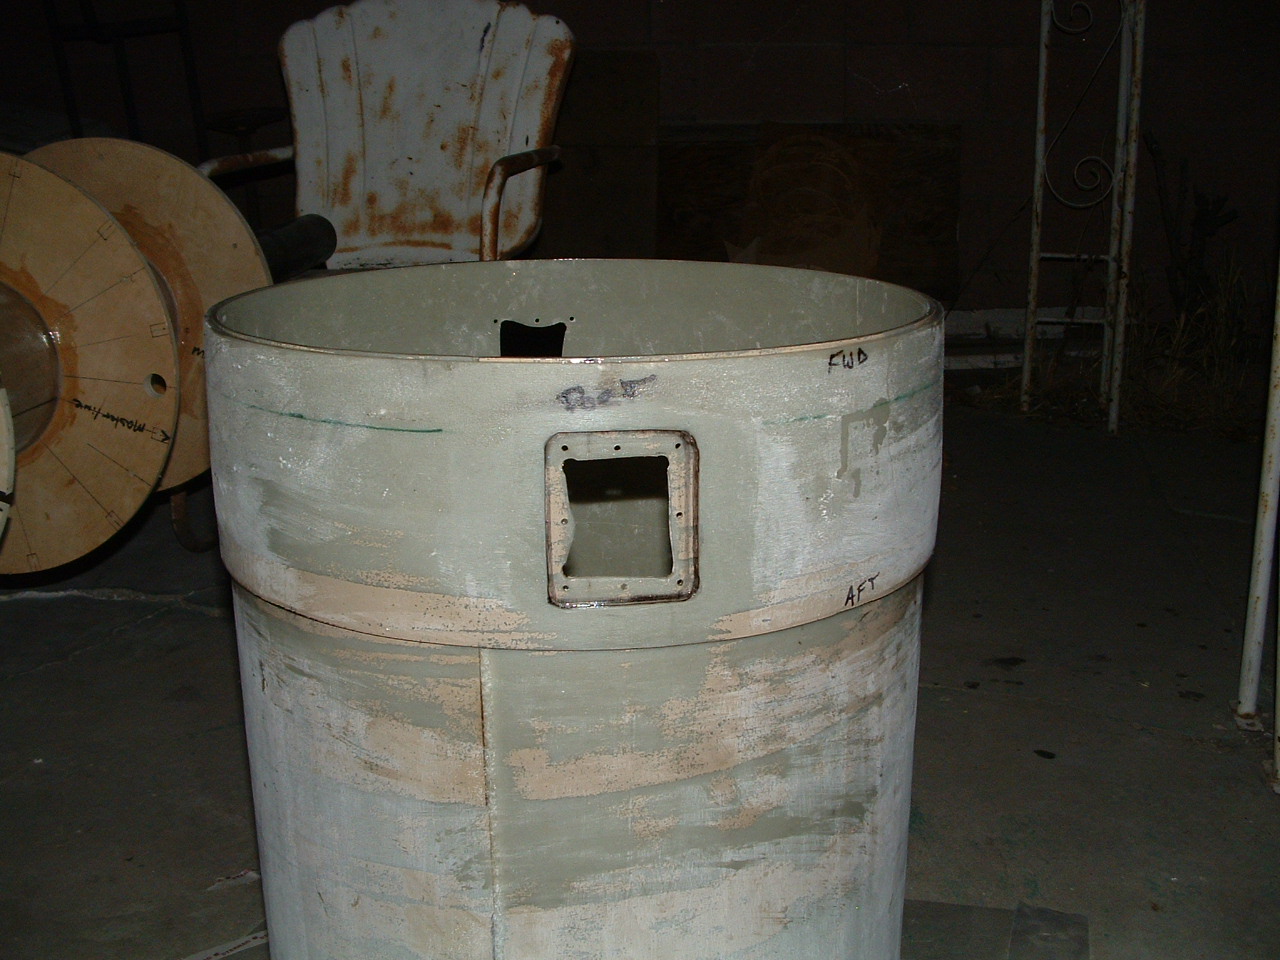
Nose cone base
Here's a shot of the coupler section and the shoulder section epoxied
together. This forms the base of the nose cone.
Note the hatch covers, mounting holes, and the inner holes have all
been cut.
For problems or questions regarding this web contact
WebMaster@BlackBrant2.com
This page looks best when viewed on my computer and was last updated
on
01/24/09
THE BLACK BRANT PROJECTon the verge of insanity