| |
|
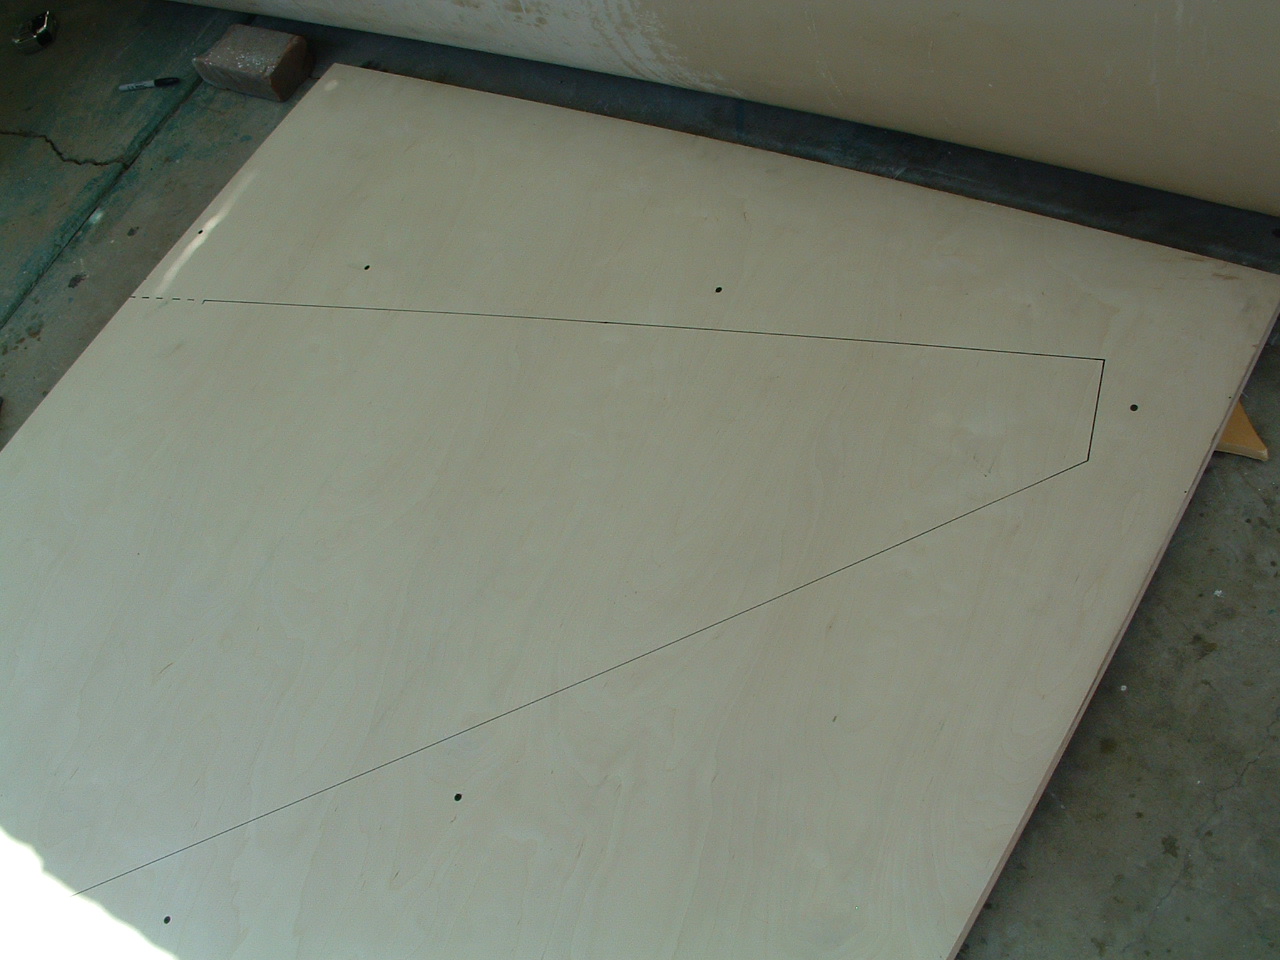
| Center Cores |
|
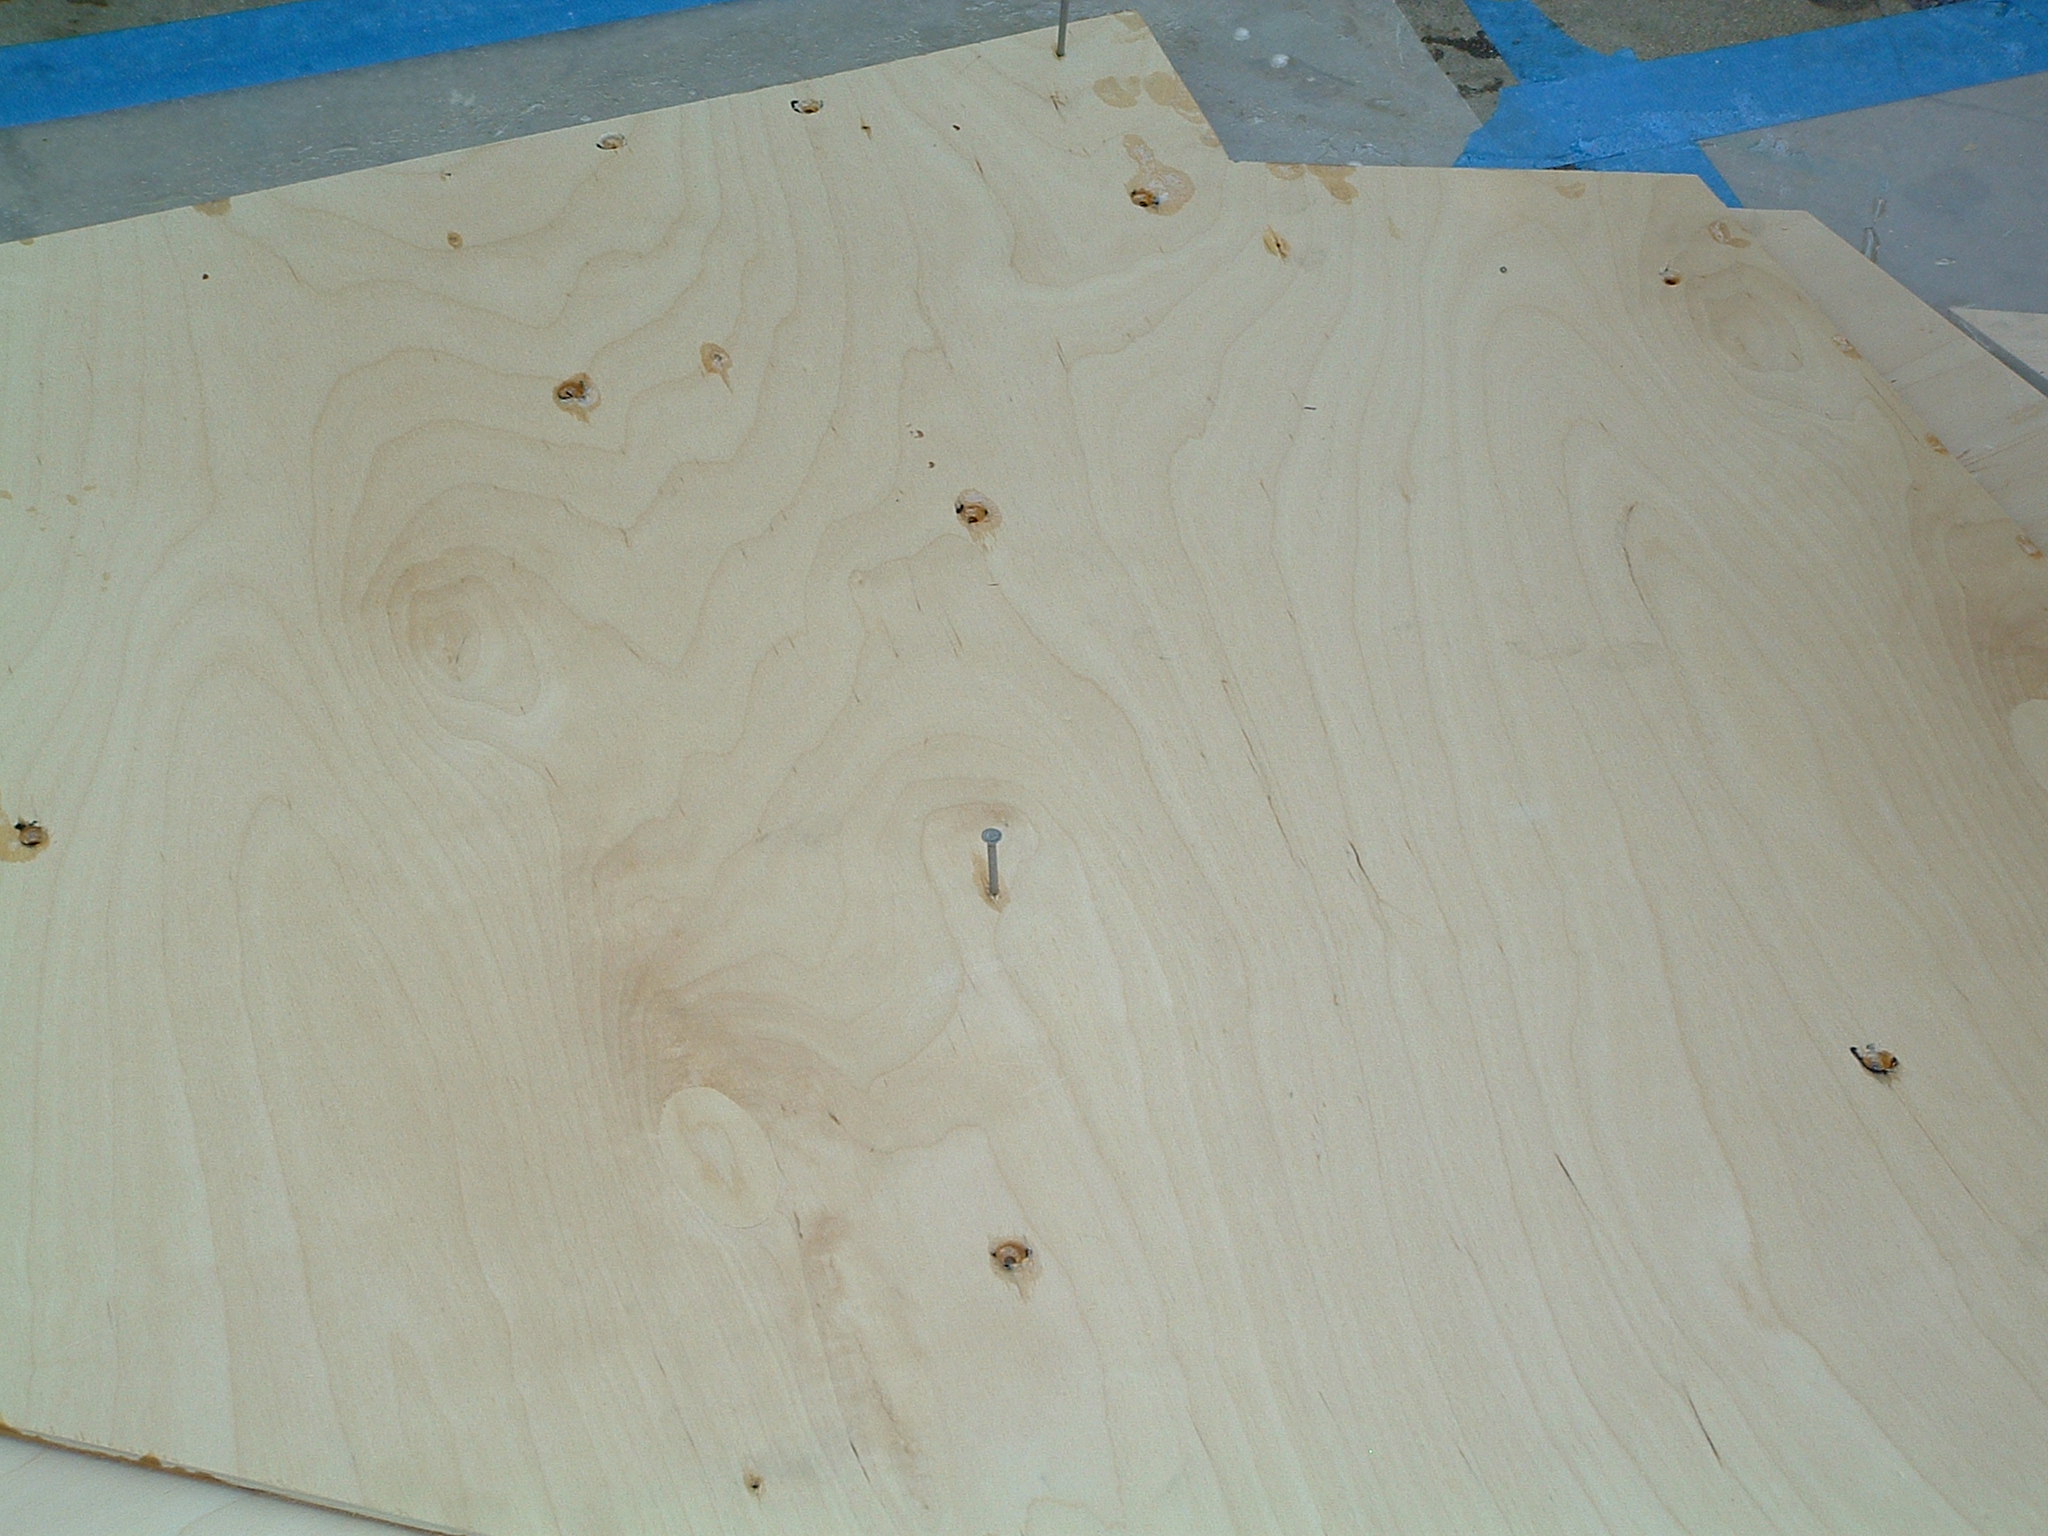
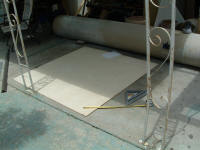
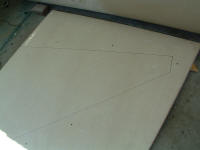
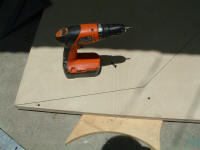
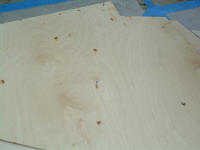
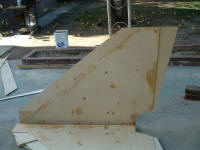
 | Starting with three 5 X 5 (60" X 60") sheets of the finest Baltic
Birch 1/4" thick, the fin pattern was drawn on. |
| Dry wall screw were used to hold the sheets together. |
|
   |
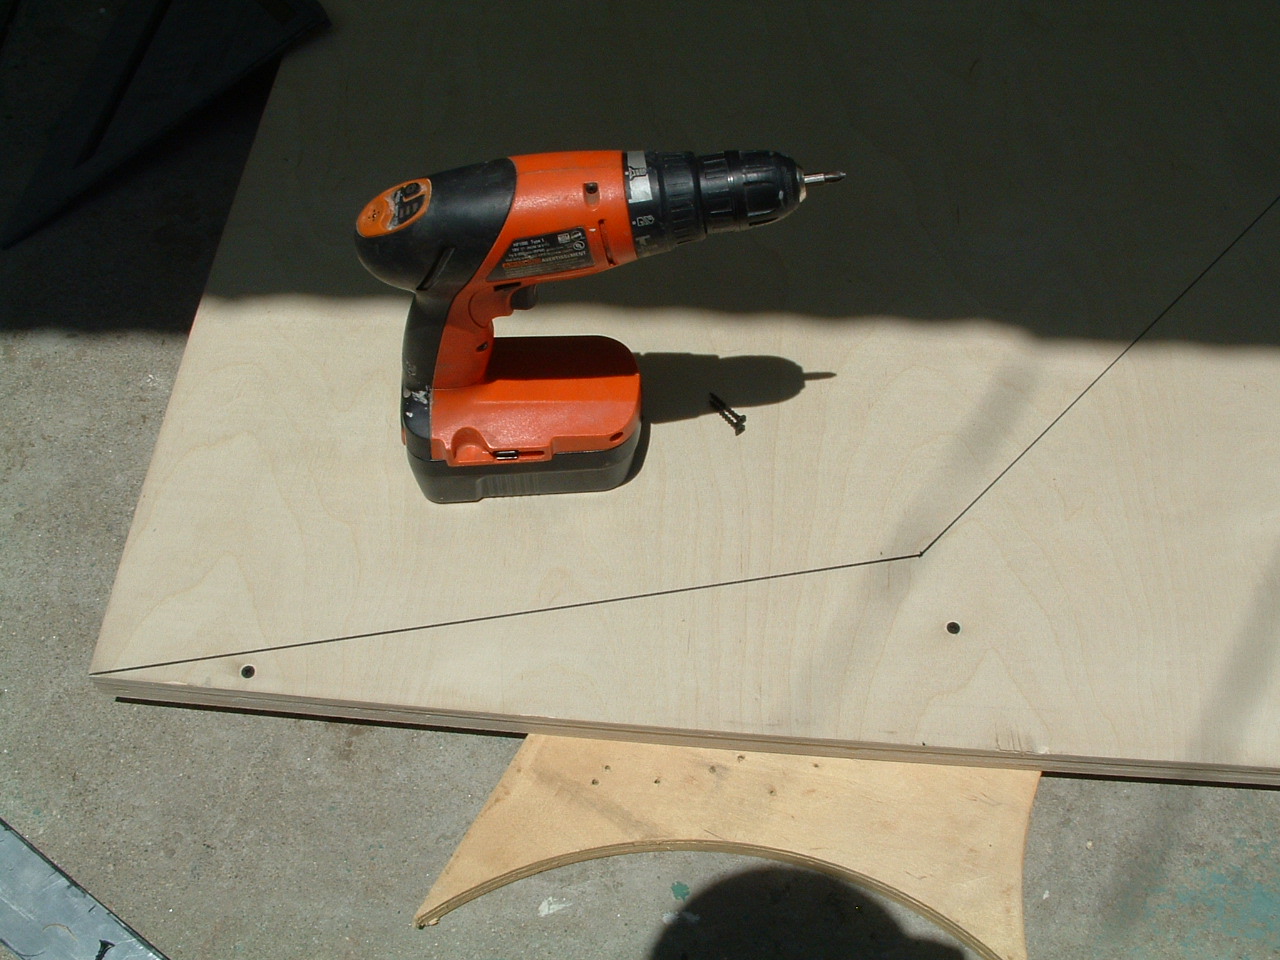
Cutting
|
|
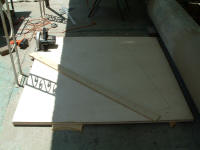
| A guide was screwed to the fins and the center cores were done. |
|
   |
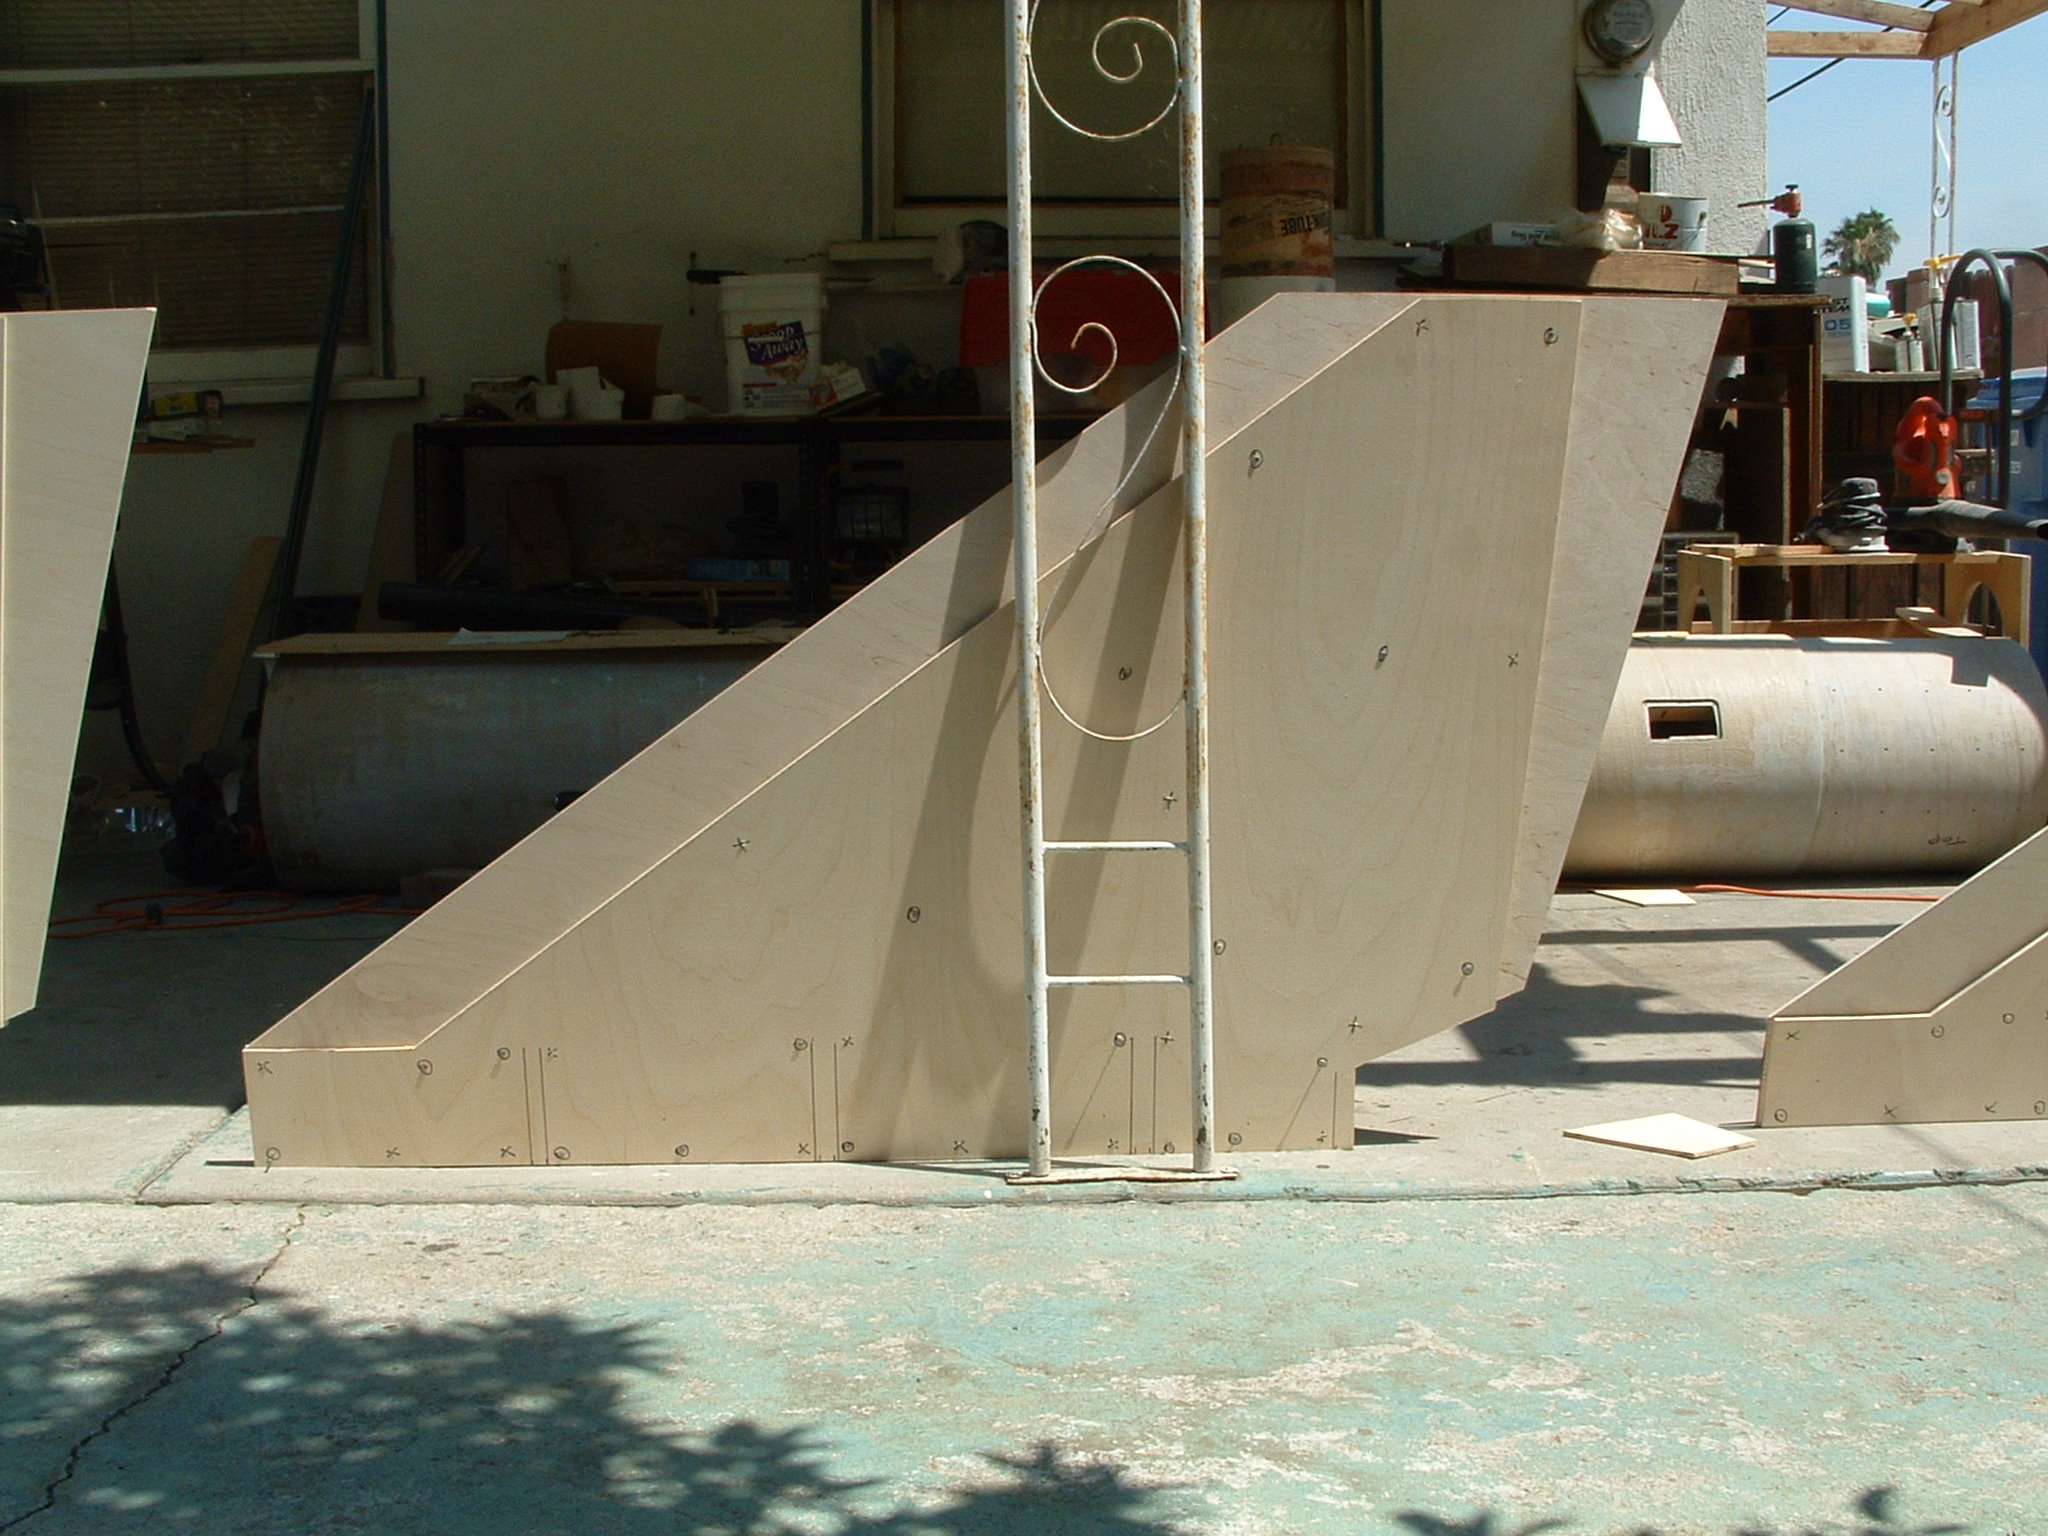
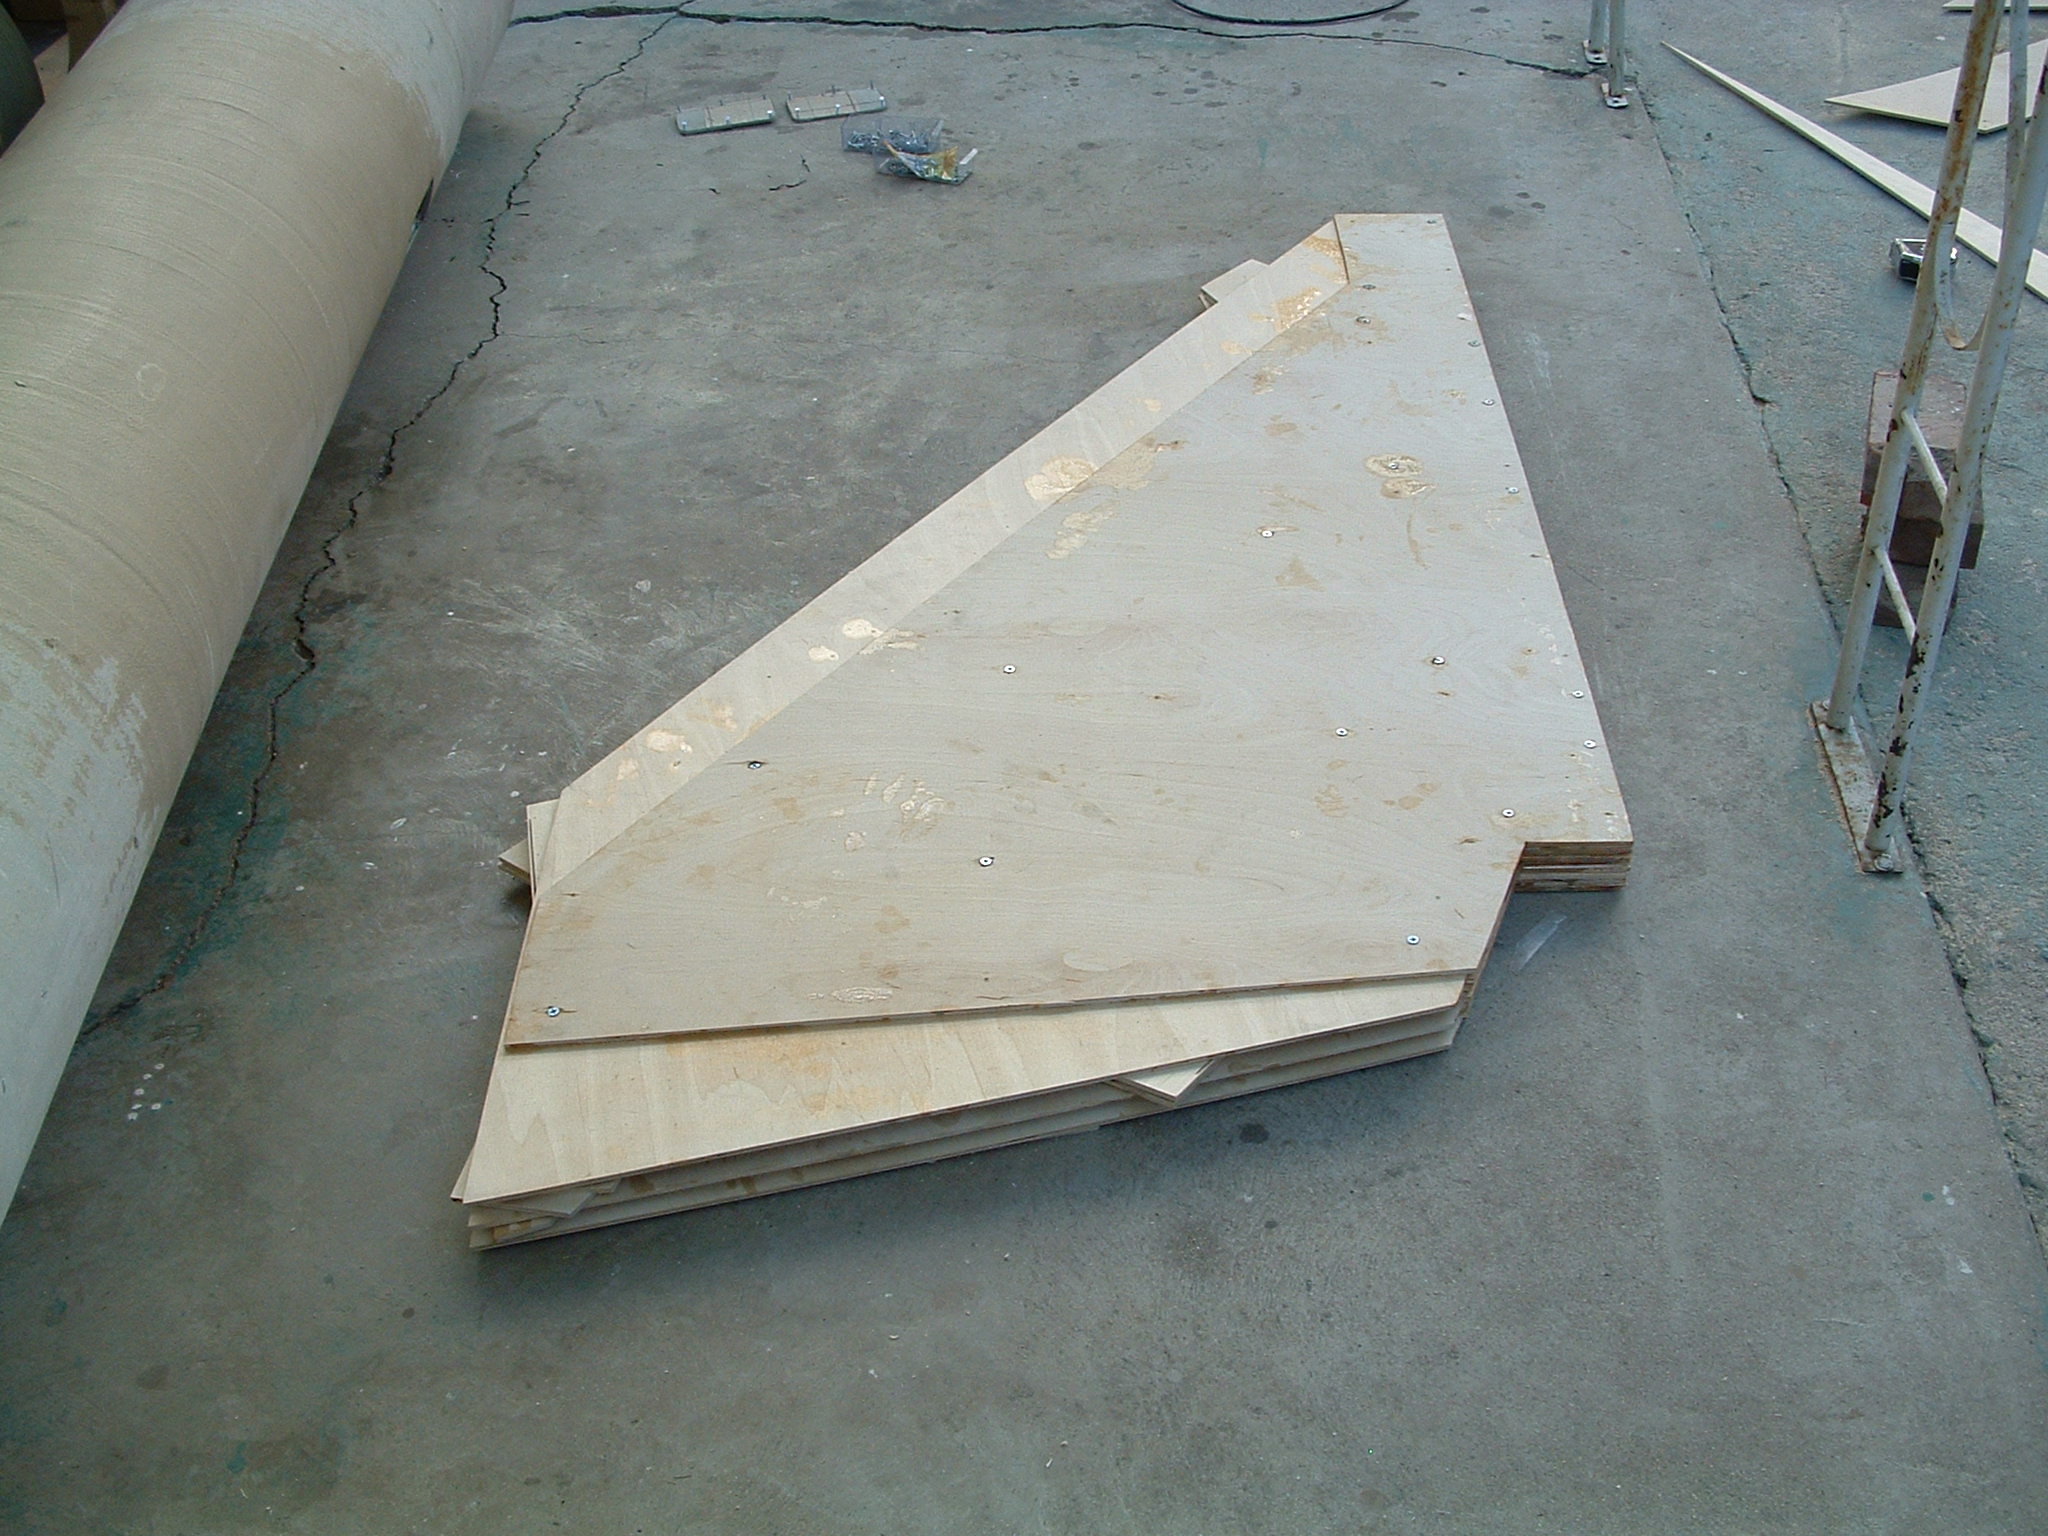
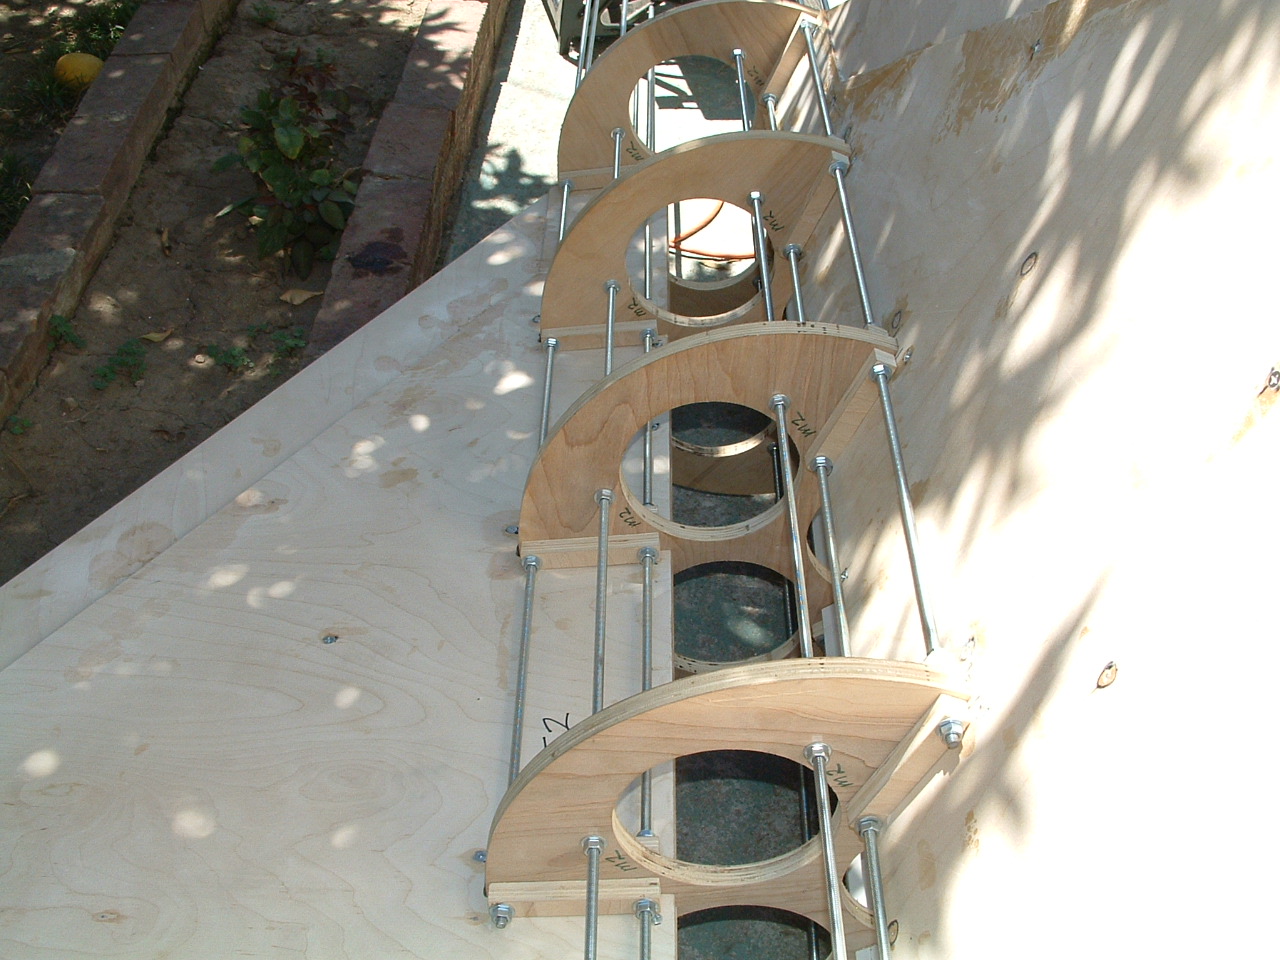
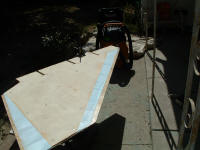
| Outer Cores |
|
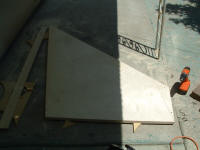
| The outer cores also of 1/4" were cut in a manner similar to the
center cores. |
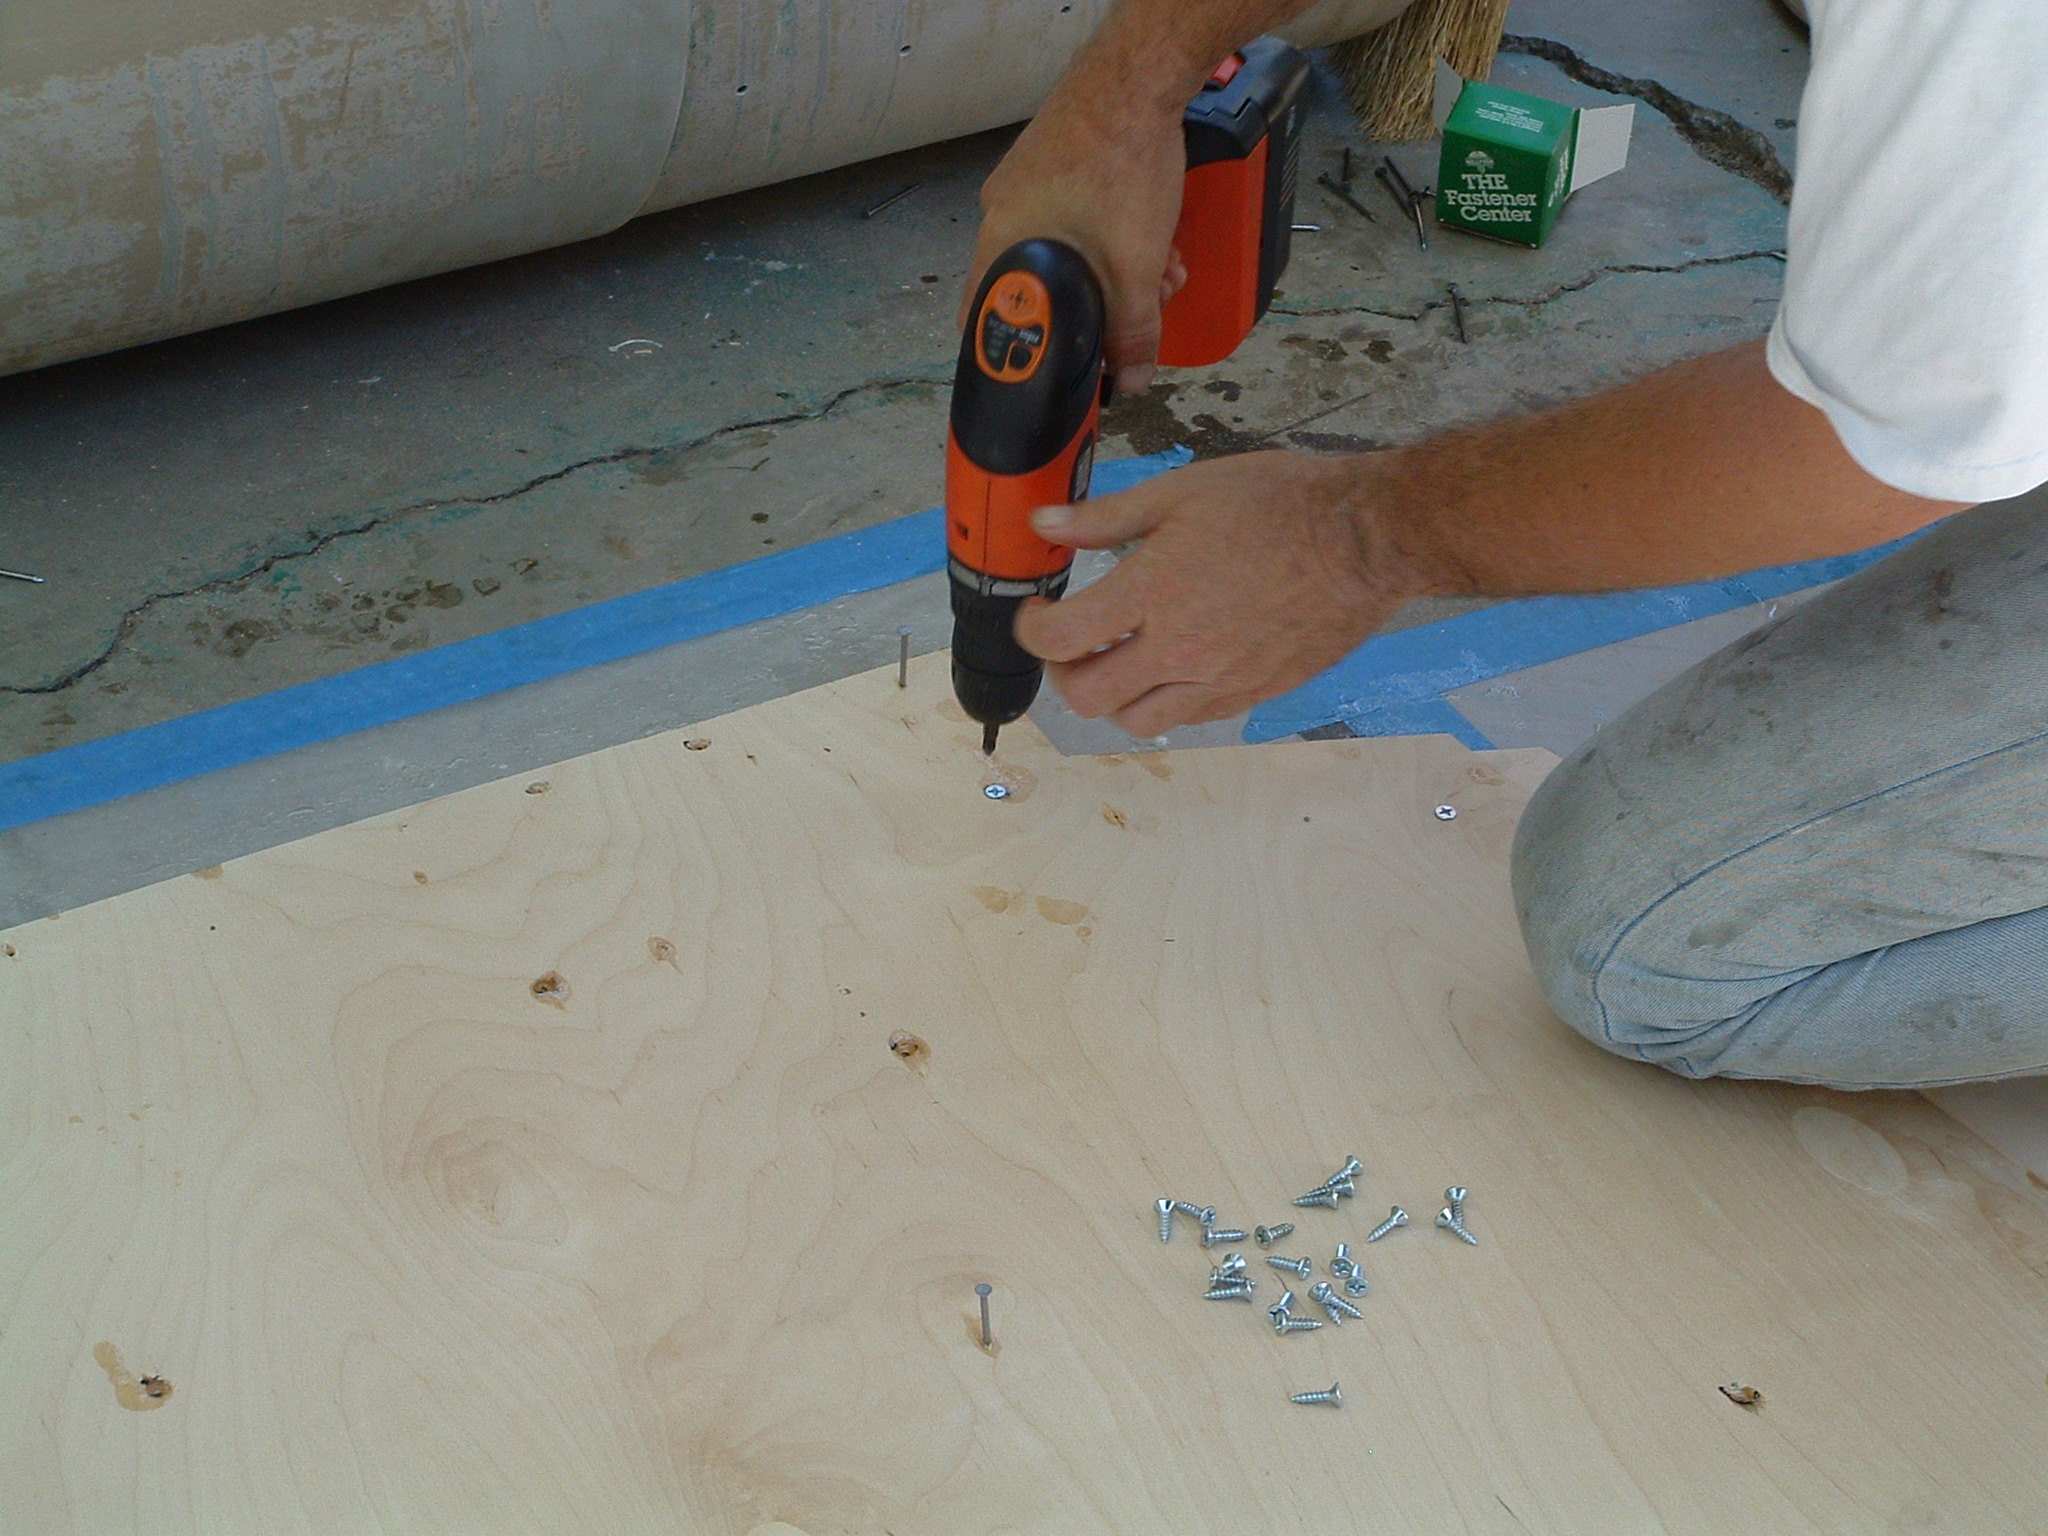
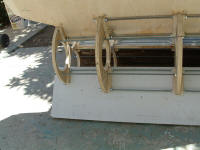
| Holes for the binding wood screws were marked on each side of the
fins. These marks also show the direction of each screw. Overall
half the screws go from the left side to right side, and the other are
reversed. For alignment nails were placed in the holes. |
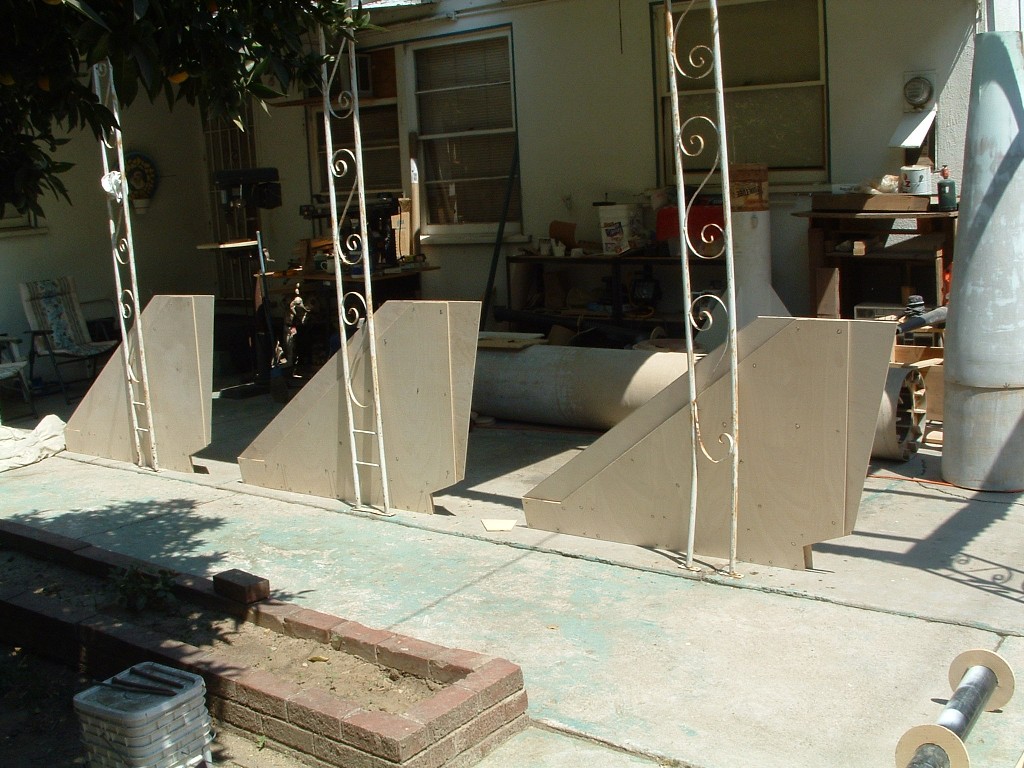
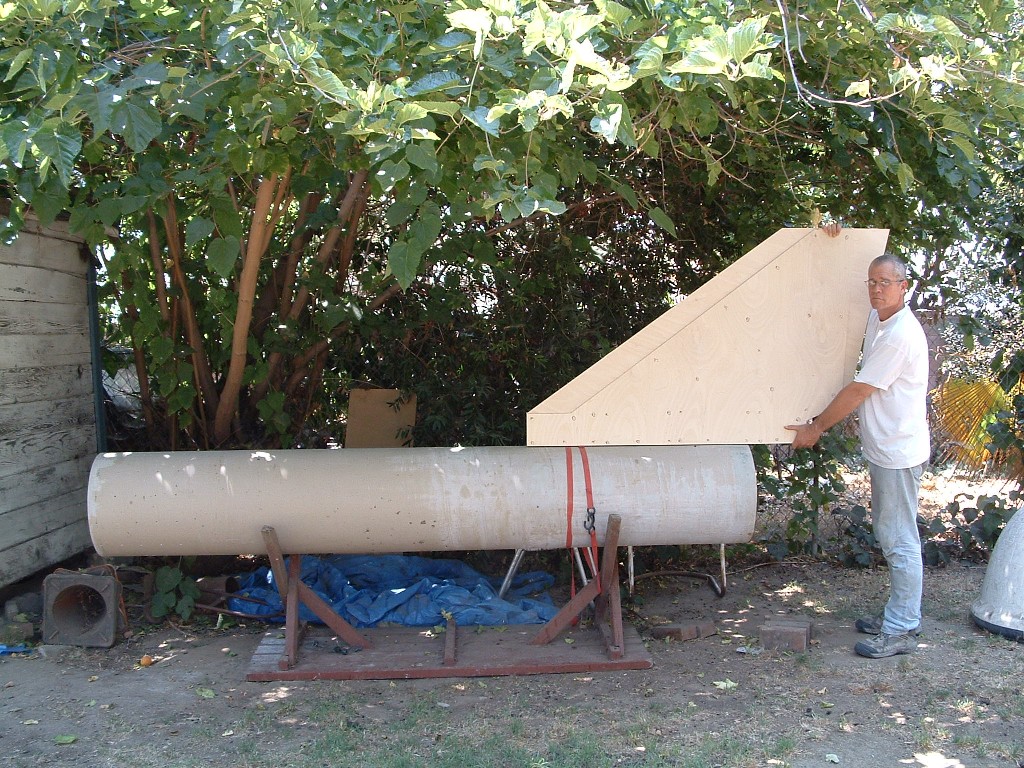
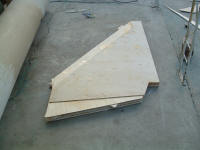
| As all rocketeers have done since the dawn of time, once the fins are
cut you just have to put them next to the body tube to see what it looks
like. The Black Brant is no exception. |
|
  |
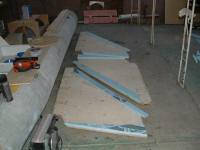
| Lay Up |
|
| Epoxy was generously applied to each of the outer cores. The
nails were used to maintain alignment while the wood screws were driven
in. |
| Of course no rocket website would be complete without the obligatory
photo of someone mixing epoxy. Like we've never seen that before. |
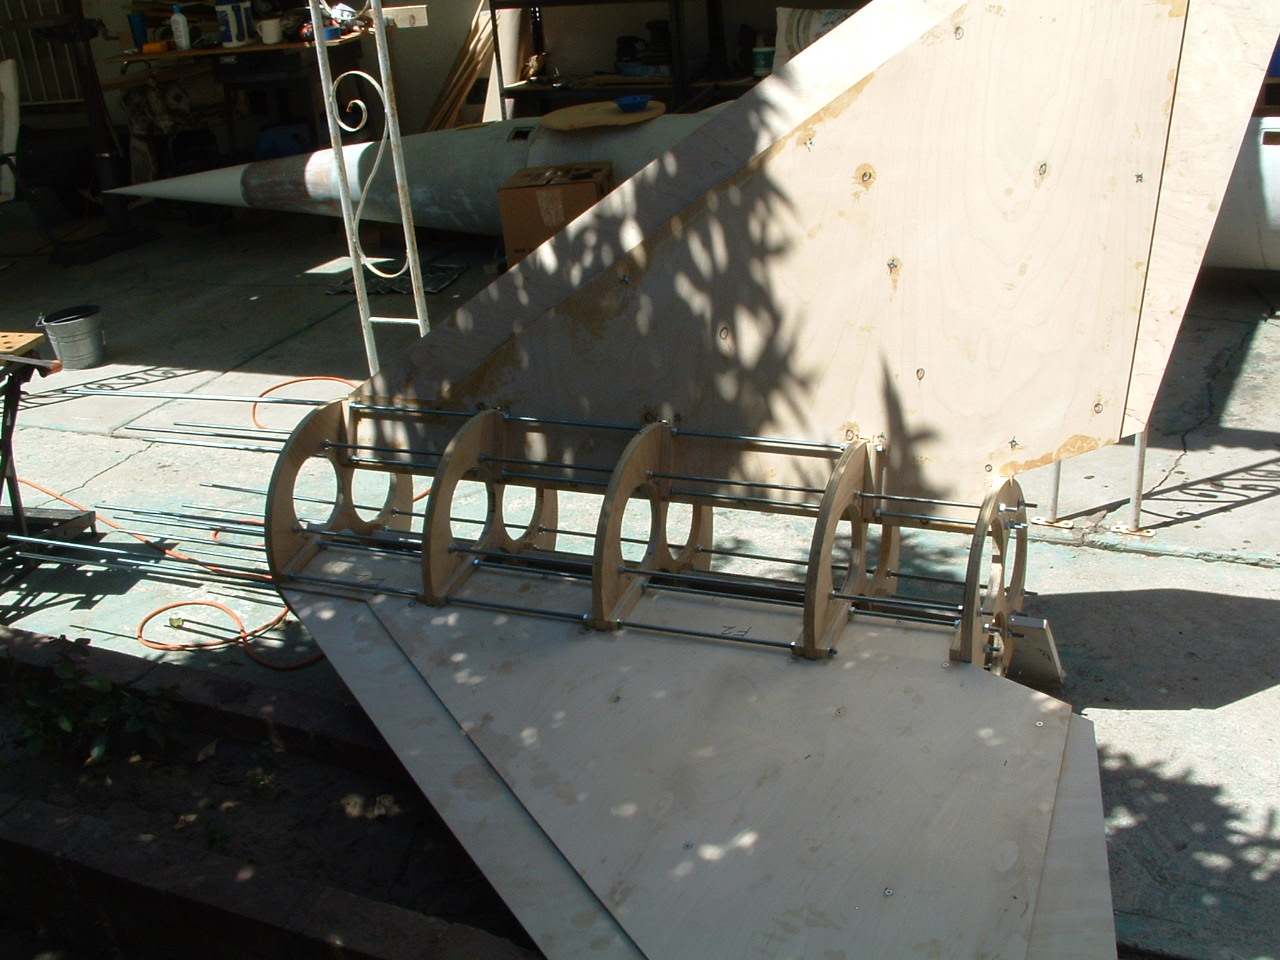
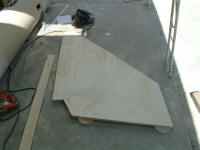
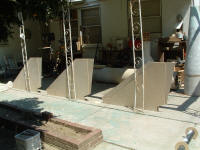
| After the epoxy has hardened the fins were stood up for inspection. |
|
     |
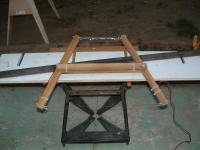
| Test fit |
|
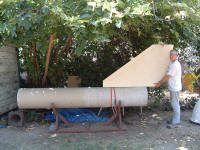
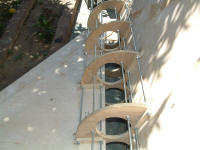
| With the fins bonded together it was time to test fit the fins into
the motor mount. |
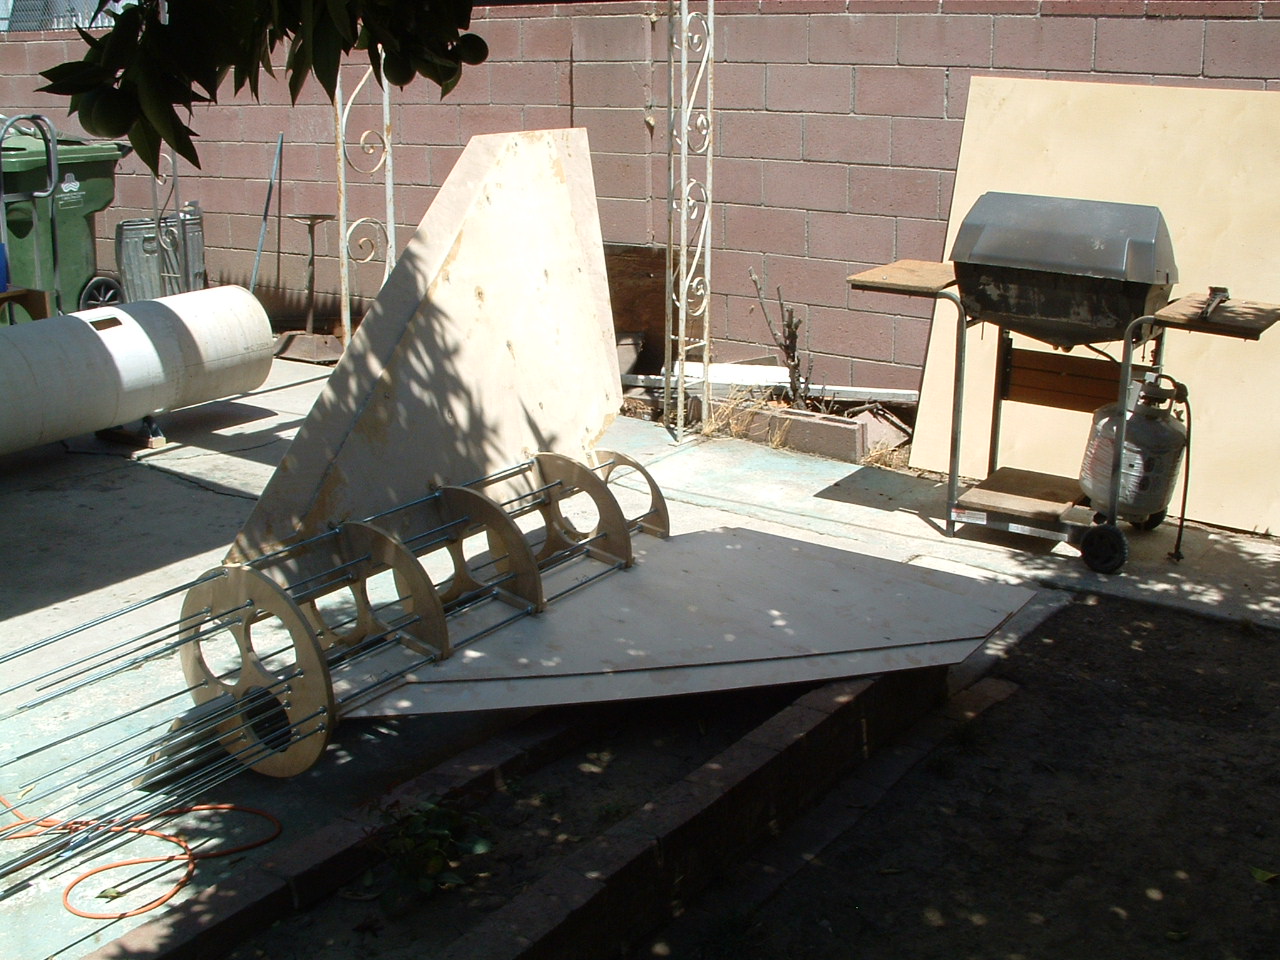
| As I stepped back and looked at the rocket, all I could say was "Wow
that's big!" |
|
     |
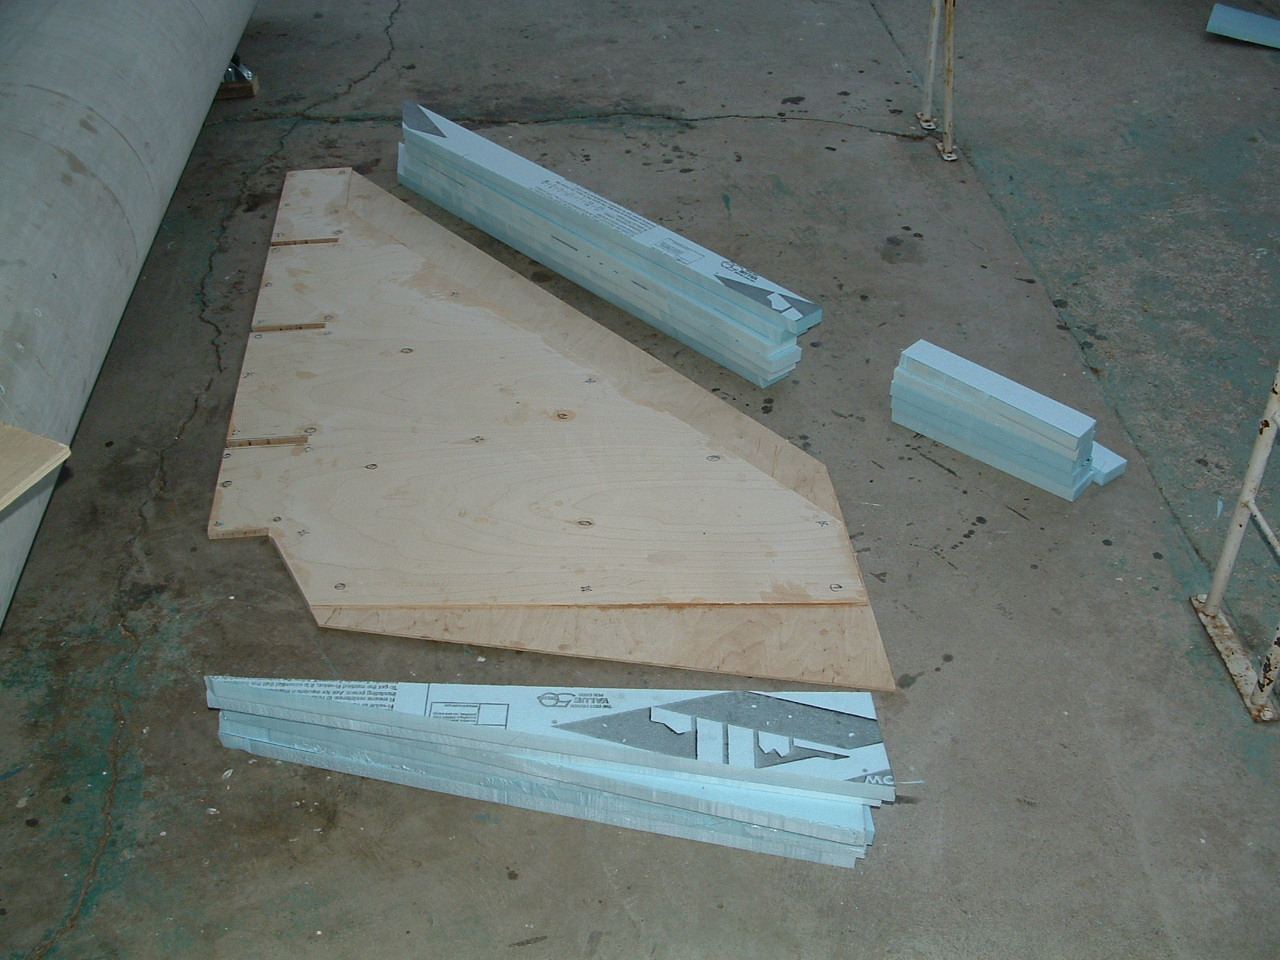
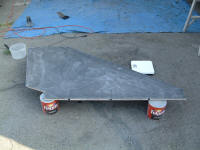
| Foam |
|
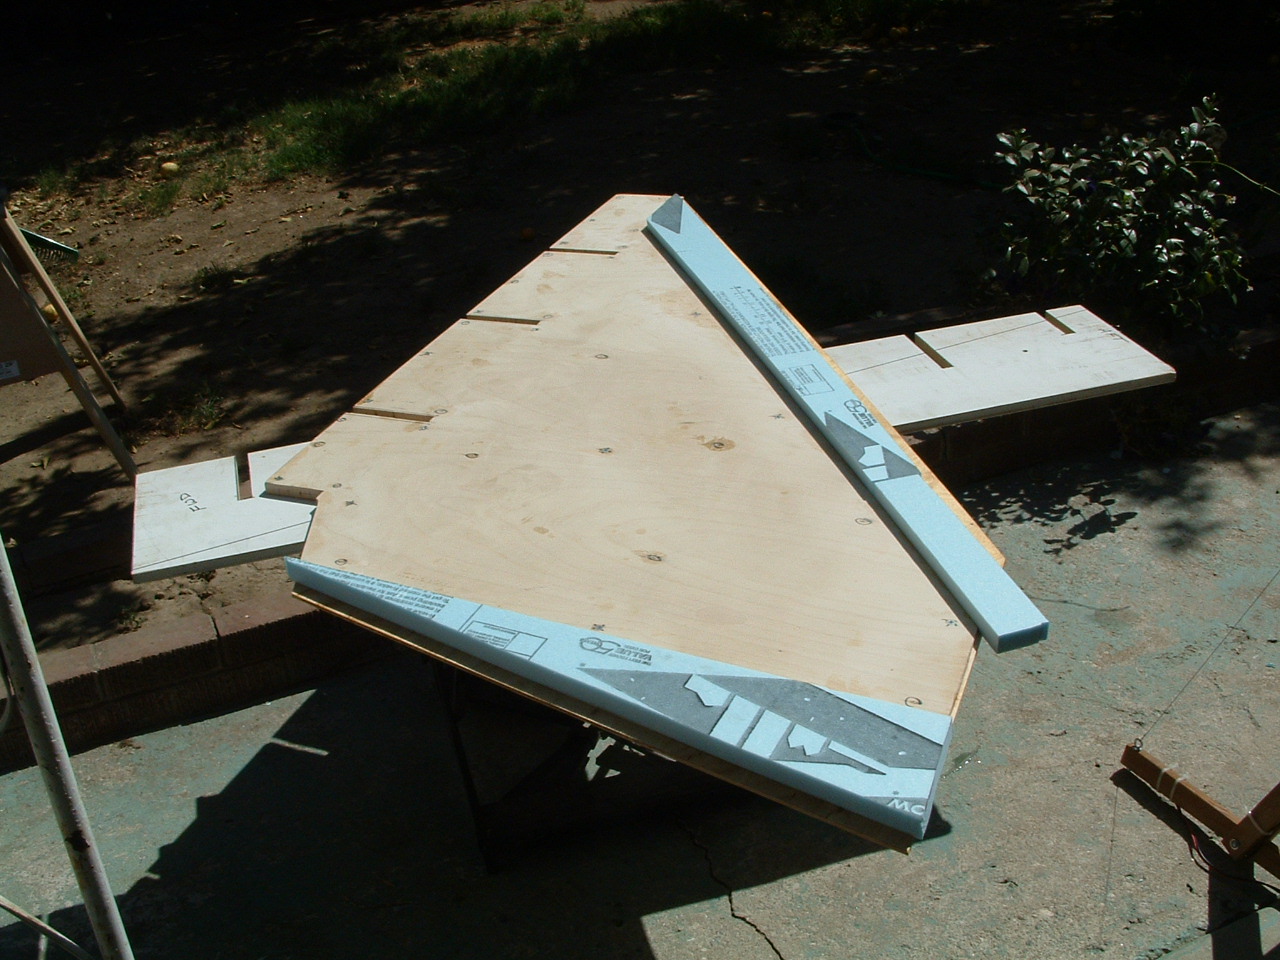
| Using a hot-wire bow the leading and trailing foam edges were cut. |
| The foam pieces were then epoxied to the the fins. |
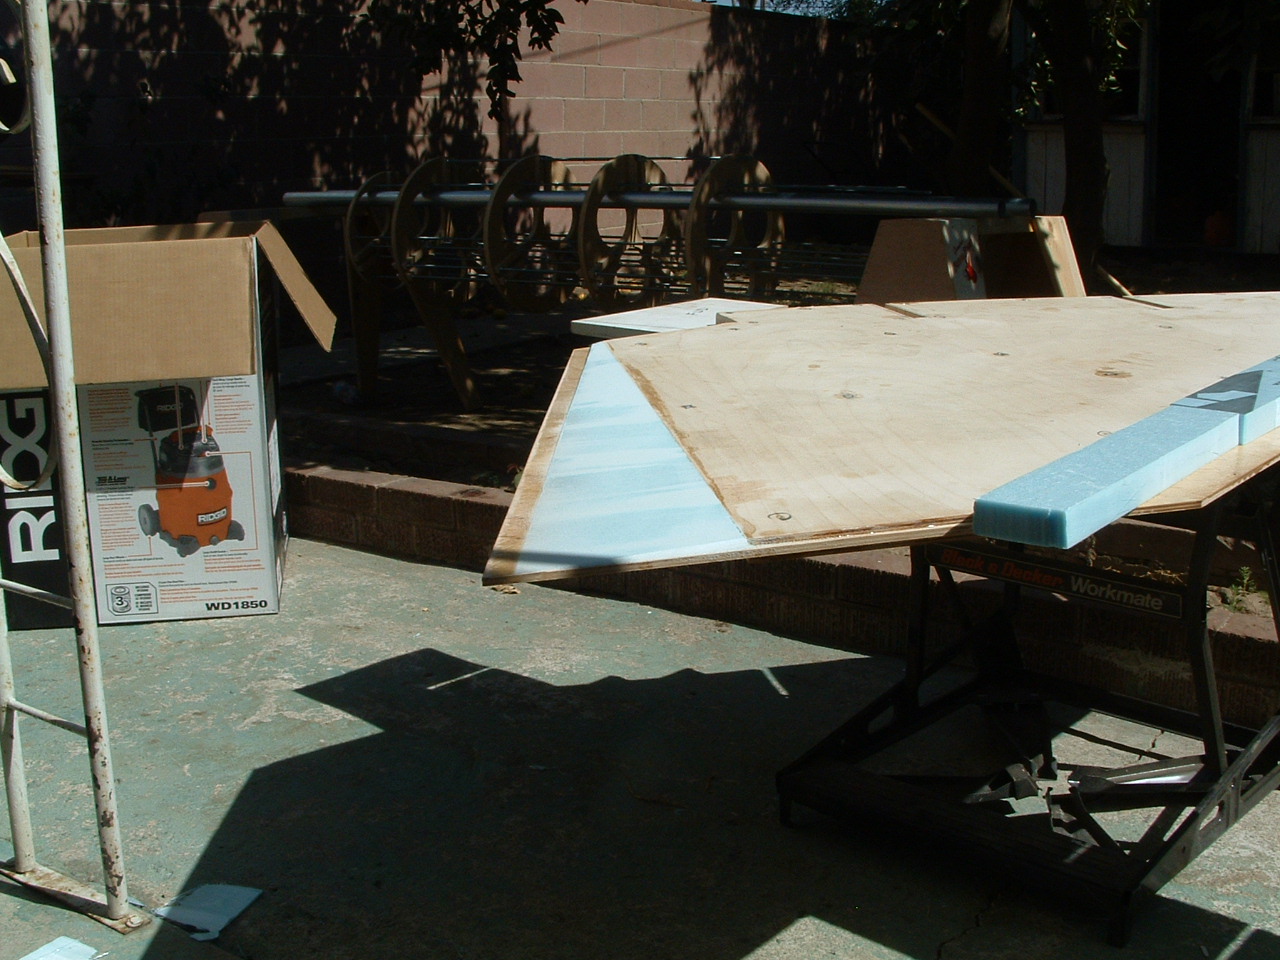
| Using the hot-wire bow again, the foam was shaped to match the leading
and trailing edges. |
|
      |
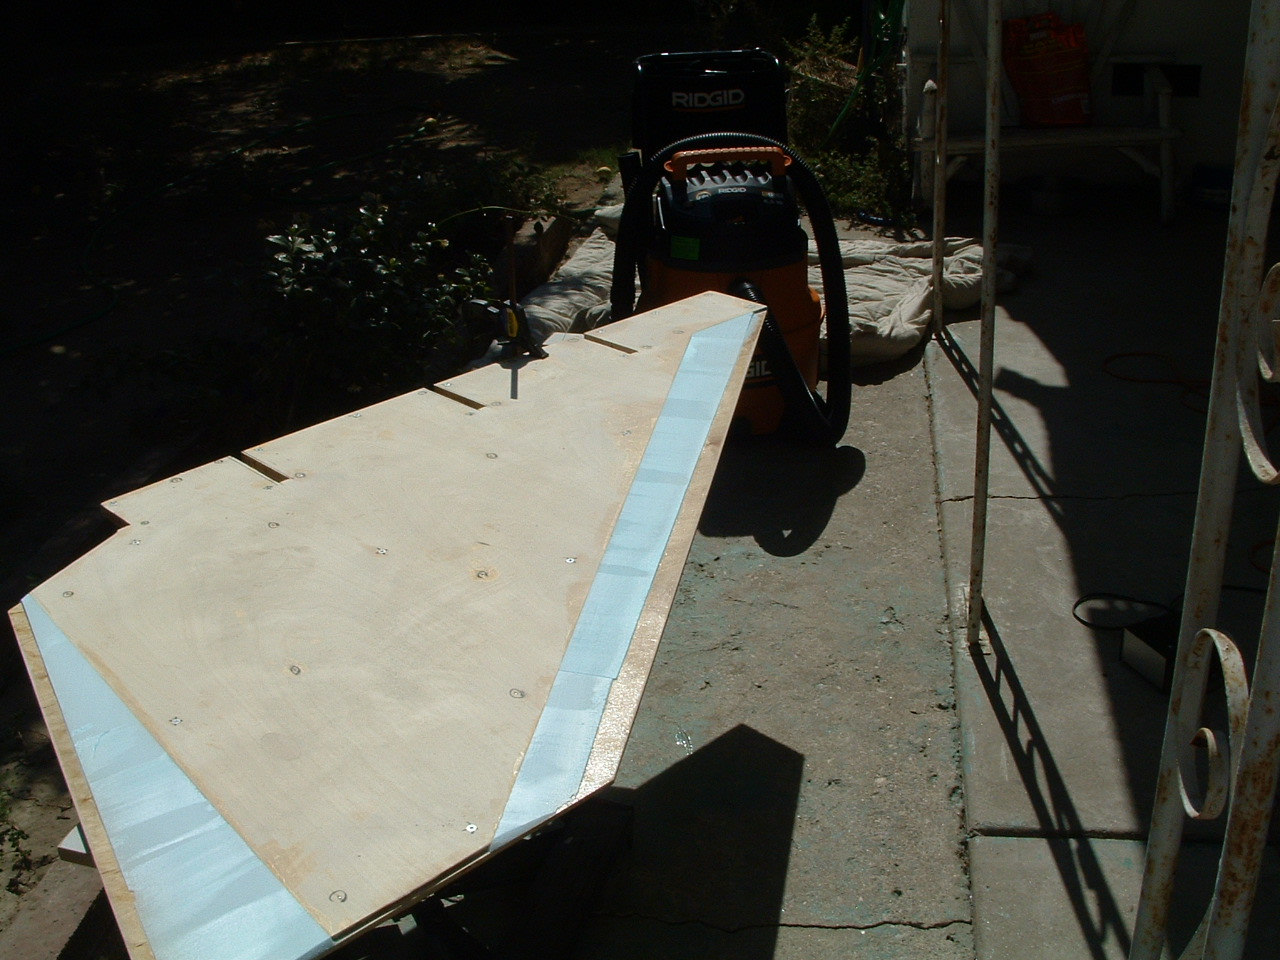
| Carbon Fiber |
|
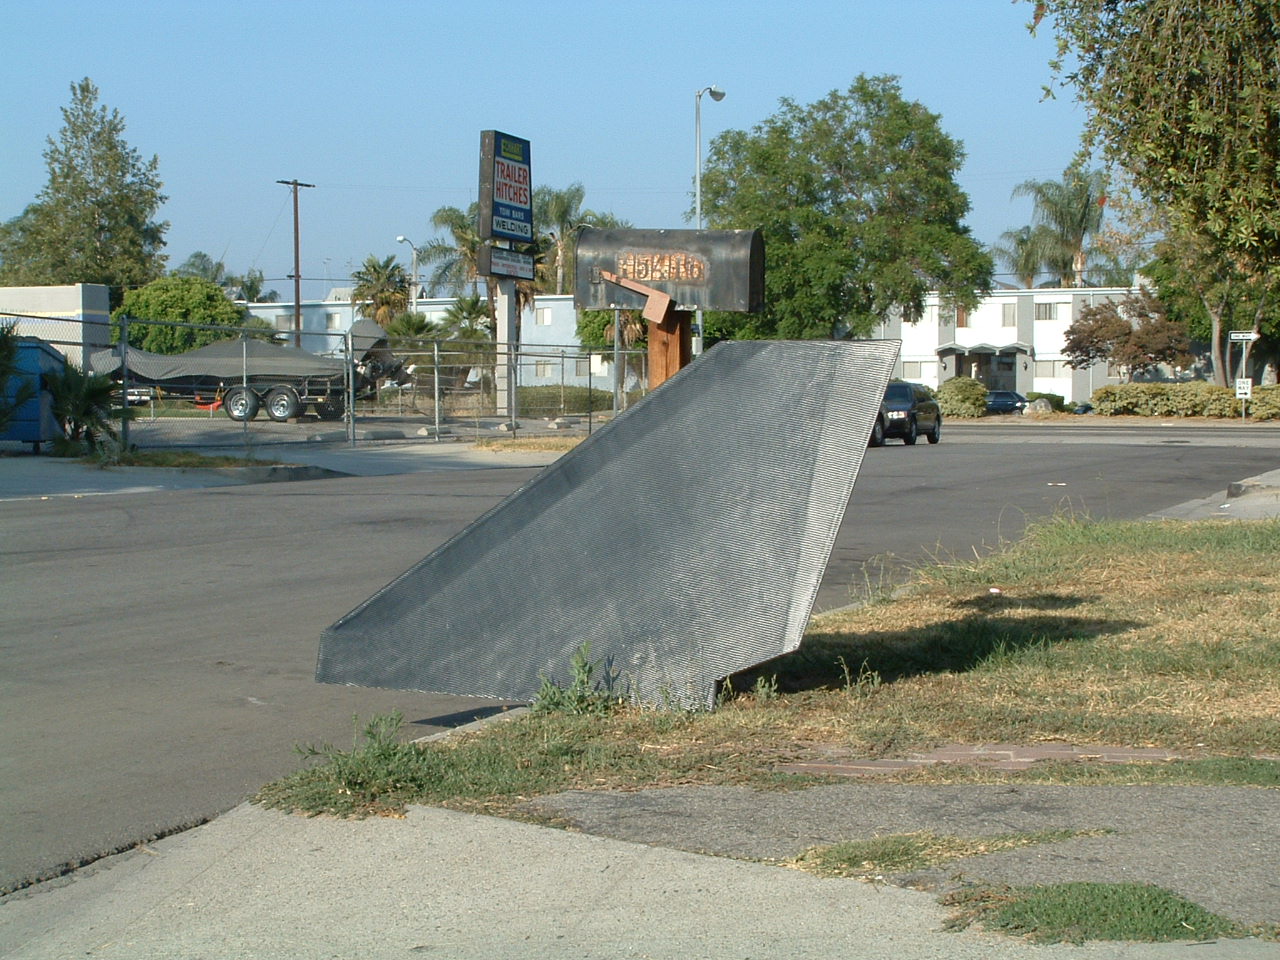
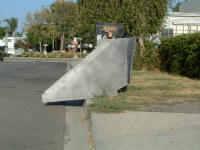
| Close to 30 hours (July 30th-Aug 1st) were spent putting the carbon
fiber on the fins. This proved to be a monumental task. One I don't
wish to repeat soon. |
| Total amount of Carbon Fiber applied in two days was 20,880 square
inches. That's a lot of fiber. |
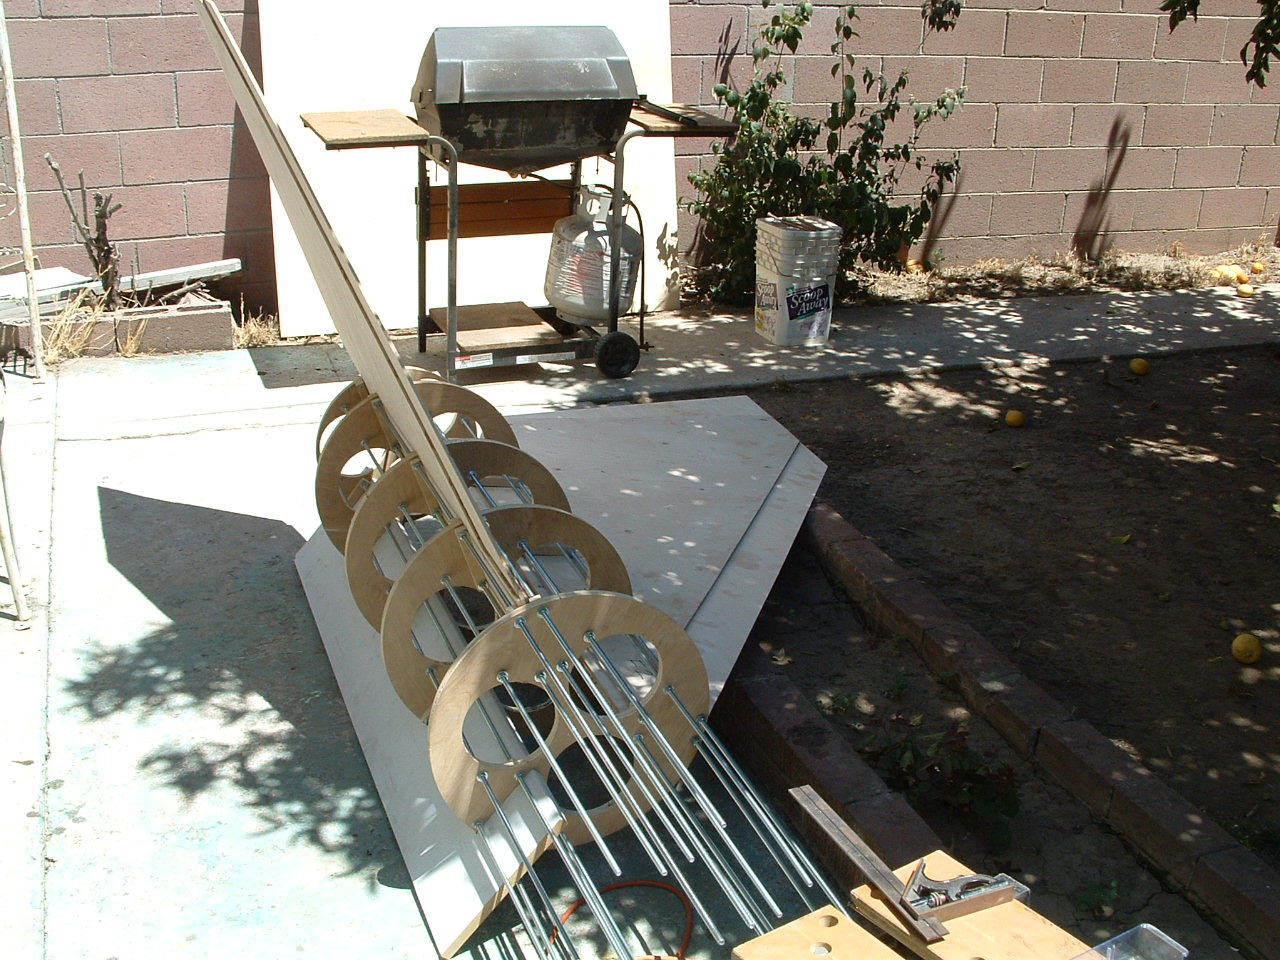
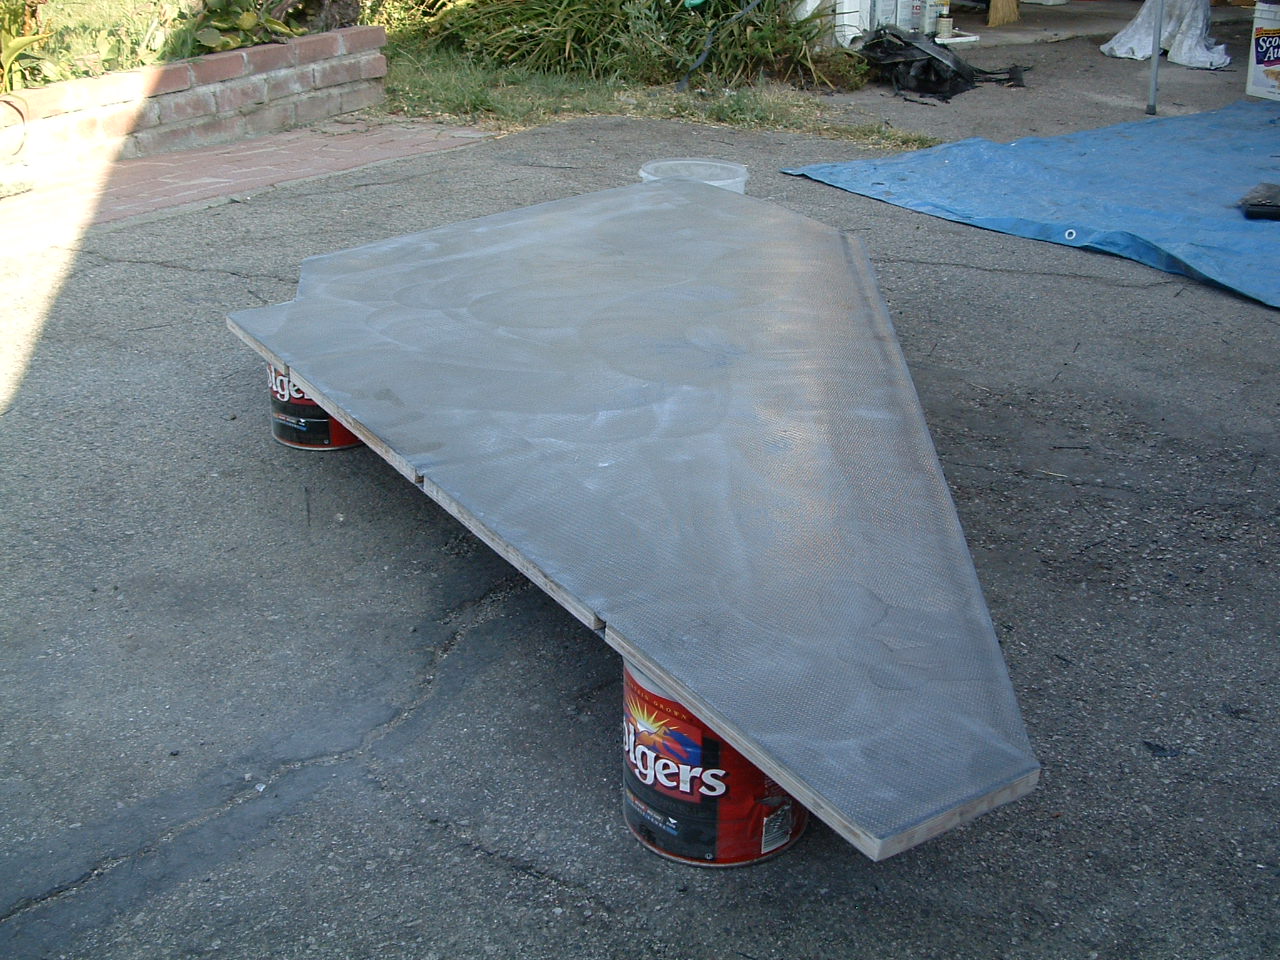
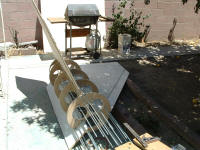
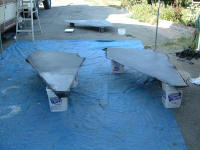
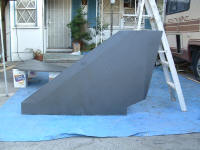
| I decided to lay up the fins on the driveway which had more clear
space. This proved to be a big mistake as the sun rose, it beat down
and heated the fins, making the epoxy go off instantly. |
| I erected "SHELTER"
and this gave me enough shade to begin an assembly line process. |
| CF was laid on the first fin, then the second. While I was doing
the third fin, I placed the first fin in the sun. The epoxy had
already gelled pretty firm and was no longer tacky. Placing it in
the sun made it rock hard, and I was able to do the other side. |
| Good thing Melinda is
a cat lover, this gave me plenty of containers to rest the fins on. |
| Original plans called for three layers....I've settled for only two
and still think I could've gotten away with one. |
| Fins were designed and sim'd at 25 pounds each....Actual weight 30
pounds. Close enough for three "P" motors. |
|
      |