| |
|
| Getting Started |
|
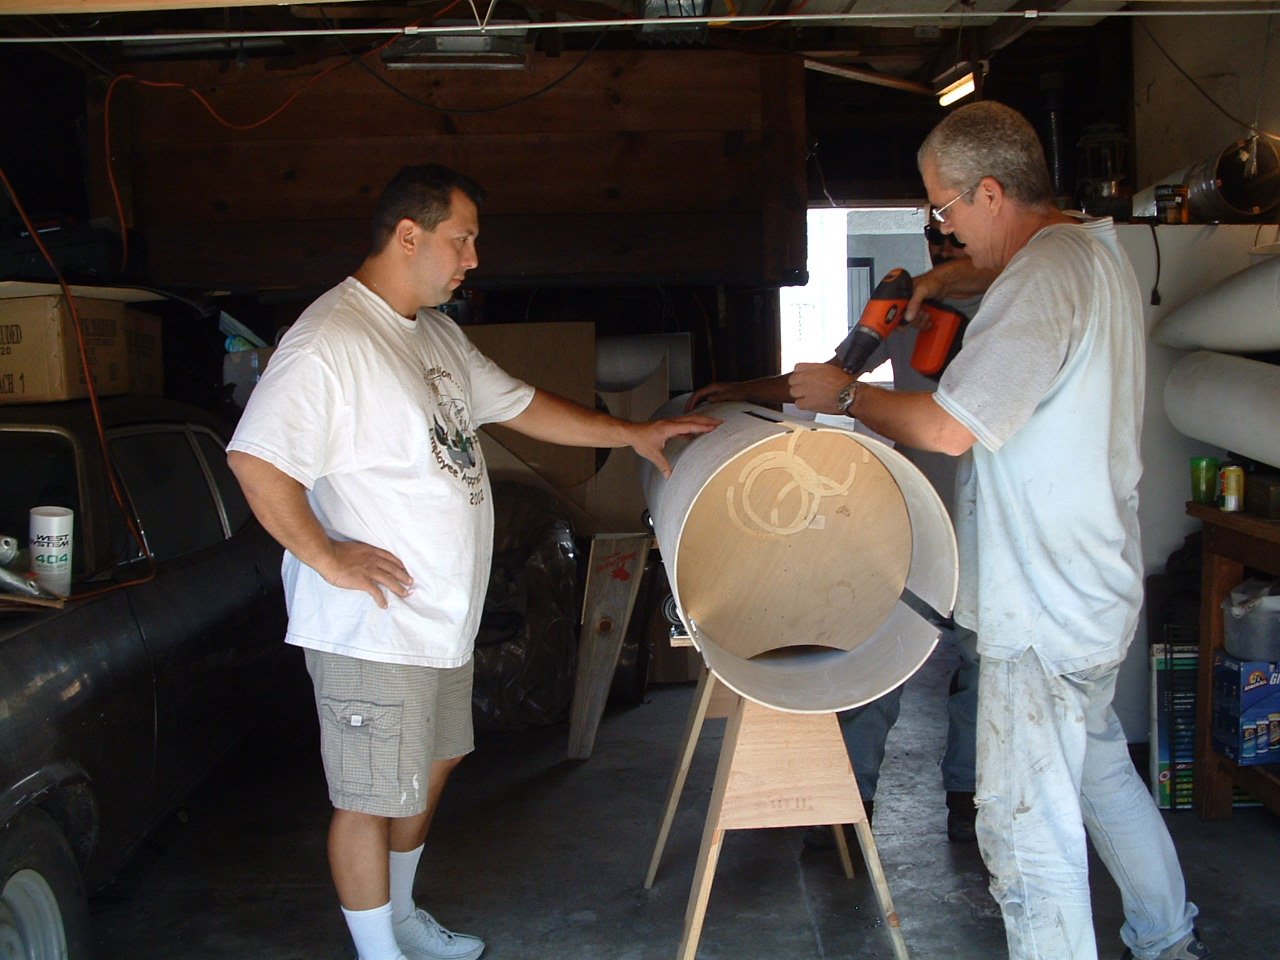
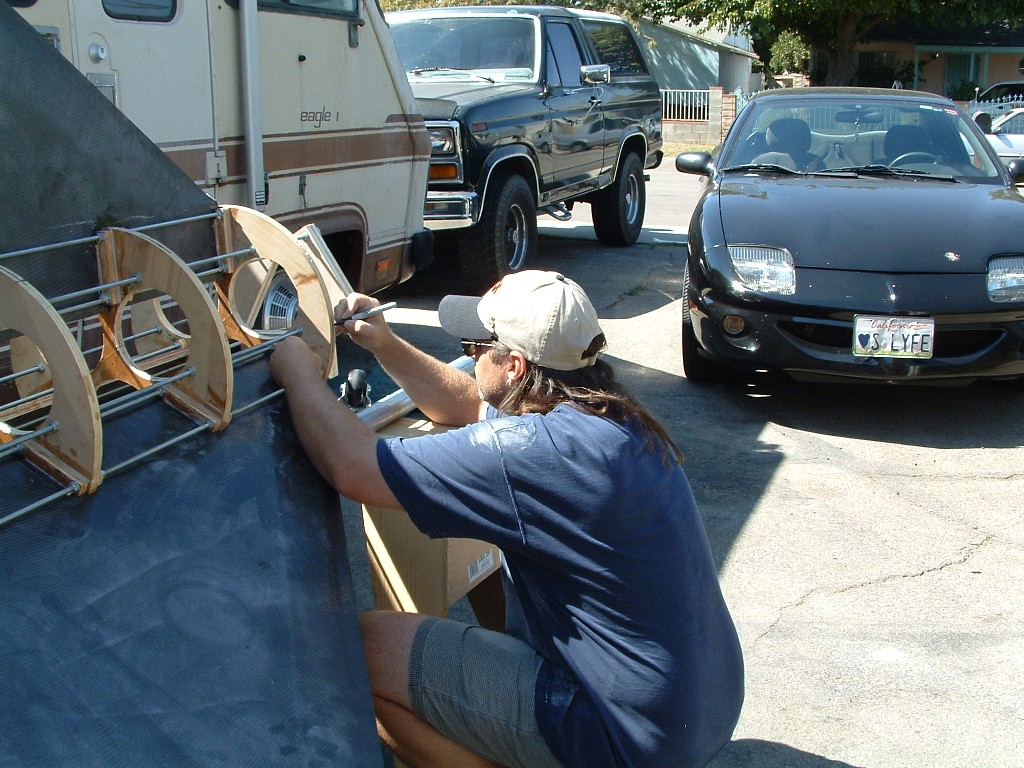
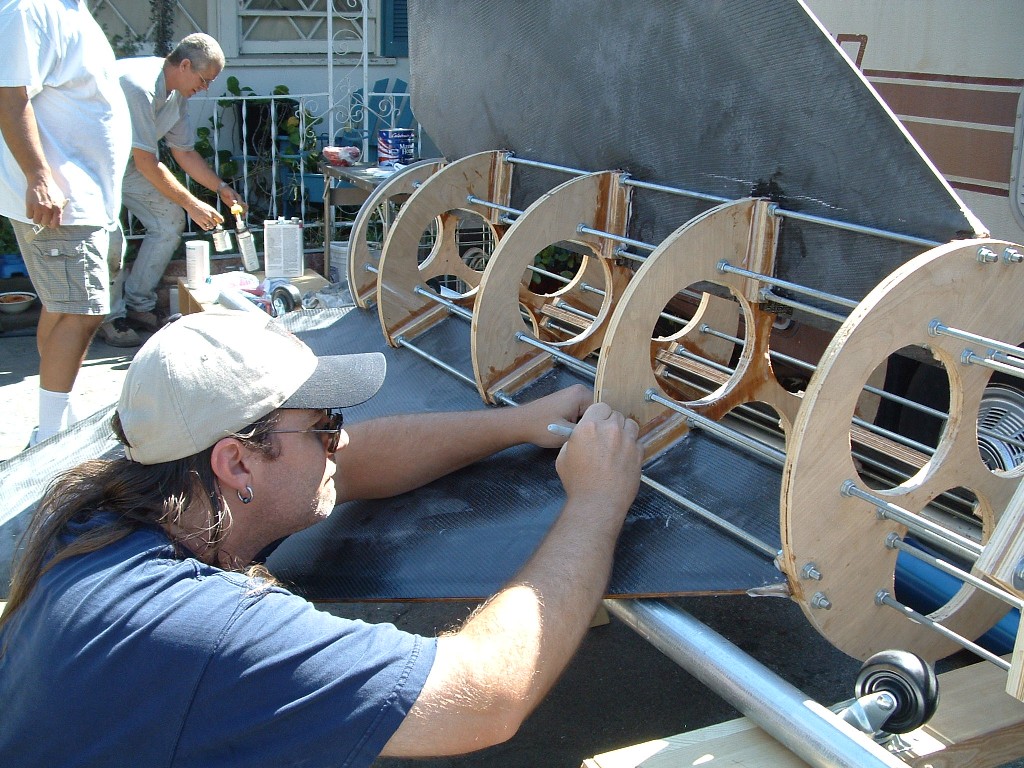
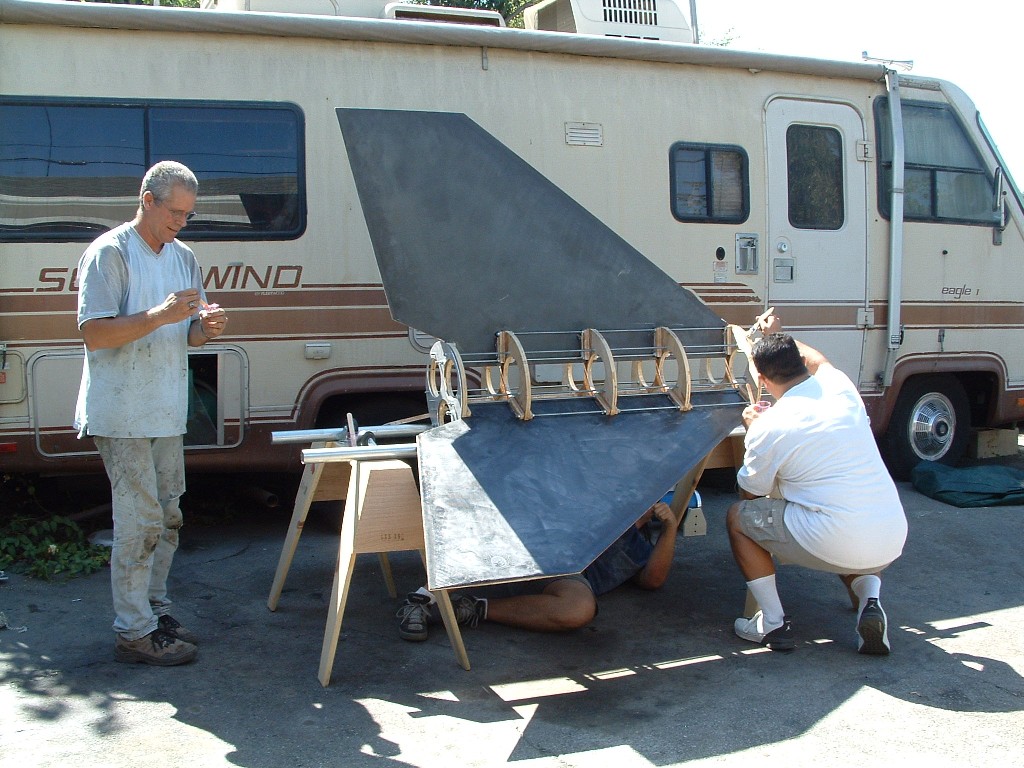
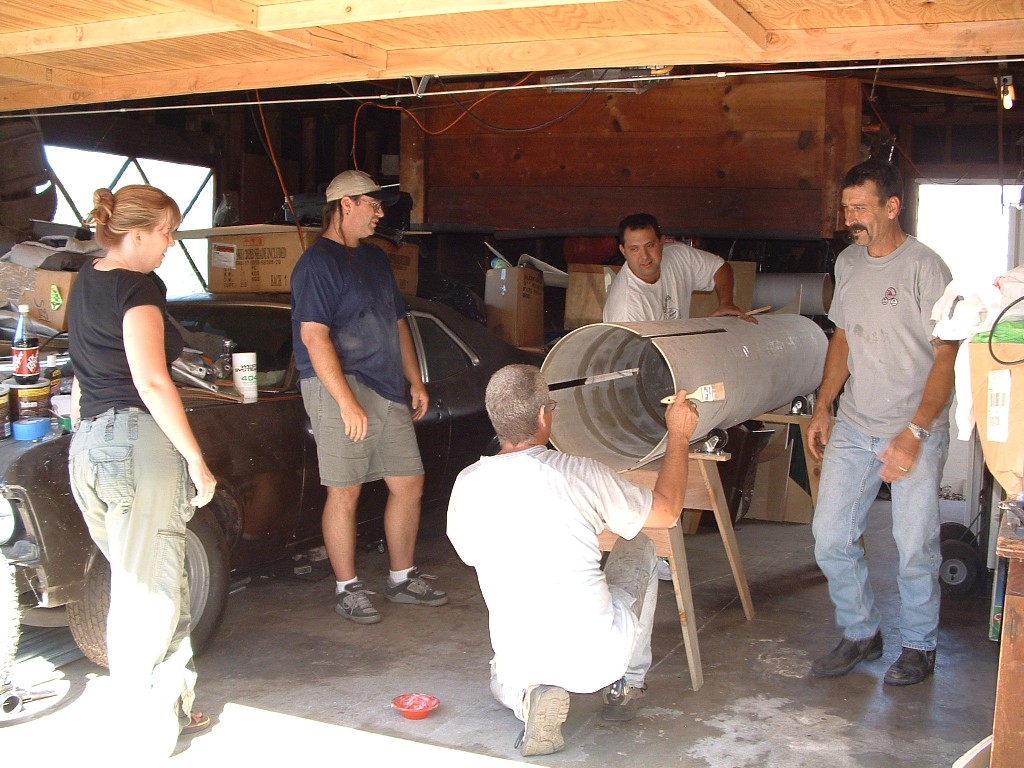
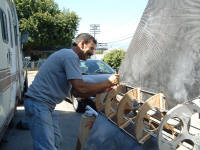
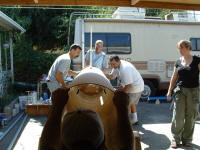
 | Fin can insertion took the help of a number of people. |
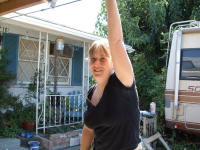
| First picture left to right: Myself (Wedge Oldham), Jeff Anisette, and
Joe Zamiska. |
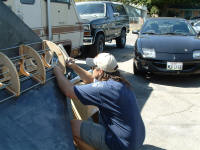
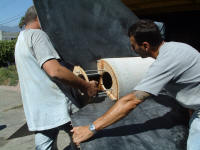
| Second Picture: Jeff Anisette and myself. |
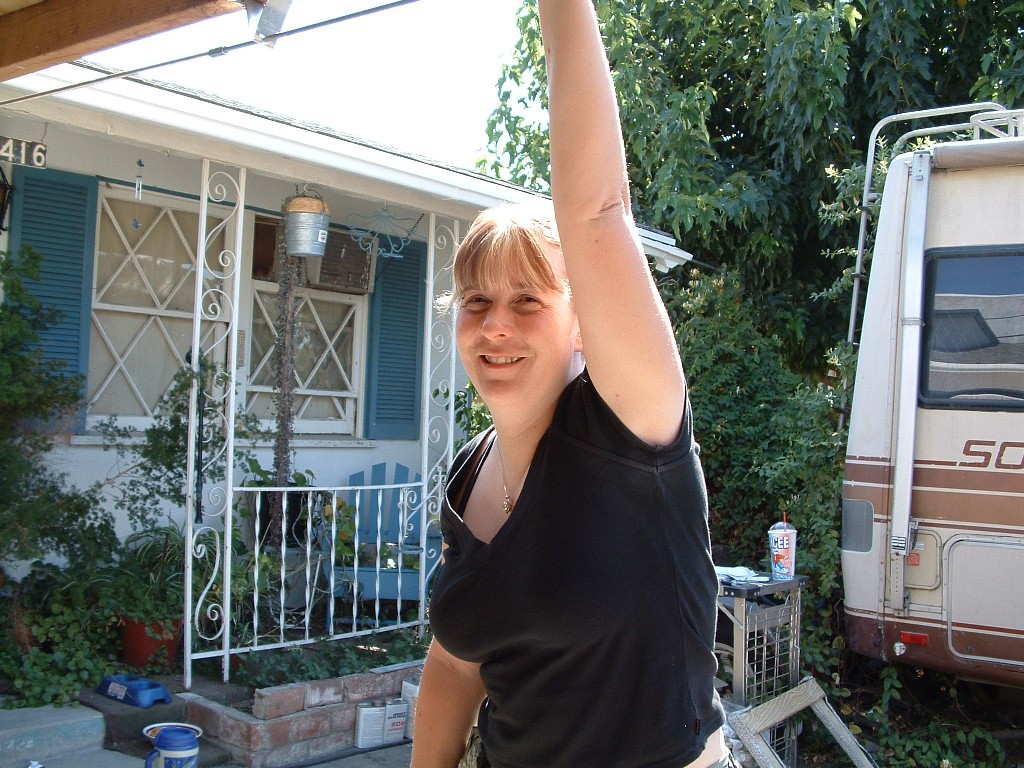
| Third Picture Lisa Tarr. |
| Photographer for this page:
Melinda Catalano |
|
   |
Test Fit
|
|
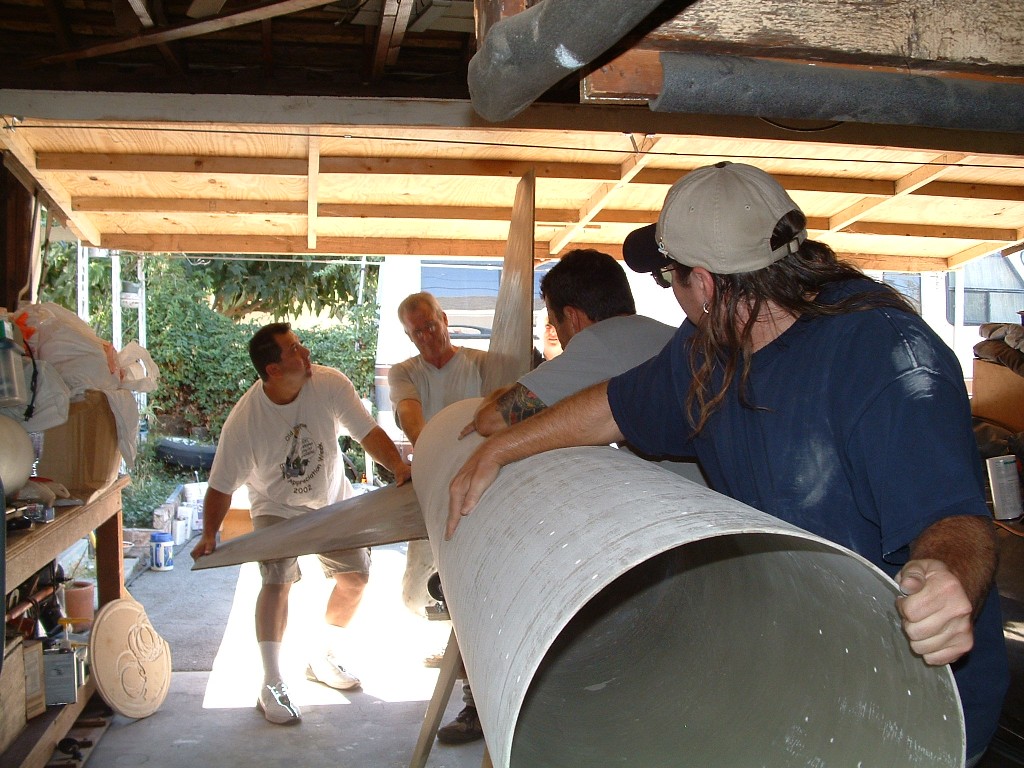
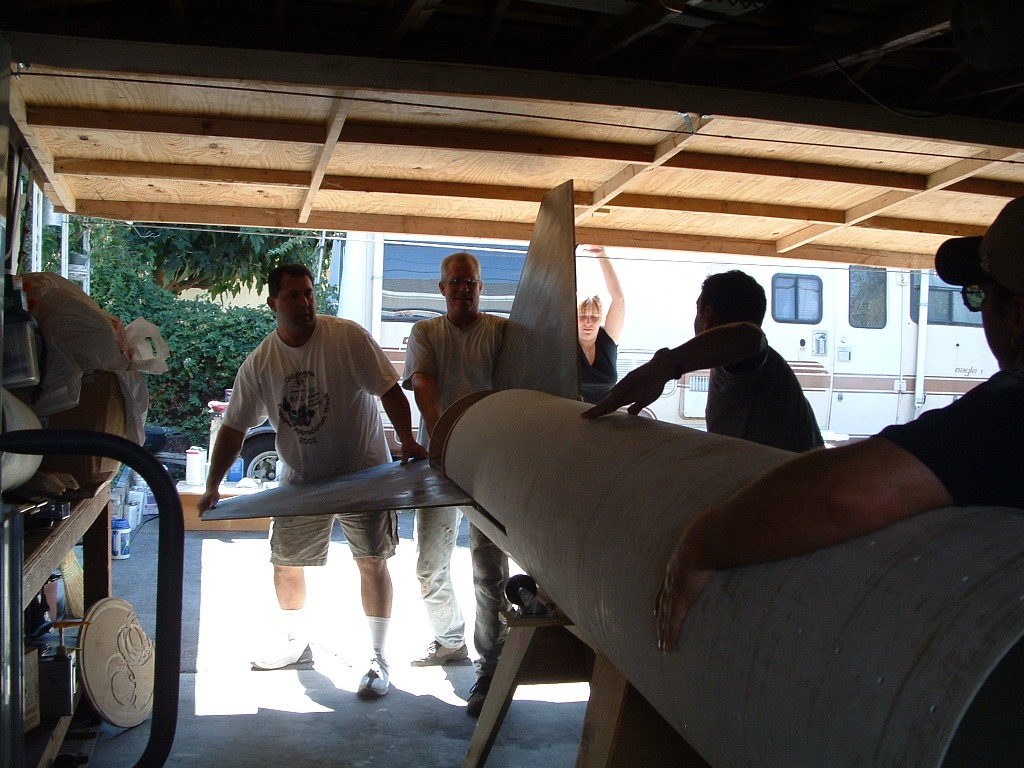
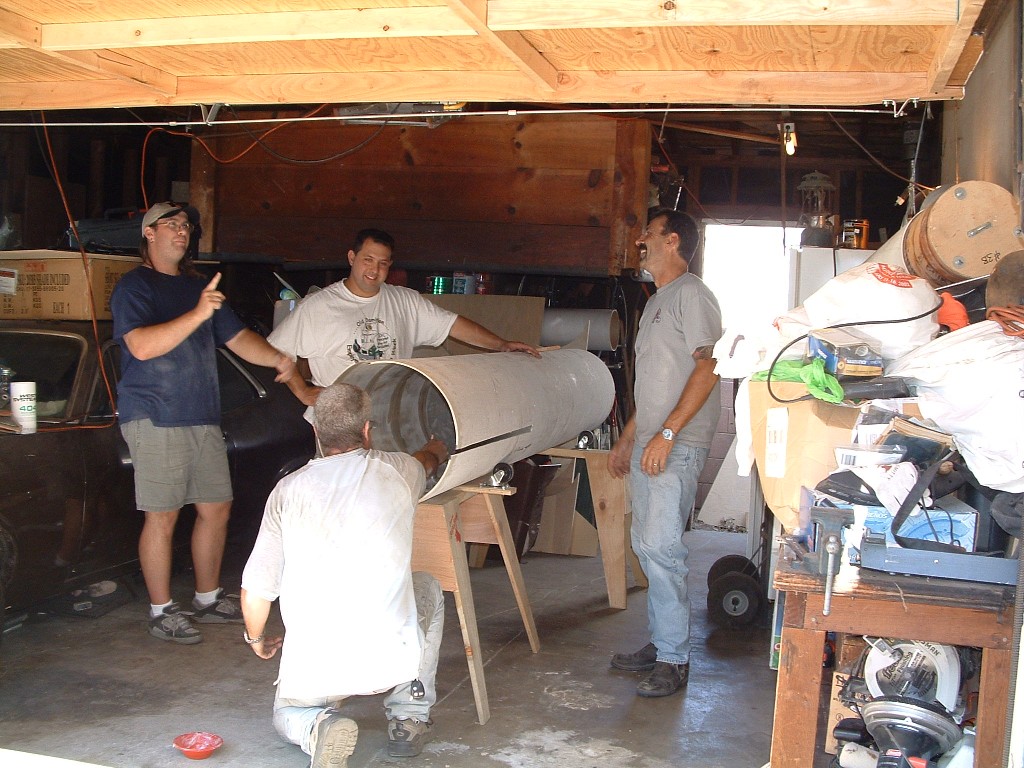
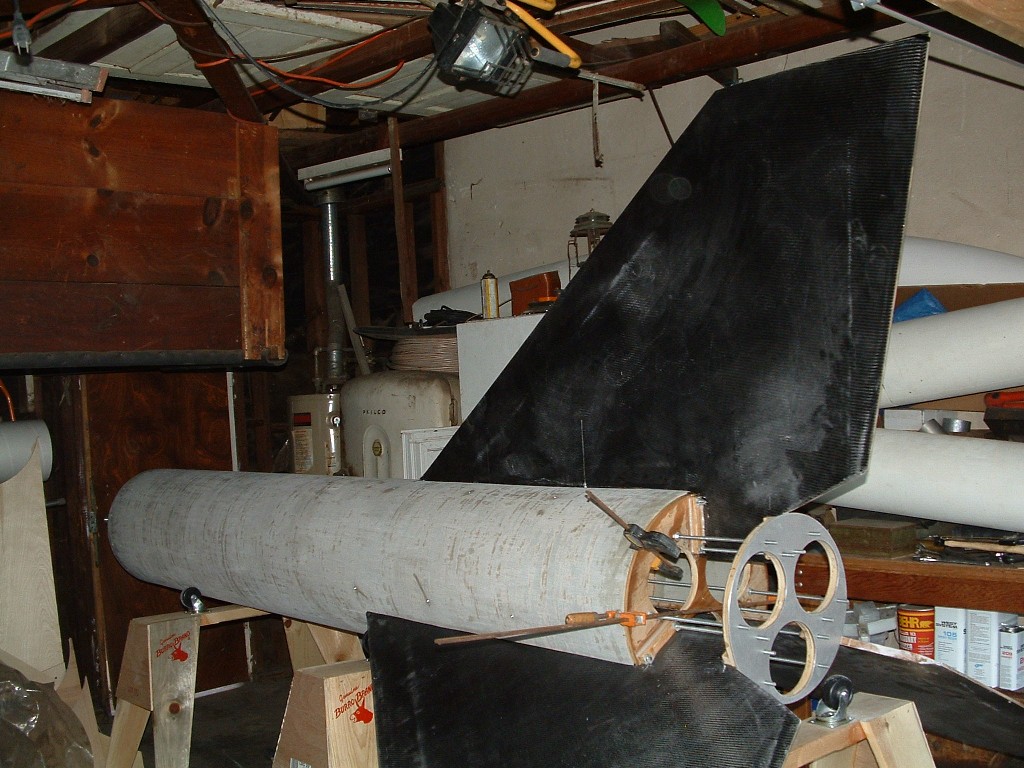
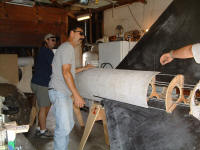
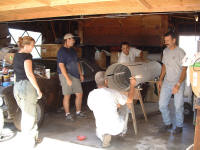
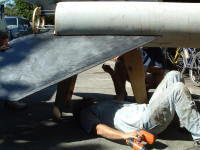
| The fin can was slide into the booster section. This test fin
uncovered one major flaw, we could not clear the garage door. |
| Once the fit was correct, we had to get the tubes apart. |
| This seemed harder than putting them together in the first place. |
|
   |
| Ring Marking |
|
| The alignment holes were checked during the test fit, and we could see
the centering ring. |
| Troy provided a helpful idea, "Let's mark the rings so we know when
we're in". |
|
  |
| Epoxy |
|
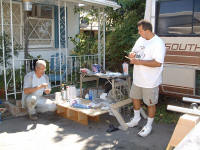
| As with all other construction pics, I've included this almost
obligatory "mixing epoxy" shot. This day is no different. |
| Joe, Jeff, and myself all take a stab putting some epoxy on the rings,
while Troy marks the bottom of the rings. |
|
   |
| More epoxy |
|
| With the centering rings epoxied, it was time to apply the thickened
epoxy to the booster tube. |
| Troy gave us all a lecture on the importance of "Just one thing". |
|
  |
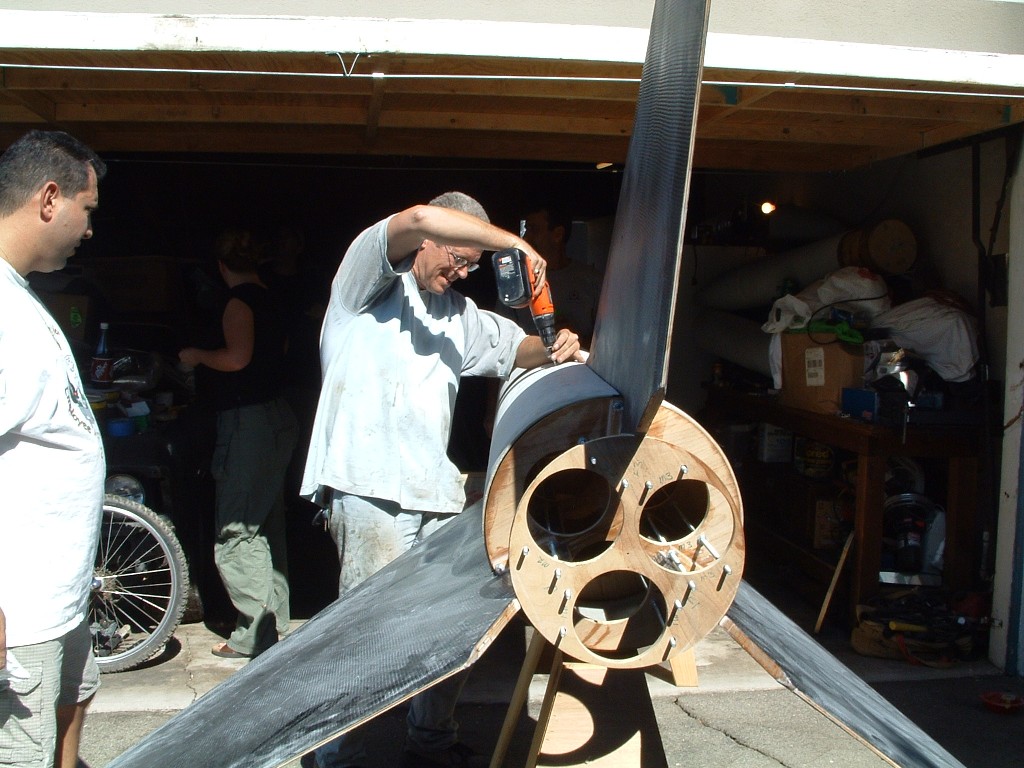
| Putting it together |
|
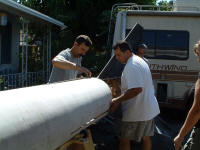
| The fin can was slide in, and wood screws were placed through the body
into the rings. |
| Trust me, this thing was heavier than it looks. |
|
     |
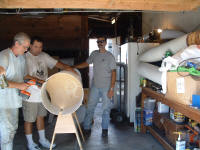
| Done |
|
| Here's the finished product. Now to put on the boat tail. |
| I would just like to thank everyone that participated in this event.
Thank you all. |
|
 |