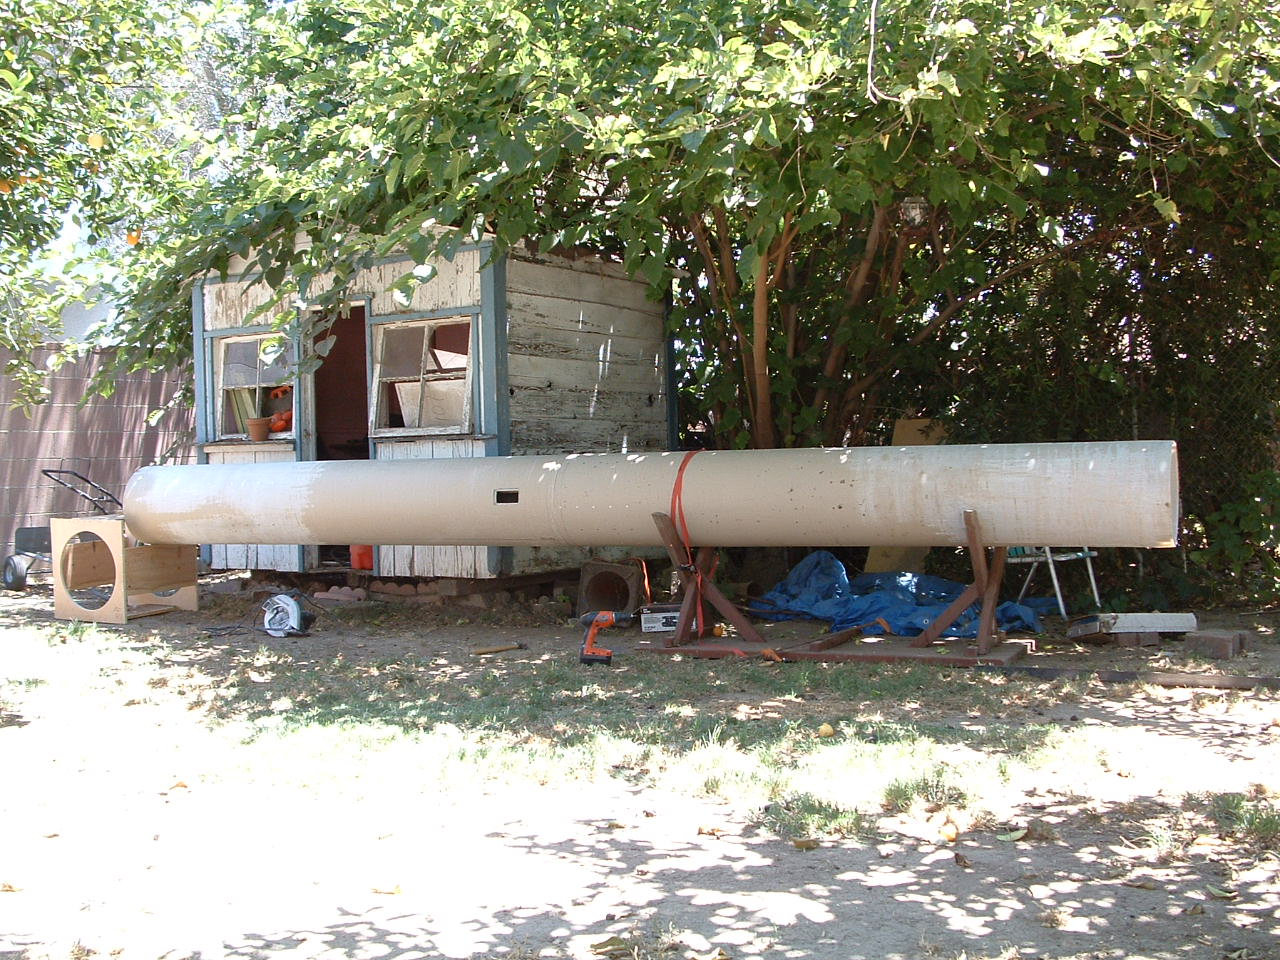
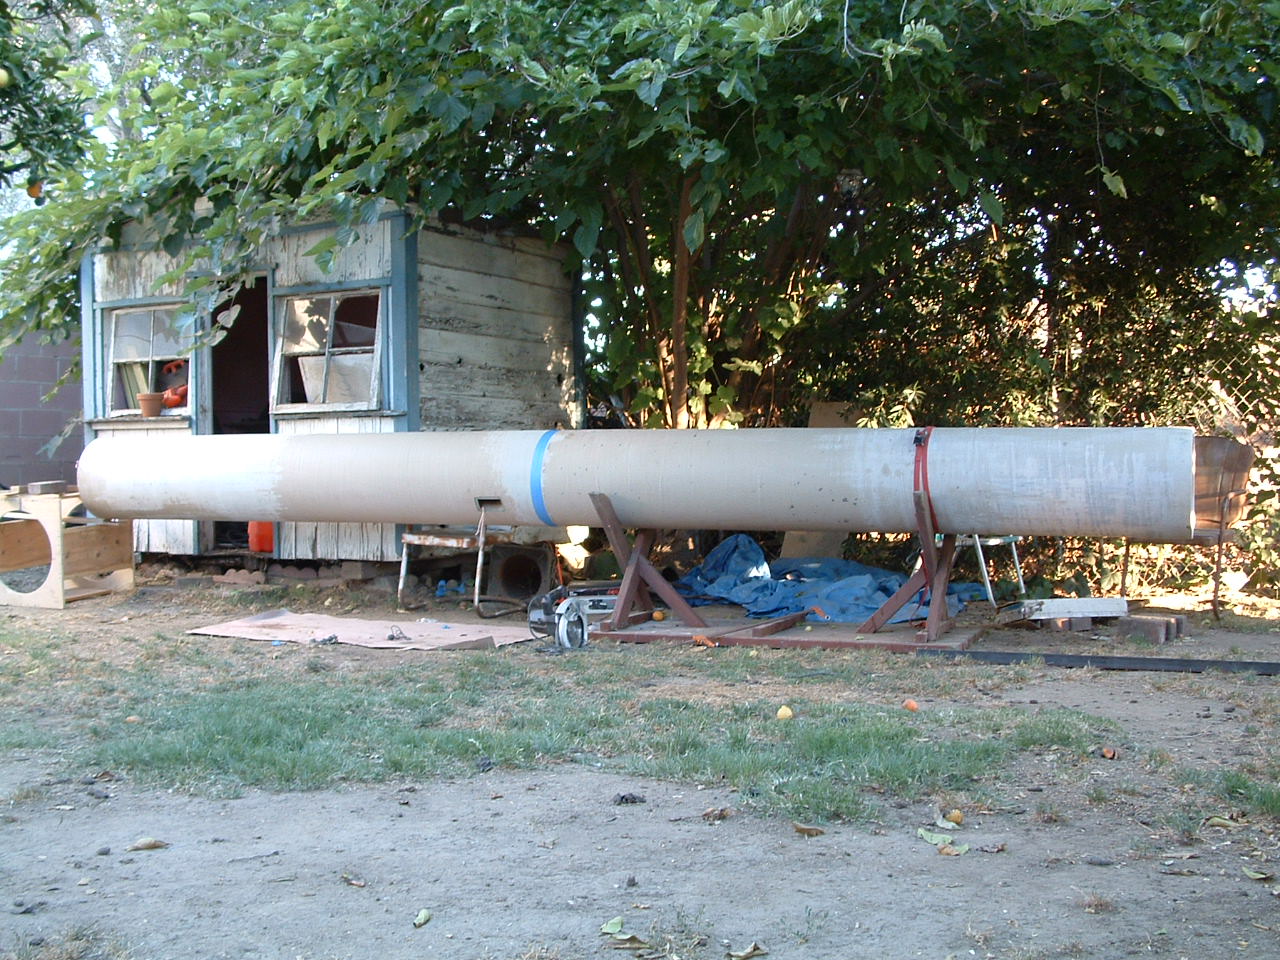
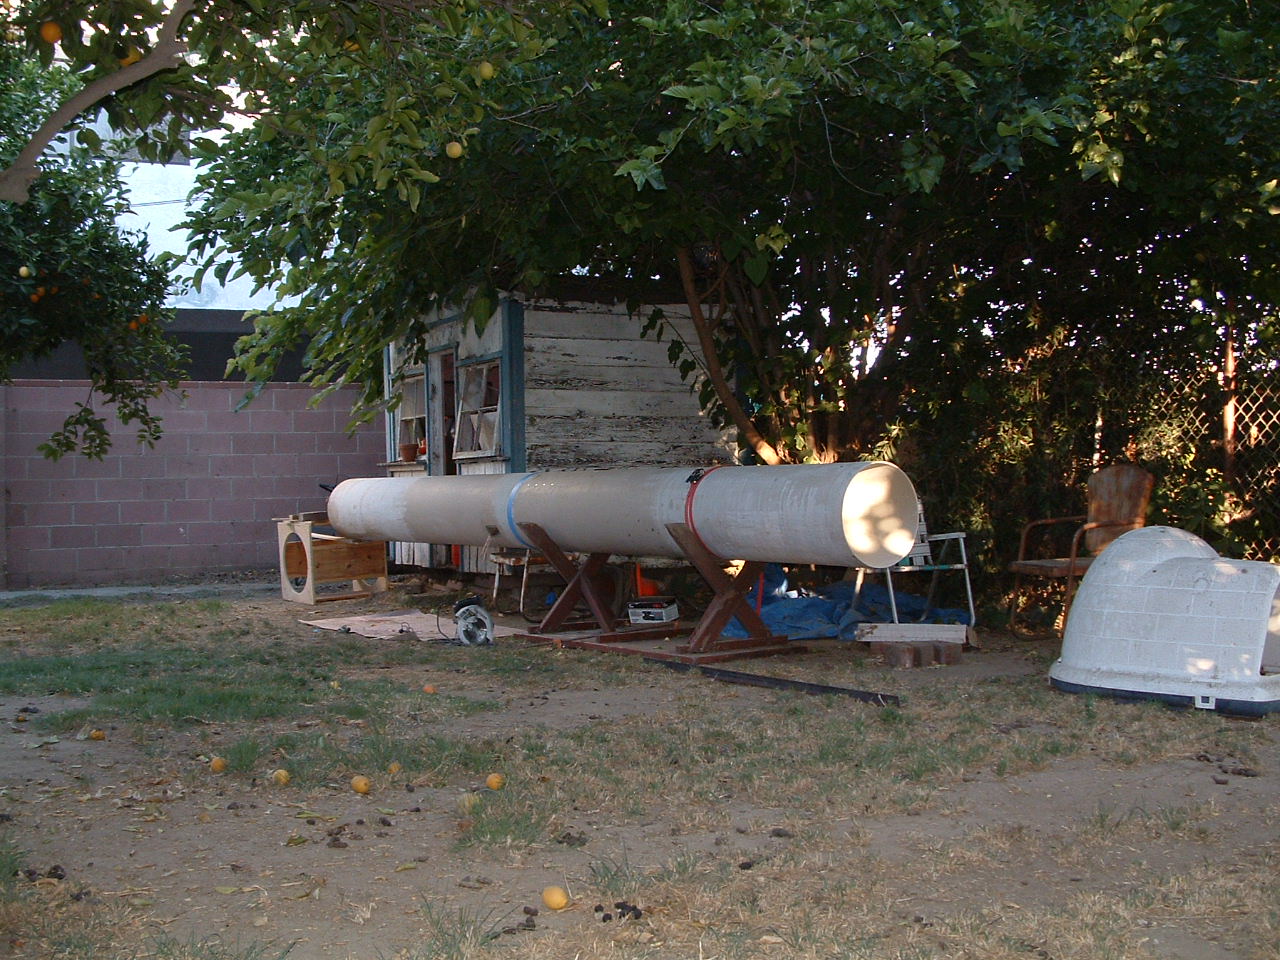
The booster tube, main coupler, and the payload section were test fit
together.
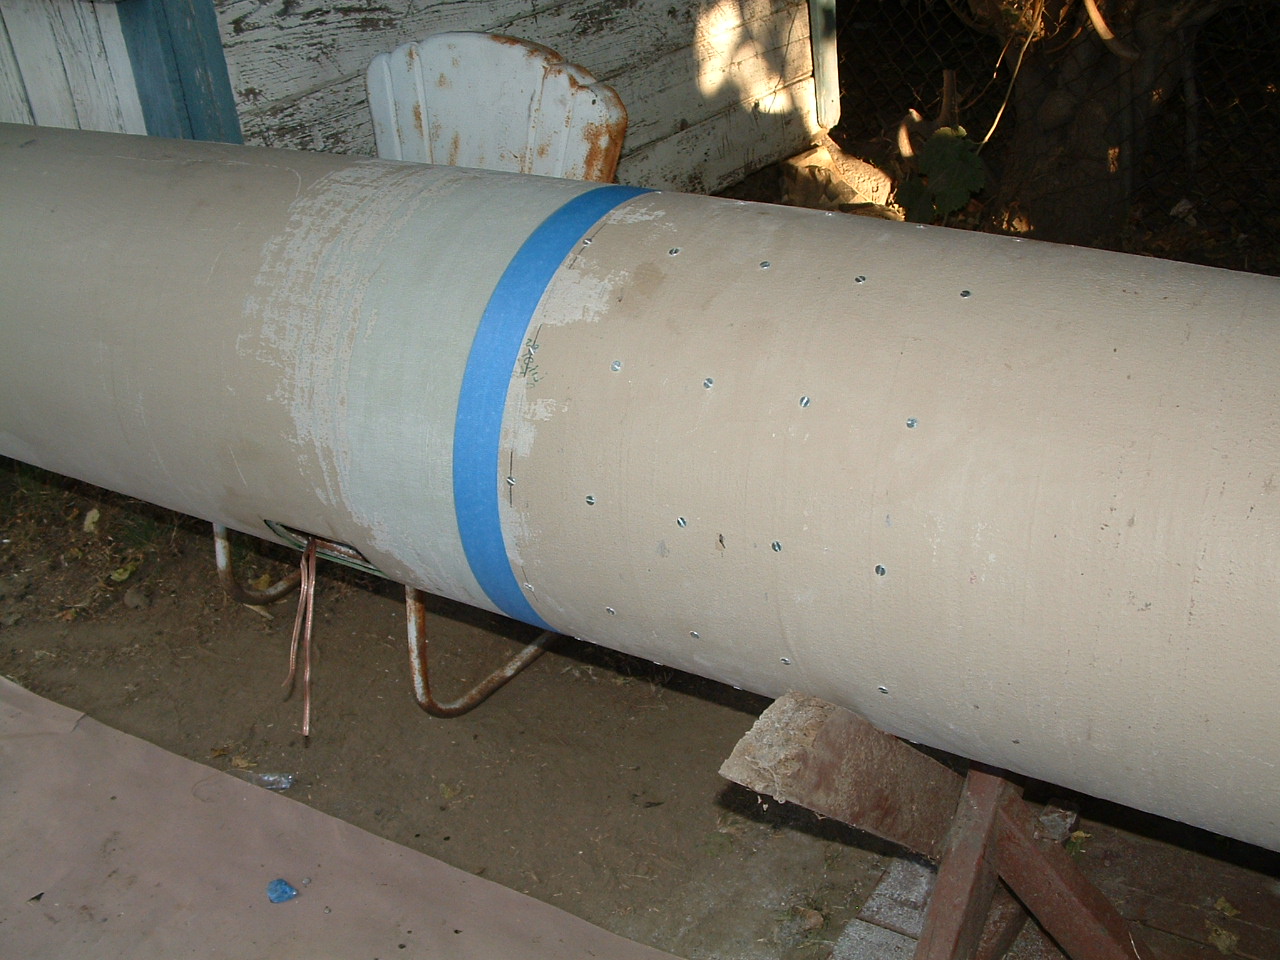
Then the 60 (yes, I said sixty) screws were turned into the booster to
coupler joint. I ended up with sixty screws because I had 12 ribs.
In looking at it three screws per rib seemed a little weak, so two more
looked like a really good strong connection. 5 times 12 equals 60.
Funny how things get out of control.
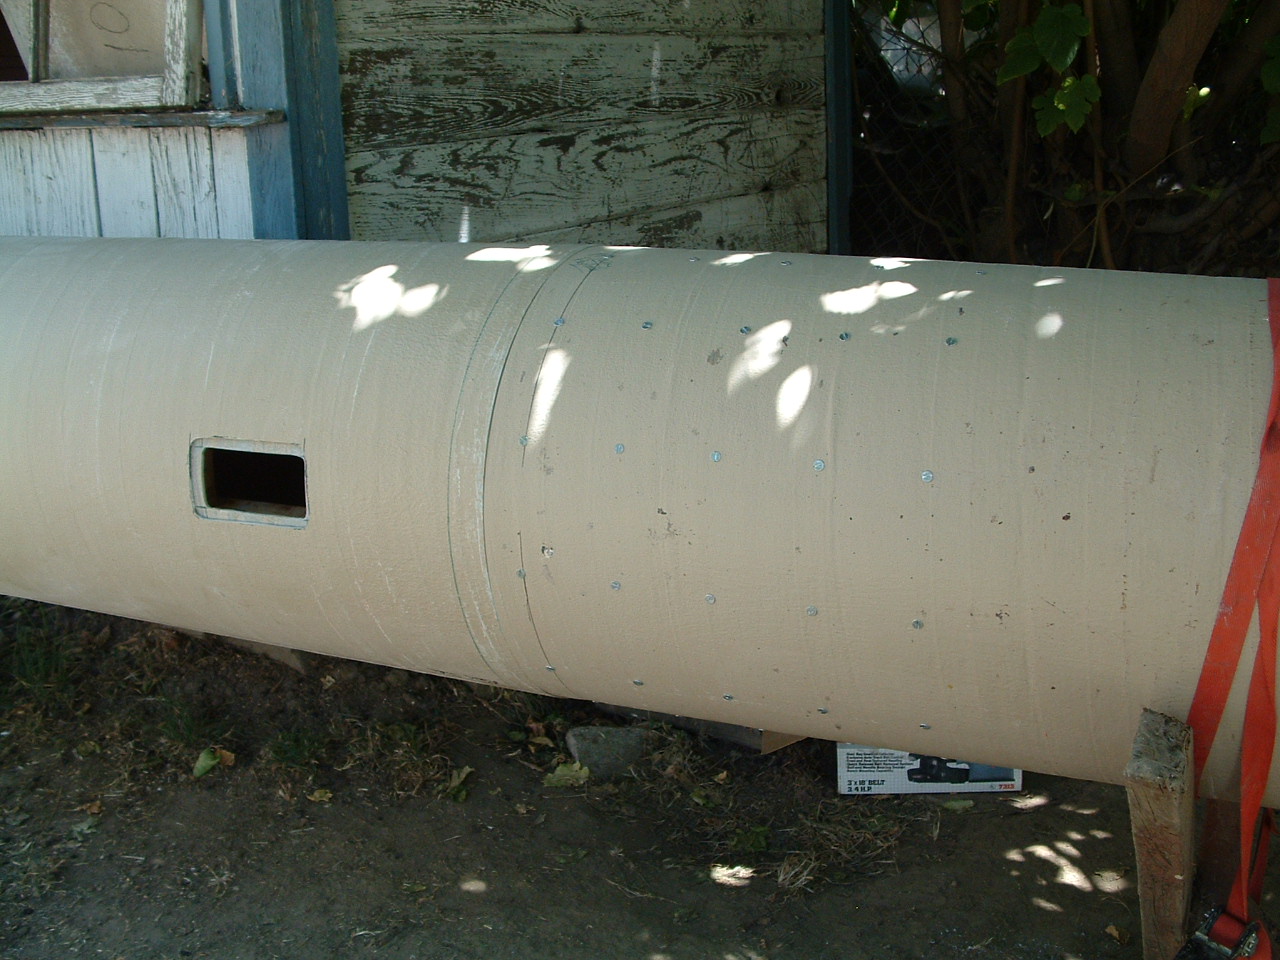
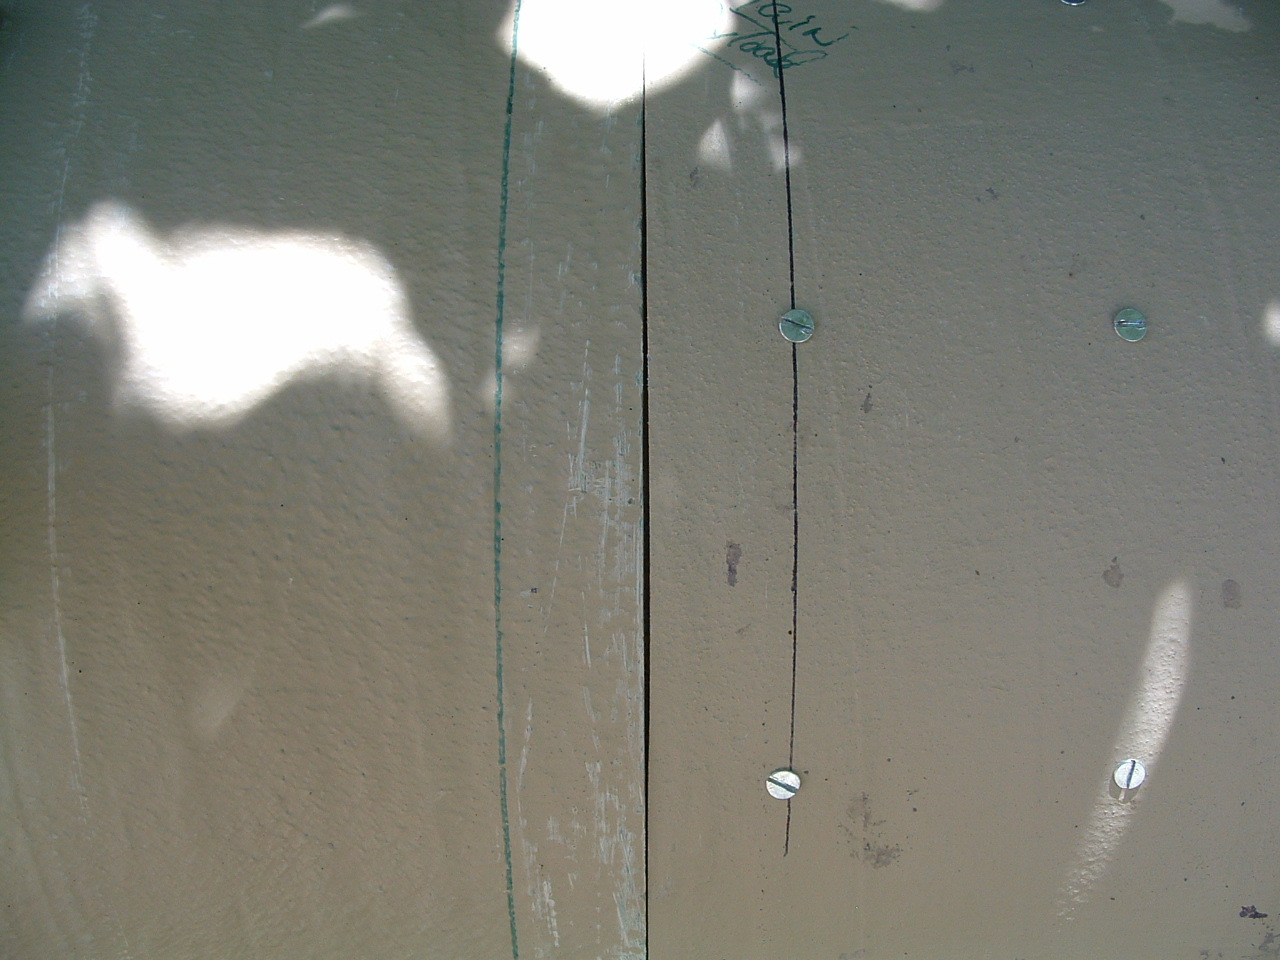
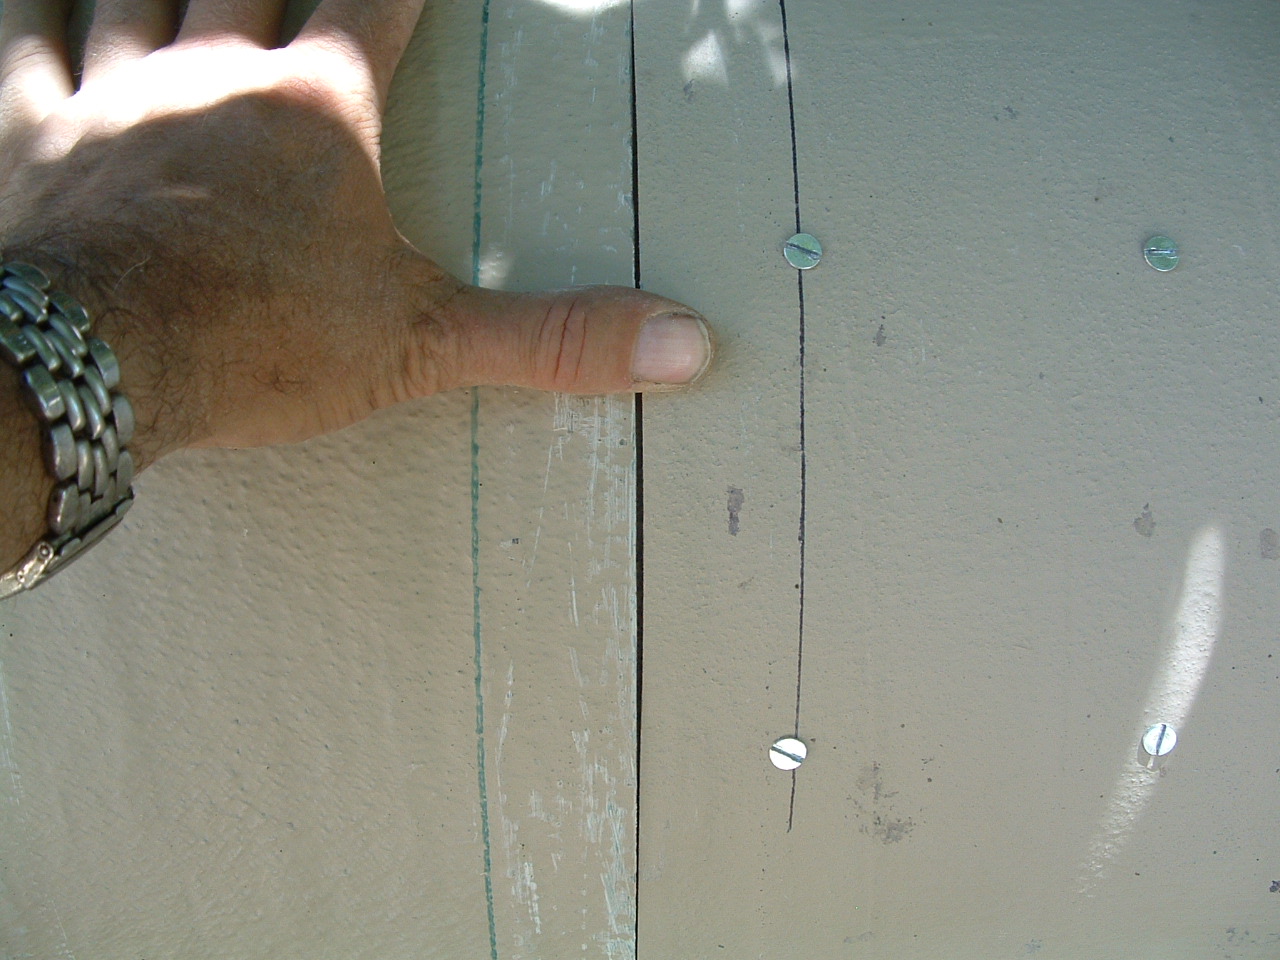
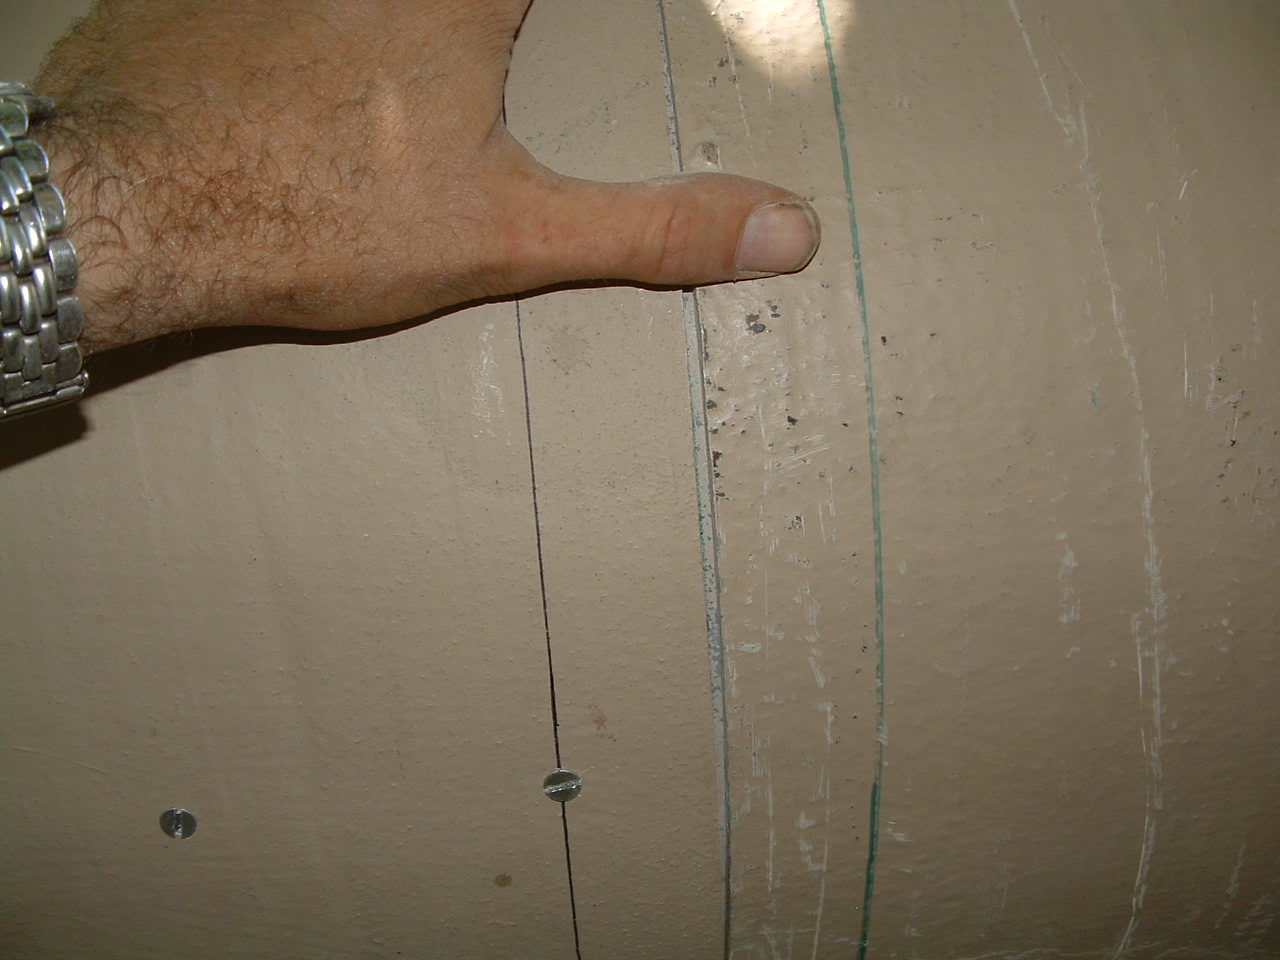
Gap removal
When the tube were fit together there was a small gap.
This gap was removed after about an entire afternoon of intense labor.
If there was ever a step that could blow out your sprocket...this was it.
The process was: Mark the area to shave down, pull the 65 pound
payload tube off, sand down the ridge, heft the tube into position, wiggle
it into place, and check the gap again.
Repeat as needed (about 15 times).
Epoxy
With the ends of the tubes trimmed it was time to epoxy the coupler
into the payload section.
Generous amounts of thin epoxy were painted onto the inside of the
payload and onto the coupler tube.
This was gone over with a large amount of thickened epoxy to fill any
gaps.
The tubes were butted together and a layer of tape was used to keep
them from creeping apart.
For problems or questions regarding this web contact
WebMaster@BlackBrant2.com
This page looks best when viewed on my computer and was last updated
on
01/24/09
THE BLACK BRANT PROJECTon the verge of insanity